Best Tips To Grow Rutabaga
Best Tips To Grow Rutabaga
Rutabaga, scientifically known as Brassica napus, is a root vegetable belonging to the cruciferous family.
With its robust flavour and nutritional benefits, rutabaga is gaining popularity among home gardeners looking to diversify. Here are tips to grow rutabaga.
By following these essential steps and considerations, learn how to grow rutabaga in your garden.
This article explores the essential steps and considerations for successfully growing rutabaga, from selecting the right planting location to harvesting your bountiful crop.
Whether you're a seasoned gardener looking to expand your vegetable patch or a beginner eager to try growing root vegetables, this comprehensive guide will provide you with the knowledge and confidence to cultivate delicious and nutritious rutabaga in your backyard.
Get ready to roll up your sleeves and embark on a journey into the world of rutabaga cultivation, where the satisfaction of growing your food awaits.
Introduction To Rutabaga
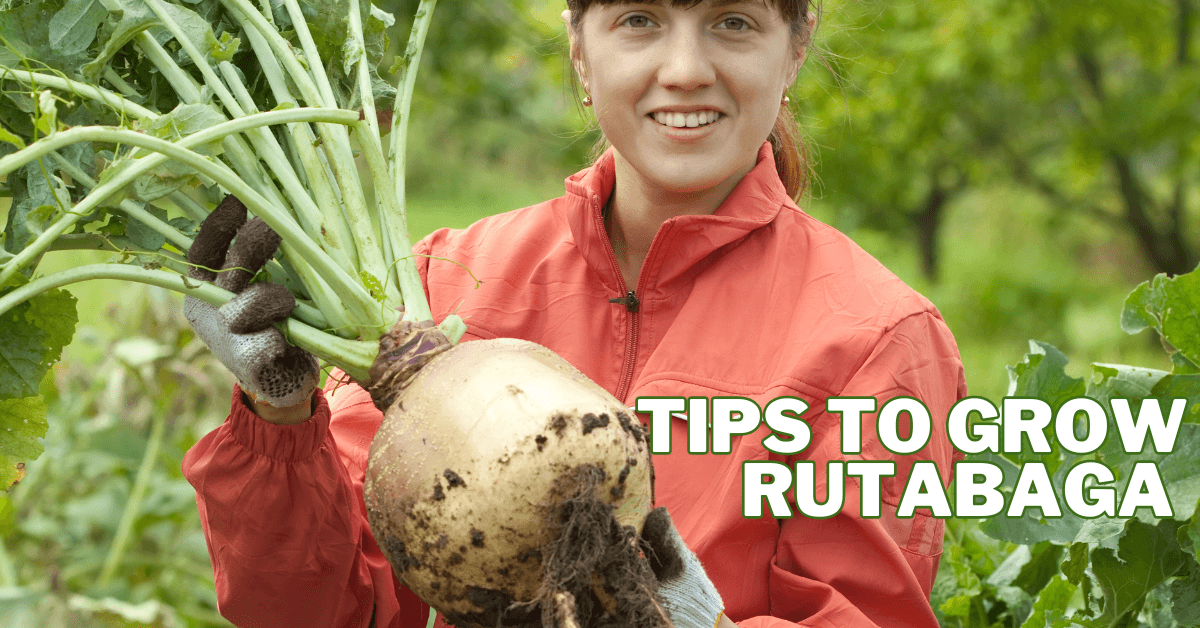
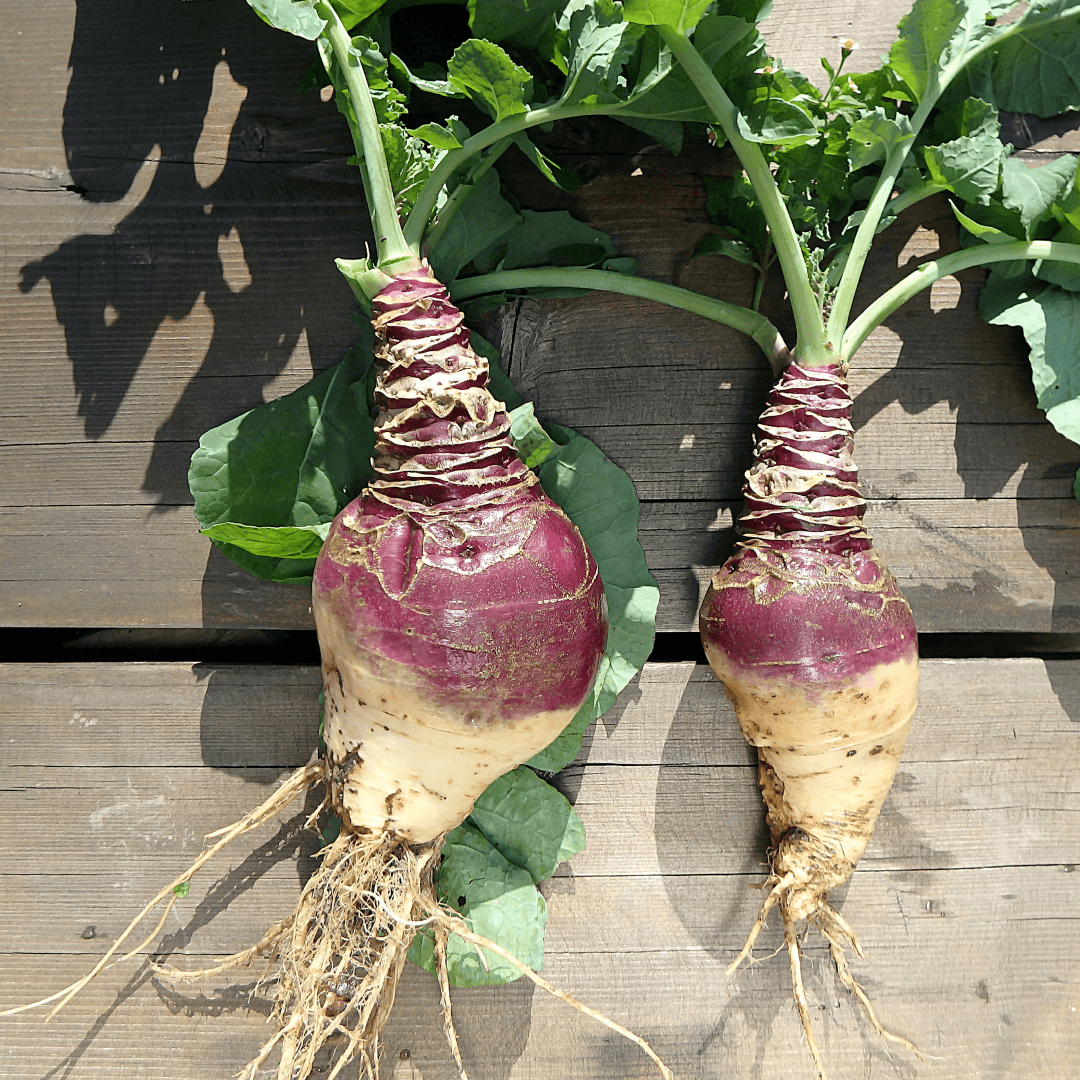
Rutabaga, also known as Swedish turnip or yellow turnip, is a root vegetable that belongs to the Brassicaceae family, which includes cabbage, broccoli, and kale.
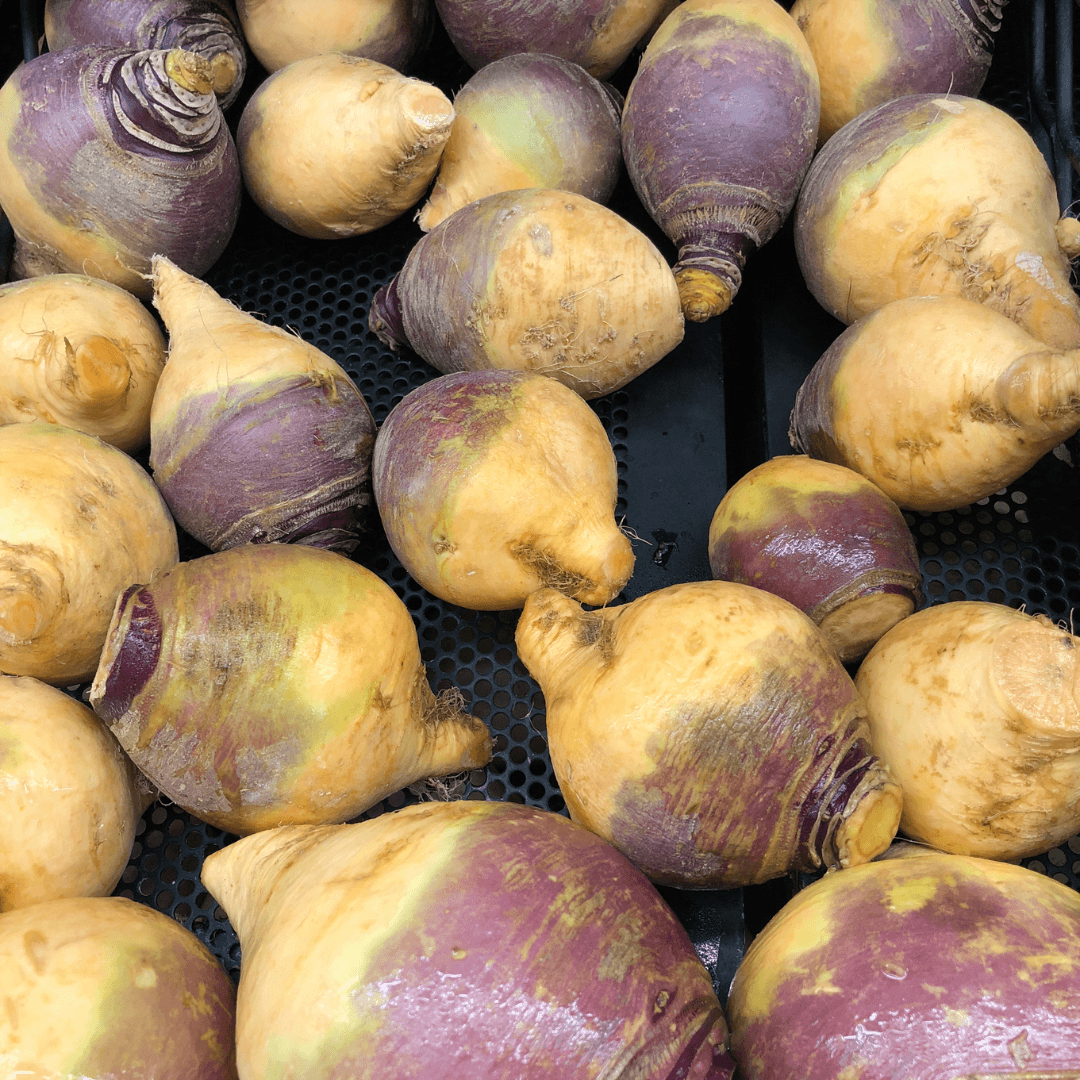
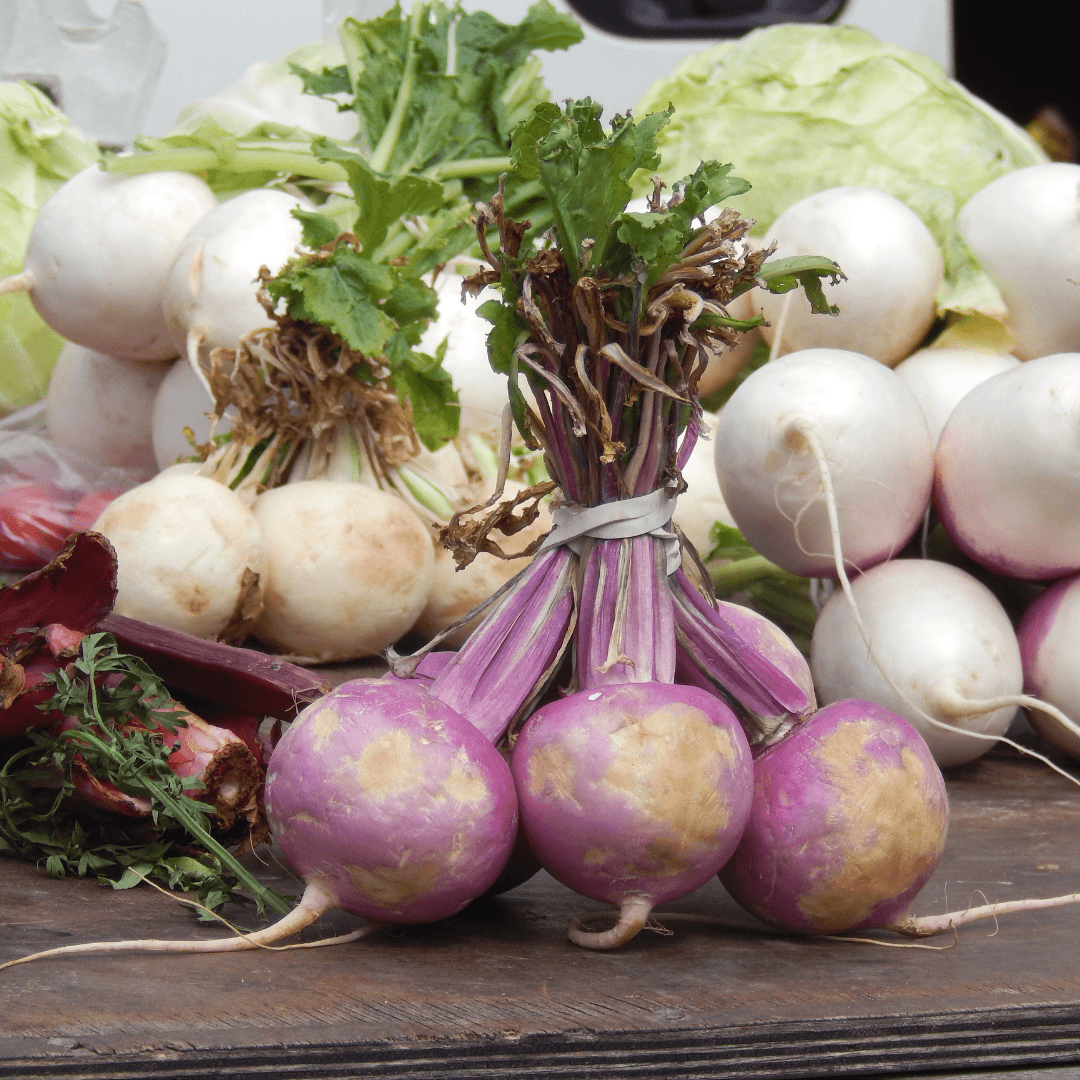
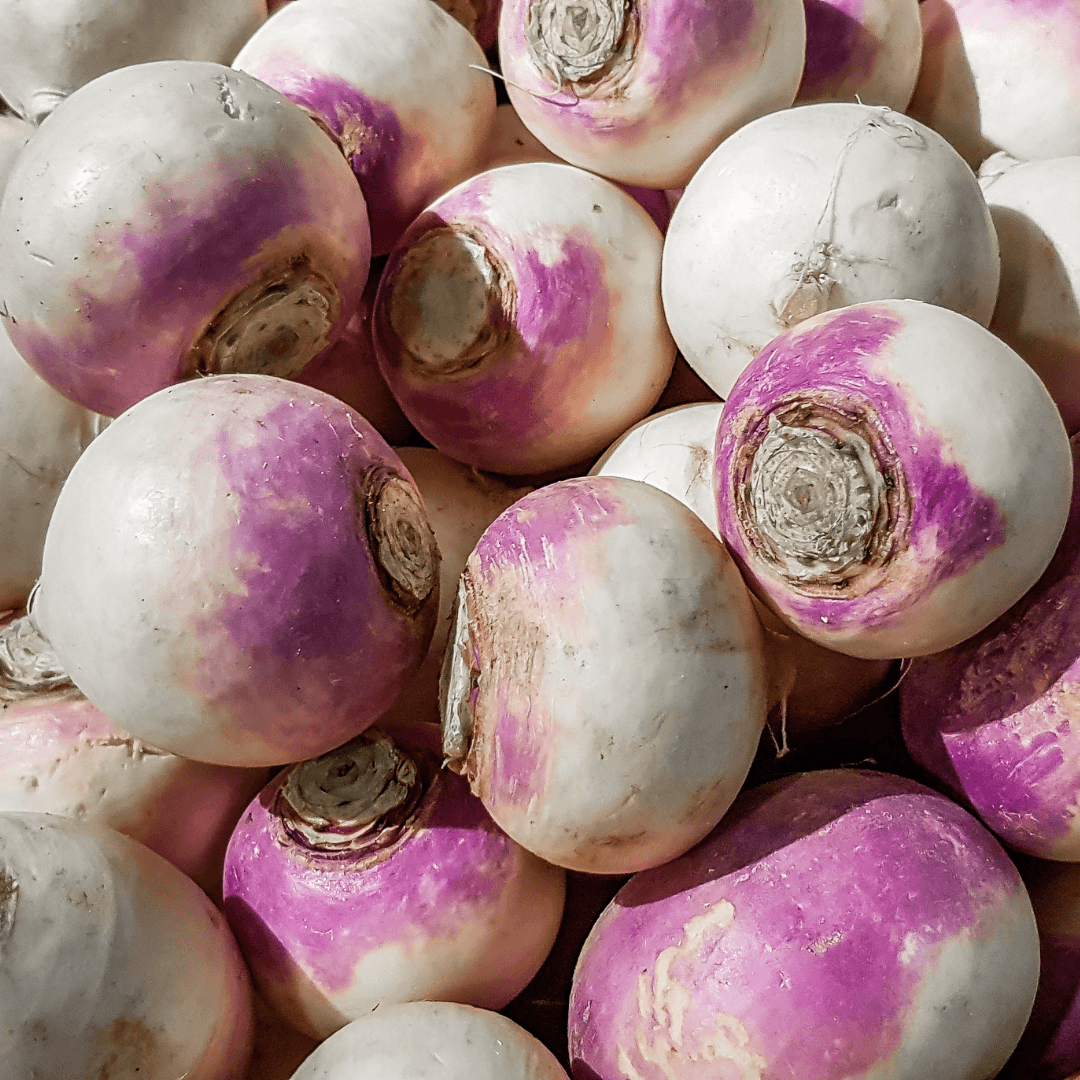
It is characterized by its round shape, smooth texture, and purple-yellow skin, with pale yellow flesh inside.
Rutabaga is prized for its distinct earthy-sweet flavour, which becomes sweeter after cooking, and its versatility in culinary applications.
Nutritionally, rutabaga is a powerhouse offering a variety of vitamins, minerals, and antioxidants. It is rich in vitamin C, providing over half the recommended daily intake in just one cup.
Additionally, rutabaga contains significant amounts of vitamin K, potassium, manganese, and fiber, making it a nutrient-dense addition to any diet.
In the kitchen, rutabaga is a versatile ingredient that can be enjoyed in numerous ways. It can be roasted, mashed, boiled, or raw in salads.
Rutabaga enhances the flavour of soups, stews, and casseroles when combined with other root vegetables such as potatoes, carrots, and parsnips.
Its firm texture holds up well in hearty dishes, and its natural sweetness makes it a great option for roasting and caramelizing.
Whether used as a side dish, incorporated into main courses, or enjoyed as a nutritious snack, rutabaga offers culinary delight and nutritional benefits, making it a valuable addition to any kitchen and diet.
Health Benefits Of Rutabaga
While understanding how to grow rutabaga is important for enjoying its health benefits, incorporating this nutritious root vegetable into your diet can support overall well-being and nutrition.
Eating rutabaga offers a range of health benefits due to its rich nutritional profile:
1. High In Nutrients
Rutabaga contains essential vitamins and minerals, including vitamin C, potassium, manganese, and fiber.
These nutrients support numerous body processes, including immunological response, electrolyte balance, and digestive health.
2. Boosts Immune System
Rutabaga is an excellent source of vitamin C, a powerful antioxidant that helps strengthen the immune system by fighting harmful pathogens and free radicals.
Consuming rutabaga regularly can help reduce the risk of infections and support overall immune health.
3. Promotes Digestive Health
Rutabaga is high in fiber, which adds bulk to the stool, promotes regular bowel movements, and prevents constipation.
Consuming fibre-rich vegetables, such as rutabaga, can also help maintain a healthy gut microbiota and lower the risk of digestive disorders like diverticulosis and colorectal cancer.
4. Supports Heart Health
Rutabaga contains potassium, a mineral key in regulating blood pressure and heart function.
Adequate potassium intake can help lower blood pressure levels and reduce the risk of heart disease and stroke.
5. Aids Weight Management
Rutabaga is a satiating and filling food option because it is low in calories and fiber.
Rutabaga can help regulate appetite, encourage feelings of fullness, and support weight loss or weight management programs.
6. Provides Antioxidant Protection
Various antioxidants found in rutabagas, such as manganese and vitamin C, assist in reducing oxidative stress in the body by scavenging dangerous free radicals.
Consuming a diet abundant in antioxidants aids in protecting cells against harm and reducing the likelihood of developing chronic ailments such as heart disease and cancer.
As part of a varied and well-balanced plant-based eating pattern, including rutabaga in your diet can improve your general health and well-being.
Introducing How To Grow Rutabaga
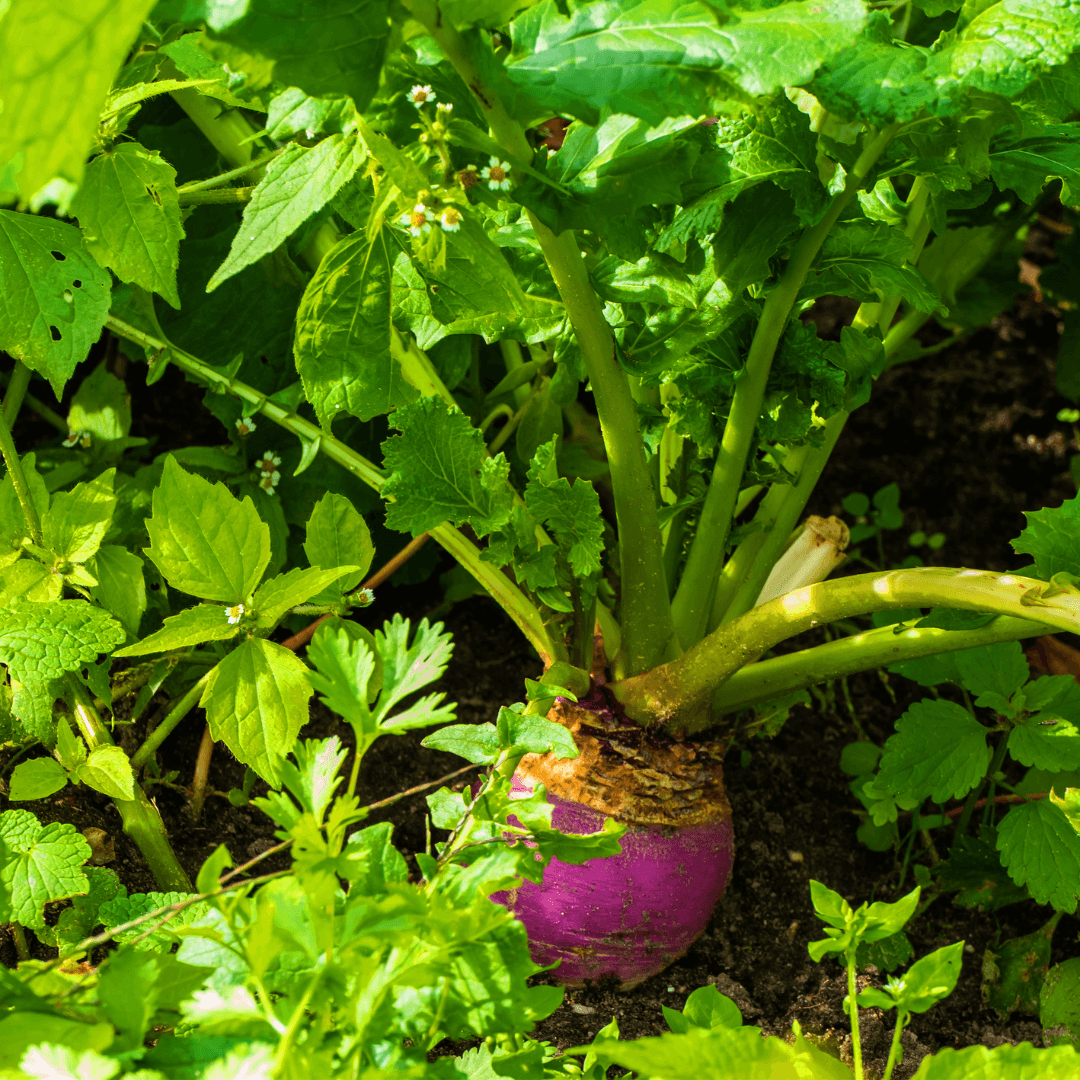
Growing rutabaga is a rewarding experience for gardeners seeking a versatile and nutritious root vegetable to cultivate in their backyard.
Rutabagas thrive in cool climates and are relatively easy to grow, making them suitable for beginner and experienced gardeners. To grow rutabaga successfully, follow these simple steps:
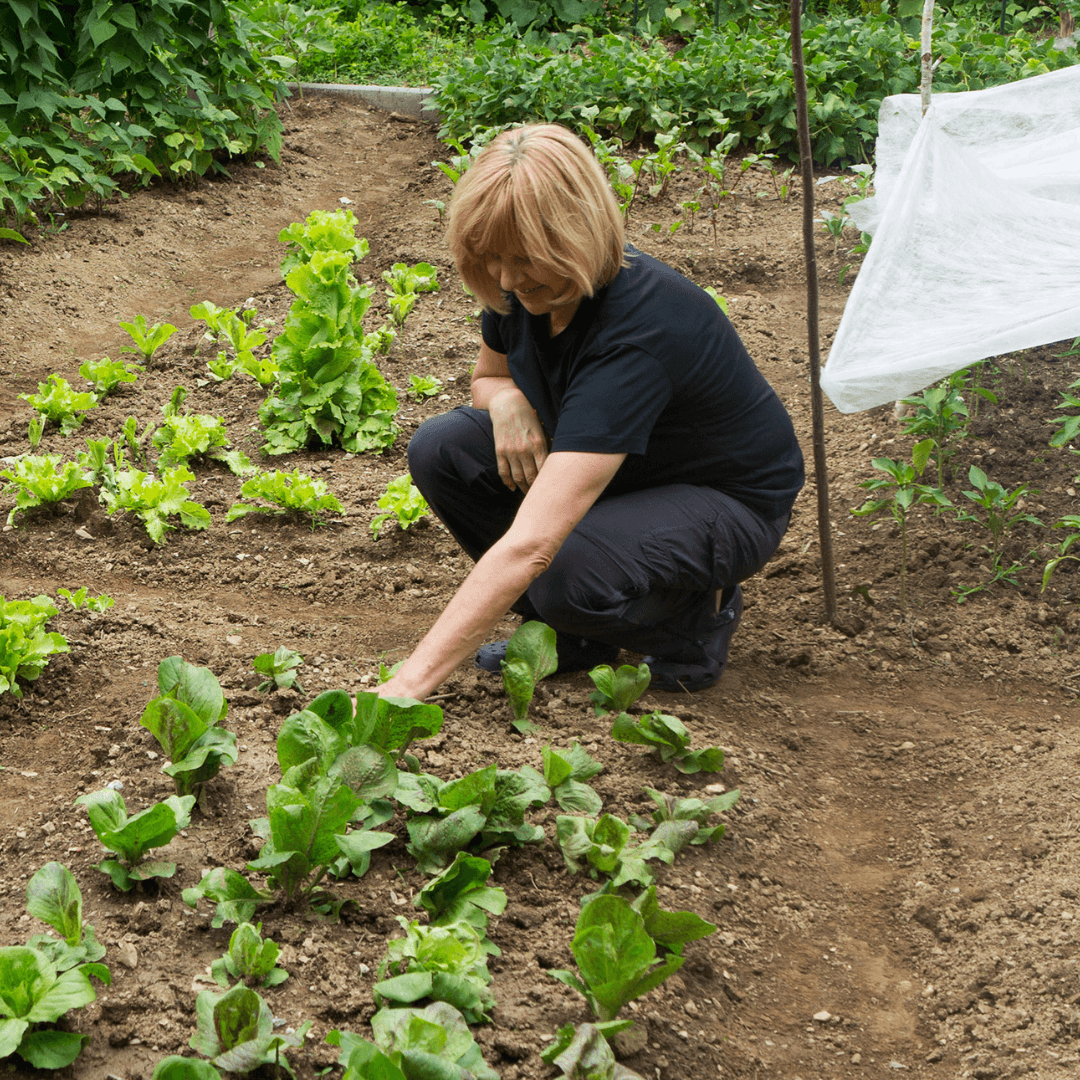
1. Choose The Right Location To Grow Rutabaga
Prioritizing sunlight and good soil composition is crucial when selecting a growing area for rutabagas.
Choose a location for your garden that gets plenty of the sun all day—ideally six to eight hours in direct sunlight.
Full sun conditions are ideal for rutabagas because they encourage healthy growth and development.
To promote healthy root development and avoid waterlogging, ensure the selected area's soil is loose and well-drained.
Rutabagas prefer soil with a pH range of 6.0 to 7.0, which is slightly acidic rather than neutral.
With a soil testing kit that you can get from garden centers or your neighbourhood agricultural extension office, you can determine the pH of the soil.
To improve soil structure and fertility, loosen the soil to a depth of approximately 12 inches before planting and add organic matter, such as aged manure or compost.
Clear the planting area of any rocks, weeds, or debris to provide a rutabaga-growing environment that is clear and healthy.
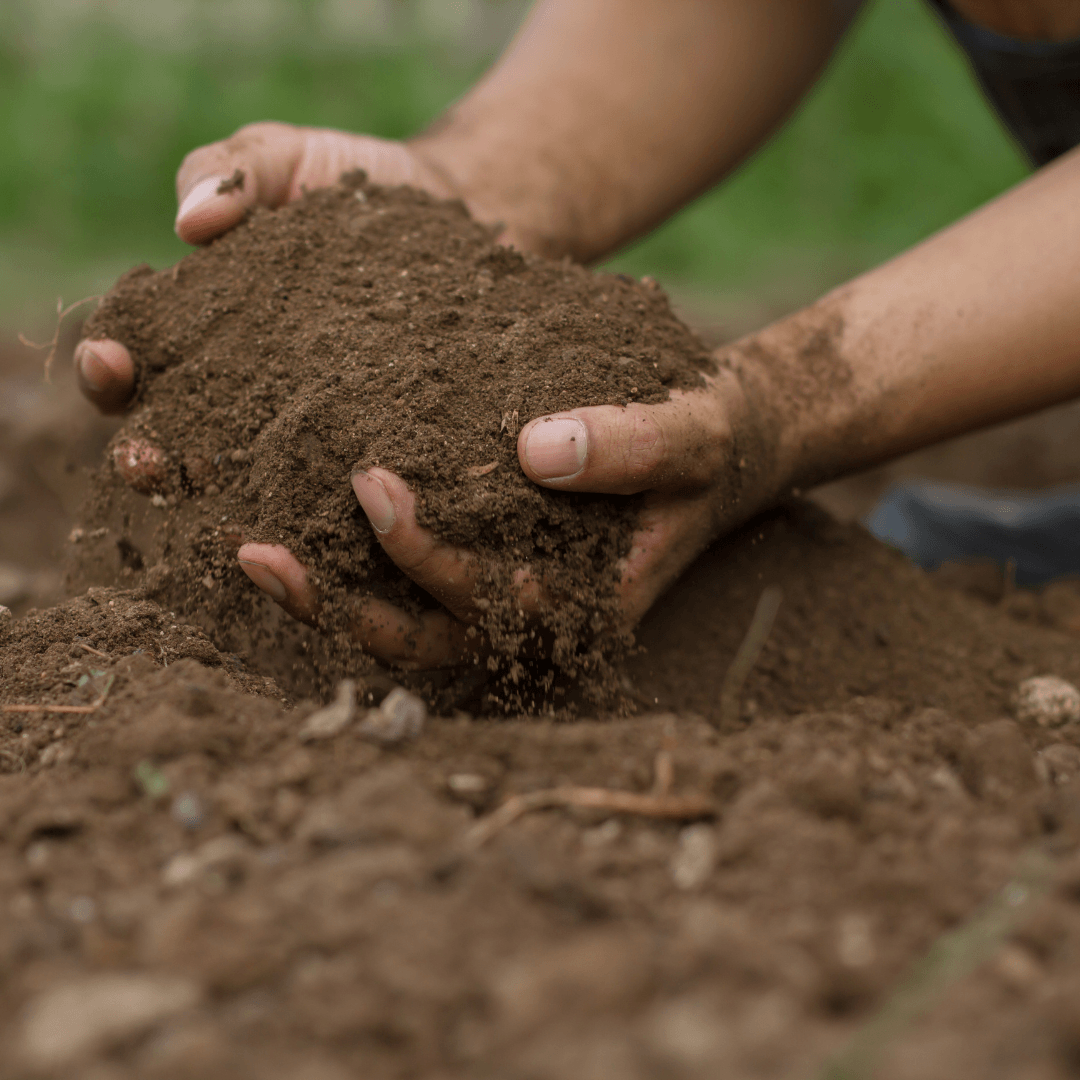
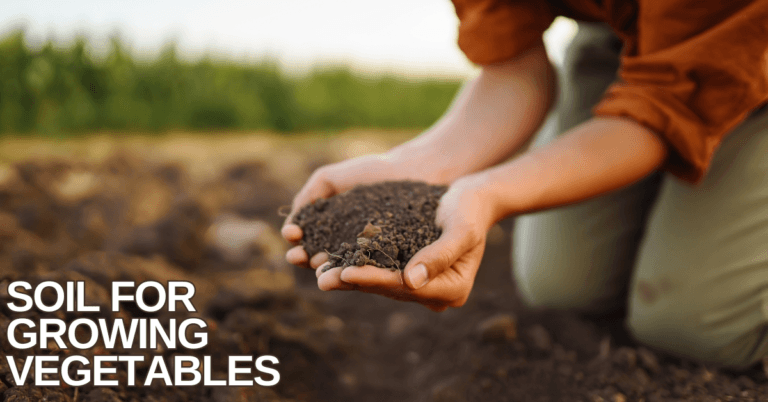
2. Prepare The Soil To Grow Rutabaga
Effective rutabaga cultivation begins with the meticulous preparation of the soi. It involves deeply tilling the ground to 8 to 10 inches, ensuring it is loosened and free from unwanted vegetation or debris.
Then, incorporate organic matter such as compost, well-rotted manure, or aged leaf mould into the soil to improve its fertility and structure.
Compost and manure provide essential nutrients, help retain moisture, and promote beneficial microbial activity in the soil.
Aim to add a generous layer, typically around 2 to 4 inches deep, and mix it evenly throughout the soil.
Afterward, assess the soil pH utilizing a soil testing kit or probe. Rutabagas thrive in slightly acidic to neutral soil, ideally with a pH range between 6.0 and 6.8.
Should the pH fall outside of this range, amendments like lime can be added to elevate or sulphur to lower it, adhering to the suggestions provided by your soil test outcomes.
Once the soil is appropriately amended and balanced, use a rake to smooth the surface and create a level planting area.
It's important to avoid compacting the soil excessively by minimizing foot traffic, as this may impede root development.
With the soil adequately prepared, your rutabaga seeds or seedlings will have the best environment to establish strong roots and thrive throughout the growing season.
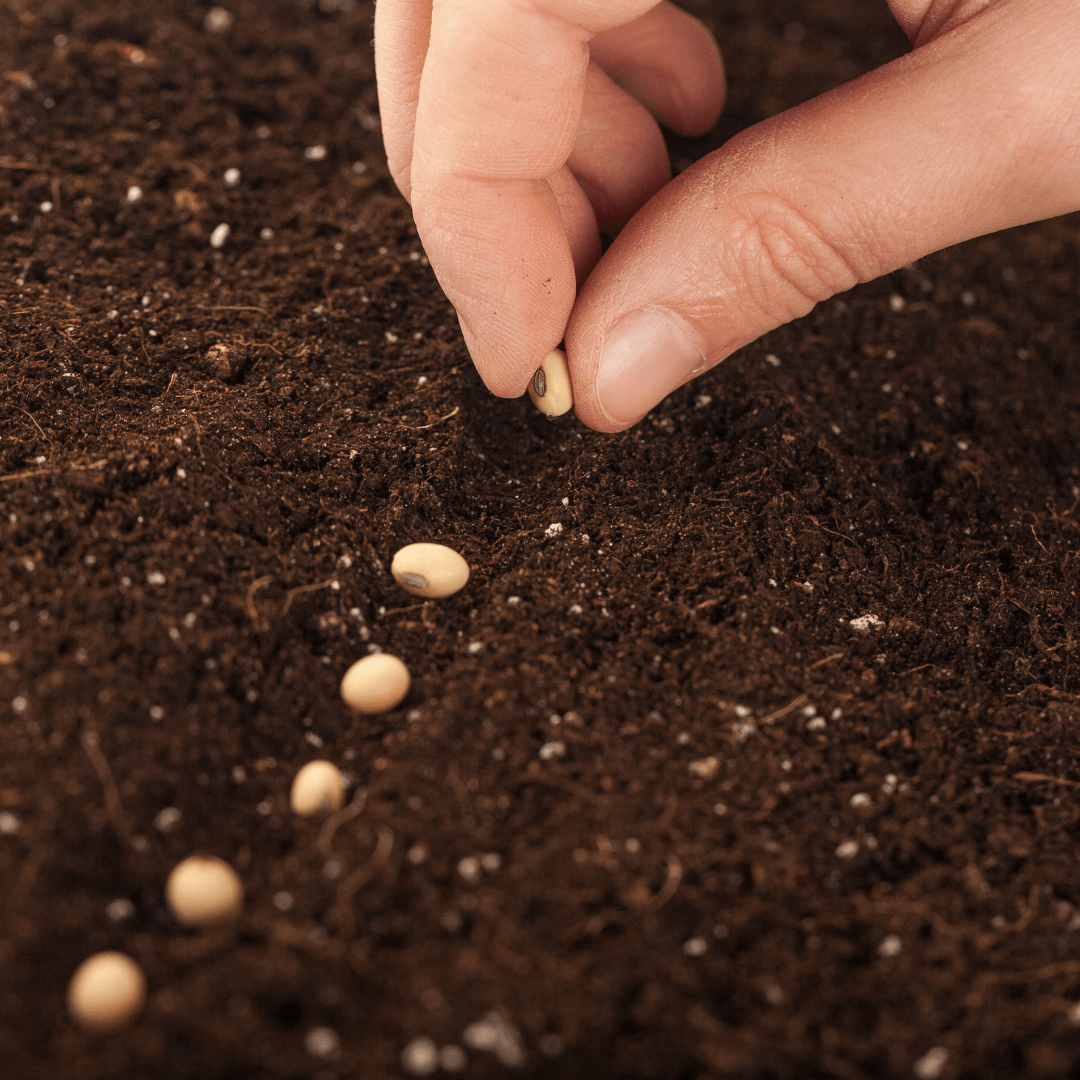
3. Planting Rutabaga From Seeds Or Seedlings
When planting rutabagas from seeds, it's best to sow them directly into the garden bed as they don't transplant well due to their delicate roots.
Prepare the soil by creating furrows about half an inch deep using a garden hoe or rake.
Space the furrows about 18-24 inches apart to allow enough room for the rutabaga plants to grow.
For optimal planting, sow the seeds sparingly along the bottom of each furrow, ensuring a spacing of approximately 4-6 inches between each seed.
Once sown, lightly cover the seeds with a thin layer of soil, gently pressing down to establish good contact between the seeds and the soil.
After planting, thoroughly water the bed to aid in settling the soil around the seeds.
Alternatively, if you prefer to begin with seedlings, purchase them from a nursery or start indoors approximately 4-6 weeks before the anticipated last frost date.
When transplanting the seedlings into the garden bed, dig individual holes for each seedling, ensuring they are deep enough to accommodate the roots.
After placing the seedlings into the holes, backfill with soil and gently compact it around the base of the plant.
Water the seedlings well after transplanting to help them establish in their new location.
When learning how to grow rutabaga, proper planting techniques, including spacing and watering, are essential for ensuring the seedlings or seeds' successful establishment and healthy root development.
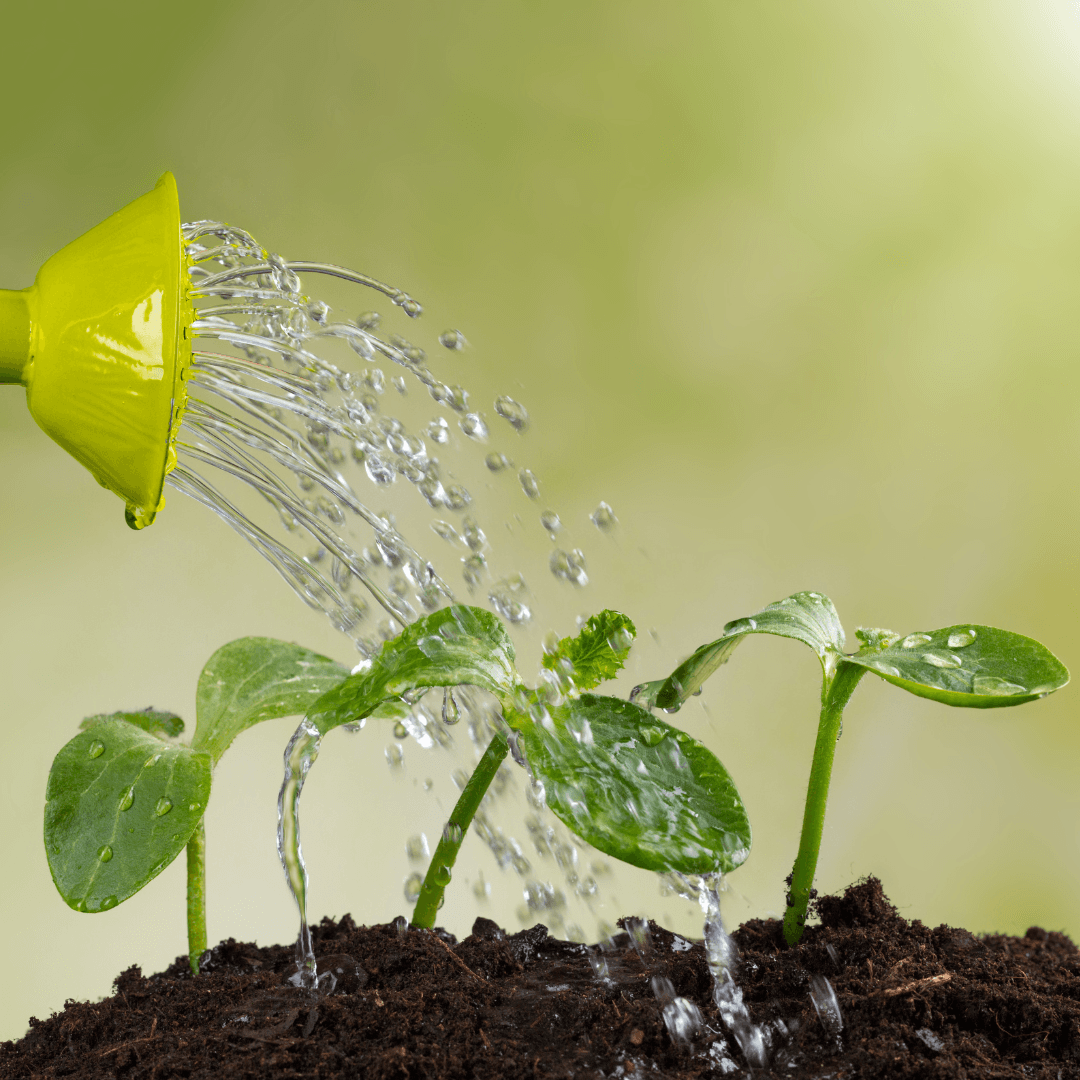
4. Watering And Maintenance Of Rutabaga
Proper watering is crucial for cultivating rutabagas, particularly during germination and root development.
Maintain soil moisture without causing waterlogging by consistently irrigating, especially during dry spells or hot climates.
Ensure deep watering to reach the root zone while avoiding excessive humidity, which can promote rot or disease.
Applying mulch around the base of rutabaga plants aids in moisture retention, soil temperature regulation, and weed control.
To prevent rot, use organic mulch like straw, hay, or shredded leaves, leaving a slight gap around the stet.
Additionally, fertilizing the rutabaga plants with a balanced fertilizer can give them essential nutrients for healthy growth and development.
Choose a fertilizer specifically formulated for vegetables and apply it lightly every 3-4 weeks during the growing season.
Exercise caution to avoid over-fertilization, as an abundance of nutrients may result in luxuriant foliage growth, detracting from the development of roots.
Consistently observe the plants for indications of pests or diseases, such as aphids, flea beetles, or fungal infections, and promptly implement suitable measures to mitigate any problems.
By diligently managing watering, mulching, fertilization, and maintenance, you can foster vigorous growth and achieve a plentiful yield of flavorful rutabagas.
5. Monitoring Growth Of Rutabaga Plants
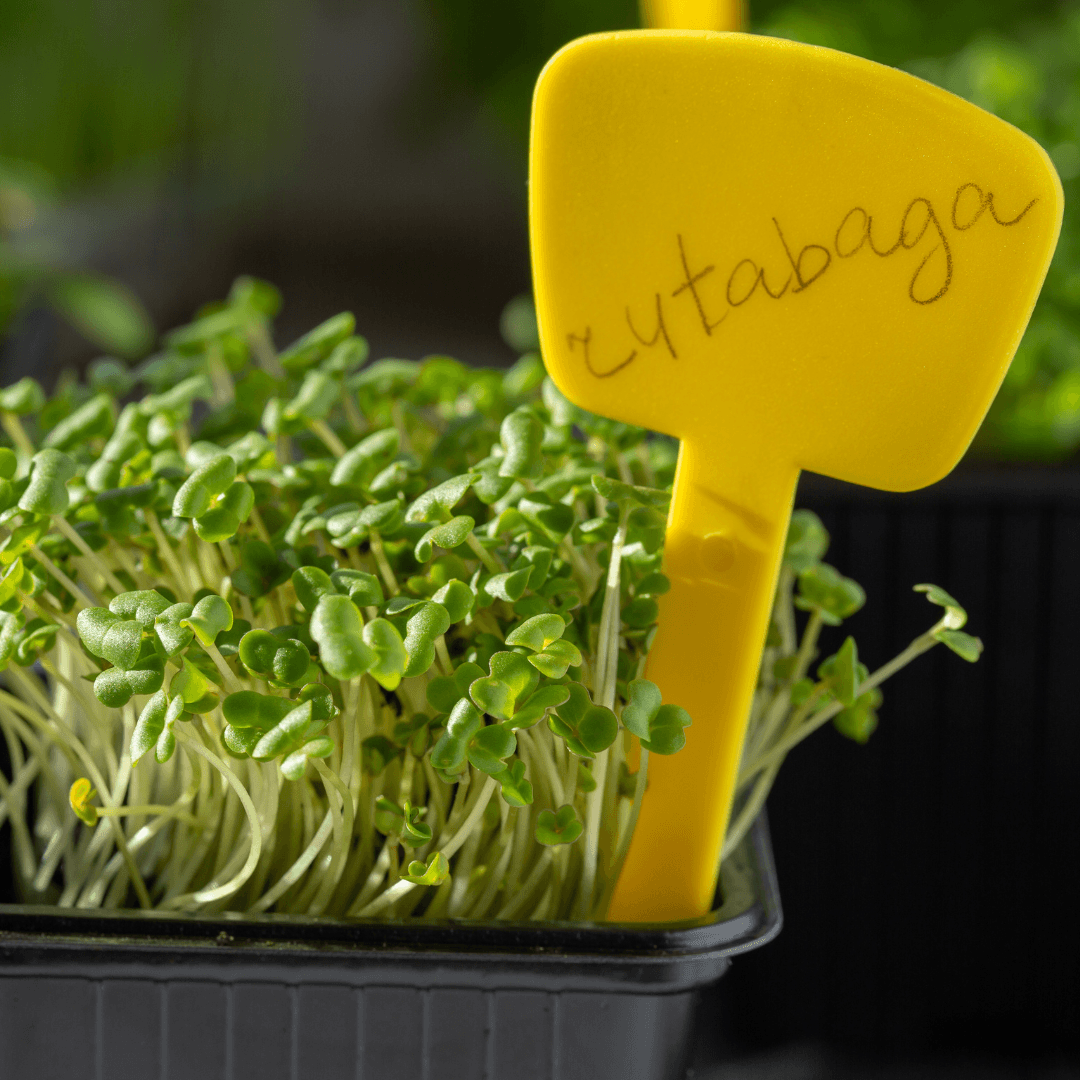
Monitoring the growth of your rutabaga plants is essential for ensuring their health and productivity.
Regularly inspect the plants for signs of stress or nutrient deficiencies throughout the growing season.
Watch for wilting or Yellowing leaves, which may indicate inadequate watering or nutrient imbalances.
Additionally, monitor the overall growth and development of the plants, paying attention to factors such as leaf size, stem length, and root formation.
Healthy rutabaga plants should exhibit steady growth and vibrant foliage with no signs of stunted growth or abnormal discoloration.
If you notice any issues or abnormalities, promptly address them. Adjust your watering schedule to ensure adequate moisture levels in the soil, and consider supplementing with organic fertilizers if necessary to correct nutrient deficiencies.
Remove any weeds that compete with the rutabaga plants for resources and space, as they can hinder growth and development.
Regular monitoring allows you to stay proactive in caring for your rutabaga crop, helping to prevent potential problems before they escalate.
By staying attentive to the needs of your plants and providing optimal growing conditions, you can support healthy growth and maximize your harvest of delicious, homegrown rutabagas.
6. Protection Rutabaga Plants From Extreme Temperatures
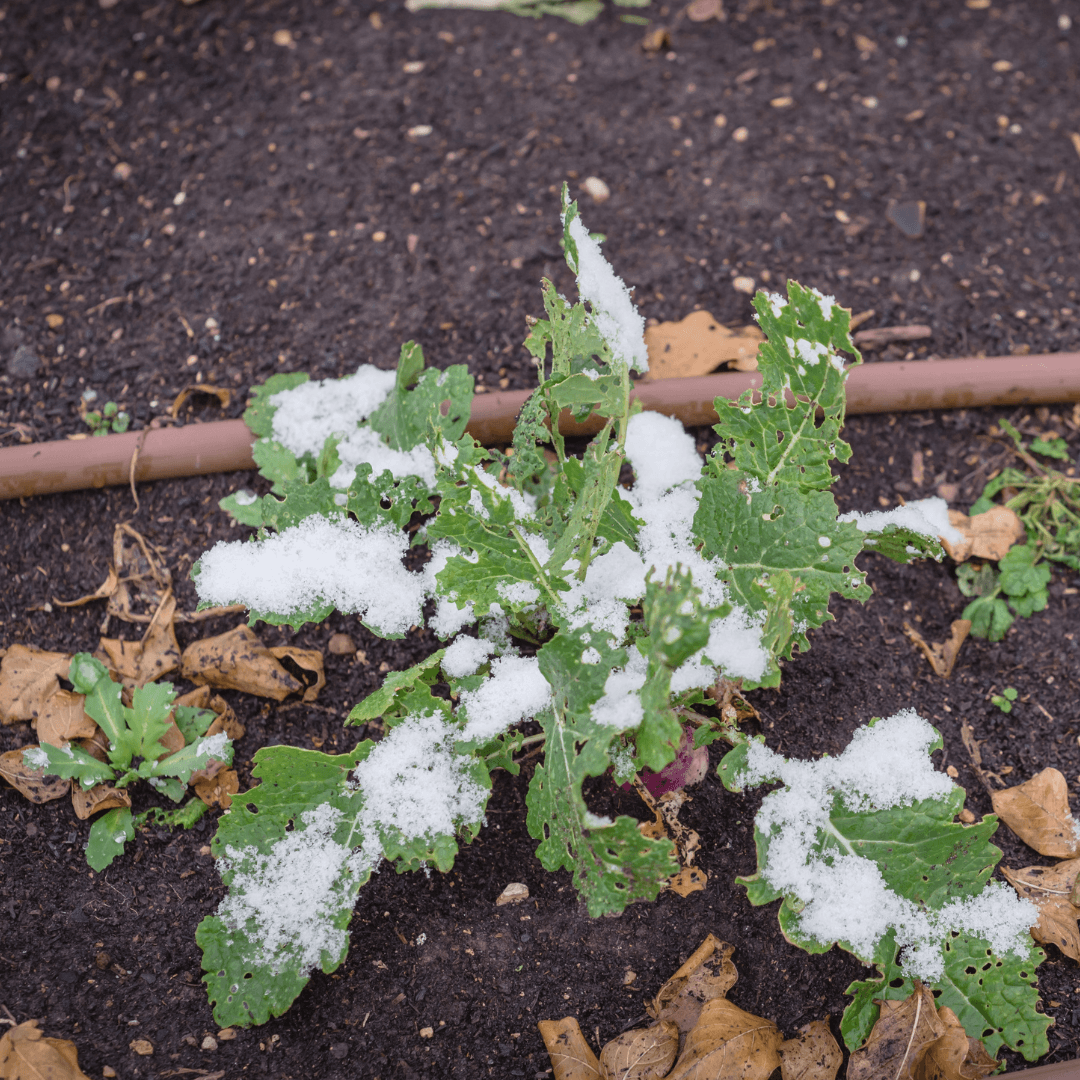
Rutabagas are cool-season vegetables that thrive in mild temperatures but can struggle during periods of extreme heat.
Rutabaga plants may experience stress when temperatures soar, leading to wilting, reduced growth, and even bolting (premature flowering).
To protect your rutabaga crop from the adverse effects of high temperatures, it's essential to implement strategies to provide shade and regulate heat exposure.
One effective method is to provide temporary shade for the rutabaga plants using shade cloth or row covers.
These materials can be draped over the plants or supported by hoops to create a shaded environment that shields them from direct sunlight.
Shade cloth typically filters out a percentage of the sun while allowing air circulation, helping moderate temperatures and reducing plant heat stress.
Additionally, you can strategically plant taller crops or position structures like trellises to create natural shade for the rutabagas.
Planting rutabagas that receive partial shade during the hottest day can also help mitigate heat stress.
Understanding how to grow rutabaga involves implementing strategies to protect the plants from extreme temperatures, such as providing shade from taller crops or structures like trellises, which can help maintain optimal growing conditions and support healthy plant development.
7. Harvesting Rutabagas
Harvesting rutabagas typically occurs when the roots have reached a desirable size, usually around 3 to 5 inches in diameter, although this can vary depending on the specific variety.
Signs that rutabagas are ready for harvest include firm roots, a smooth skin texture, and vibrant coloration.
When it's time to harvest, delicately loosen the soil surrounding the rutabaga's base using a garden fork or shovel, ensuring the roots remain undisturbed.
Once the soil is loosened, grasp the foliage near the top of the root and gently lift the rutabaga from the ground.
After lifting, remove any surplus soil and trim the foliage, leaving approximately an inch of stem attached to the root.
After harvesting, rutabagas can be stored in a cool, dark place for several weeks to several months, depending on storage conditions and variety.
After mastering how to grow rutabaga, proper harvesting techniques ensure you can enjoy the nutritious and versatile root vegetables for an extended period by storing them in optimal conditions.
8. Pest And Disease Management Of Rutabaga Plants
To effectively manage pests and diseases in your rutabaga crop, it's crucial to stay vigilant and monitor the plants regularly.
Look out for common pests like aphids, flea beetles, and cabbage worms, which can damage the foliage and roots.
Additionally, watch for signs of fungal infections, such as powdery mildew or clubroot, which can affect plant growth and overall yield.
Implementing preventive measures is key to minimizing pest and disease problems.
Consider using row covers or netting to protect young plants from insect damage, especially during the early stages of growth.
Encourage natural predators like ladybugs and parasitic wasps to help control pest populations.
If you notice signs of pest infestation or disease, take immediate action to address the issue.
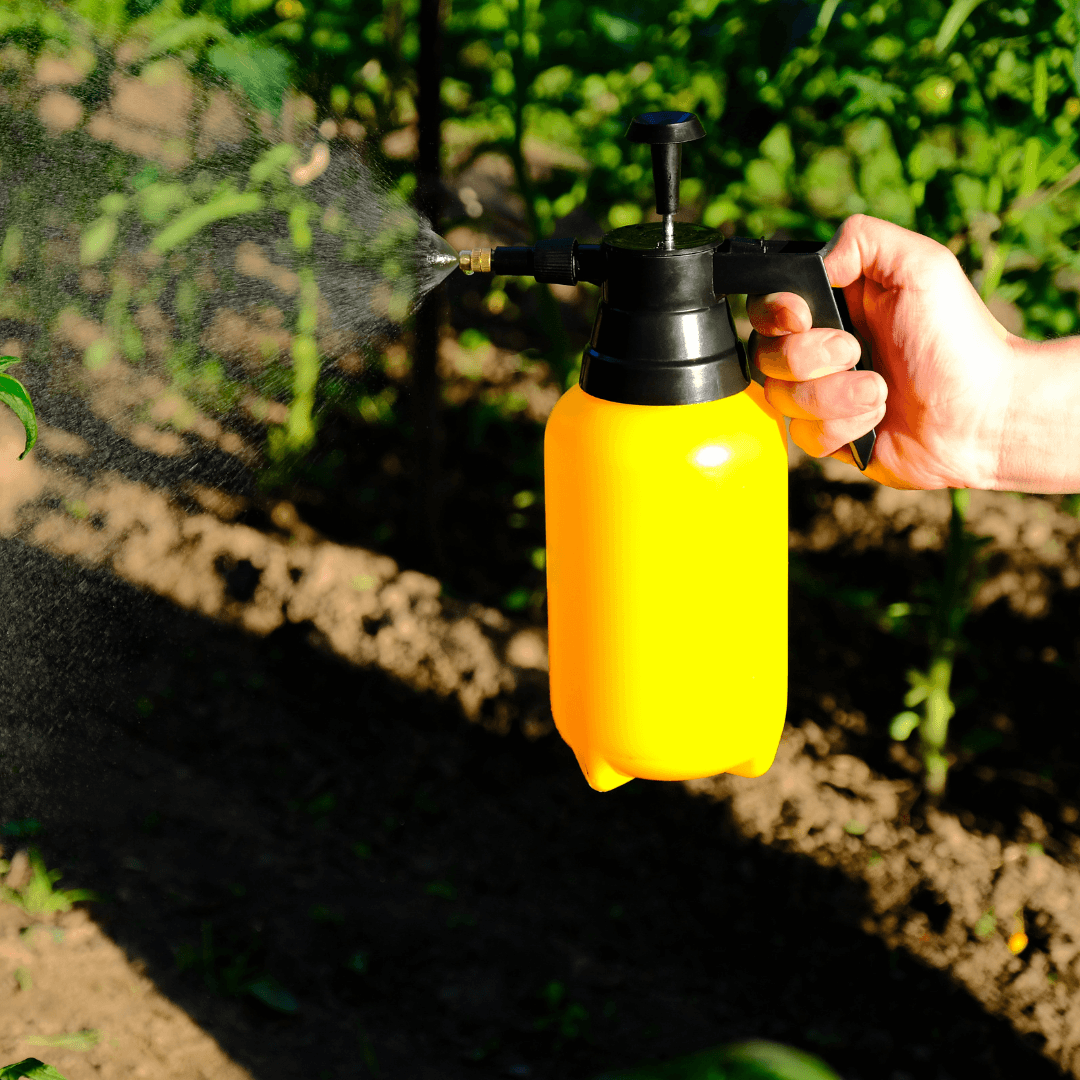
Consider using organic pesticides or insecticidal soaps to target pests while minimizing harm to beneficial insects and the environment.
For fungal diseases, apply fungicides according to label instructions and ensure good air circulation around the plants to reduce humidity and prevent fungal growth.
Regularly remove any infected or damaged plant material to prevent the spread of diseases.
Practice crop rotation to minimize the buildup of pathogens in the soil and maintain overall soil health.
By staying proactive and implementing integrated pest management strategies, you can effectively manage pests and diseases in your rutabaga crop while promoting a healthy and thriving garden.
9. Storage And Preservation Of Rutabaga Roots
After harvesting, rutabagas can be stored in a cool, dark environment such as a root cellar, basement, or refrigerator.
Before storing, remove any excess soil and trim the foliage, leaving about an inch of stem attached to the root.
It's best to refrain from washing the rutabagas until they're ready to be used, as excess moisture can hasten spoilage.
When stored correctly, rutabagas can maintain their quality for several weeks to months, depending on storage conditions and variety.
They can be blanched and frozen to extend the shelf life of rutabaga. Start by peeling and cutting the rutabagas into uniform pieces, then blanch them in boiling water for 2-3 minutes.
Quickly transfer the blanched rutabagas to an ice bath to stop the cooking, then drain and dry them.
Once cooled, divide the rutabagas into airtight containers or freezer bags, removing excess air before sealing. Frozen rutabagas can be kept in the freezer for 10-12 months.
Additionally, rutabagas can be pickled or fermented to prolong their shelf life and enhance flavour.
Pickled rutabagas can be stored in the refrigerator for several weeks, while fermented rutabagas can last for several months when stored in a cool, dark place.
Mastering the art of growing rutabagas ensures a fresh harvest, and knowing how to store and preserve harvested rutabagas effectively allows long-term enjoyment of their delicious taste.
Conclusion
In conclusion, mastering the art of growing rutabaga can be rewarding for gardeners seeking to expand their culinary horizons and enhance their self-sufficiency.
Following the comprehensive guide in this article, aspiring growers can confidently navigate each stage of the rutabaga cultivation process, from selecting the optimal planting location to harvesting the mature roots.
Cultivating rutabaga offers the satisfaction of producing a nutritious and versatile vegetable and fosters a deeper connection with the natural world and the growth and harvest cycles.
Whether you're a novice gardener or an experienced horticulturist, the journey of growing rutabaga is filled with valuable lessons in patience, observation, and land stewardship.
As you embark on your rutabaga-growing adventure, remember that learning how to grow rutabaga is as rewarding as the harvest itself, offering valuable lessons in patience, observation, and stewardship of the land.
With dedication, care, and a touch of creativity, you'll soon be enjoying the fruits – or the roots – of your labour, savouring the unique flavour and nutritional benefits of homegrown rutabagas in your favourite dishes for seasons to come.
I trust you enjoyed this article on the Best Tips To Grow Rutabaga. Please stay tuned for more blog posts to come shortly. Take care!
JeannetteZ
>>>Please click here to read my all-inclusive article about Container Gardening<<<
>>>Are you interested in homegrown herbs and medicine? Please click here to find out more about it!<<<
Your Opinion Is Important To Me
Do you have thoughts, ideas, or questions? I would love to hear from you. Please leave me your questions, experiences, and remarks about this Best Tips To Grow Rutabaga article in the comments section below. You can also email me at Jeannette@Close-To-Nature.org.
Disclosure
This post may contain affiliate links. As an Amazon Associate and other affiliate programs, I earn from qualifying purchases at no extra cost to you. Please read my full affiliate disclosure.
You might also enjoy these blog posts:
Best 10 Tips For Managing Stress
Interesting Facts About Turkeys
Best Natural Fertilizers For Flowers
Best Tips For Introducing A New Cat To Your Home

