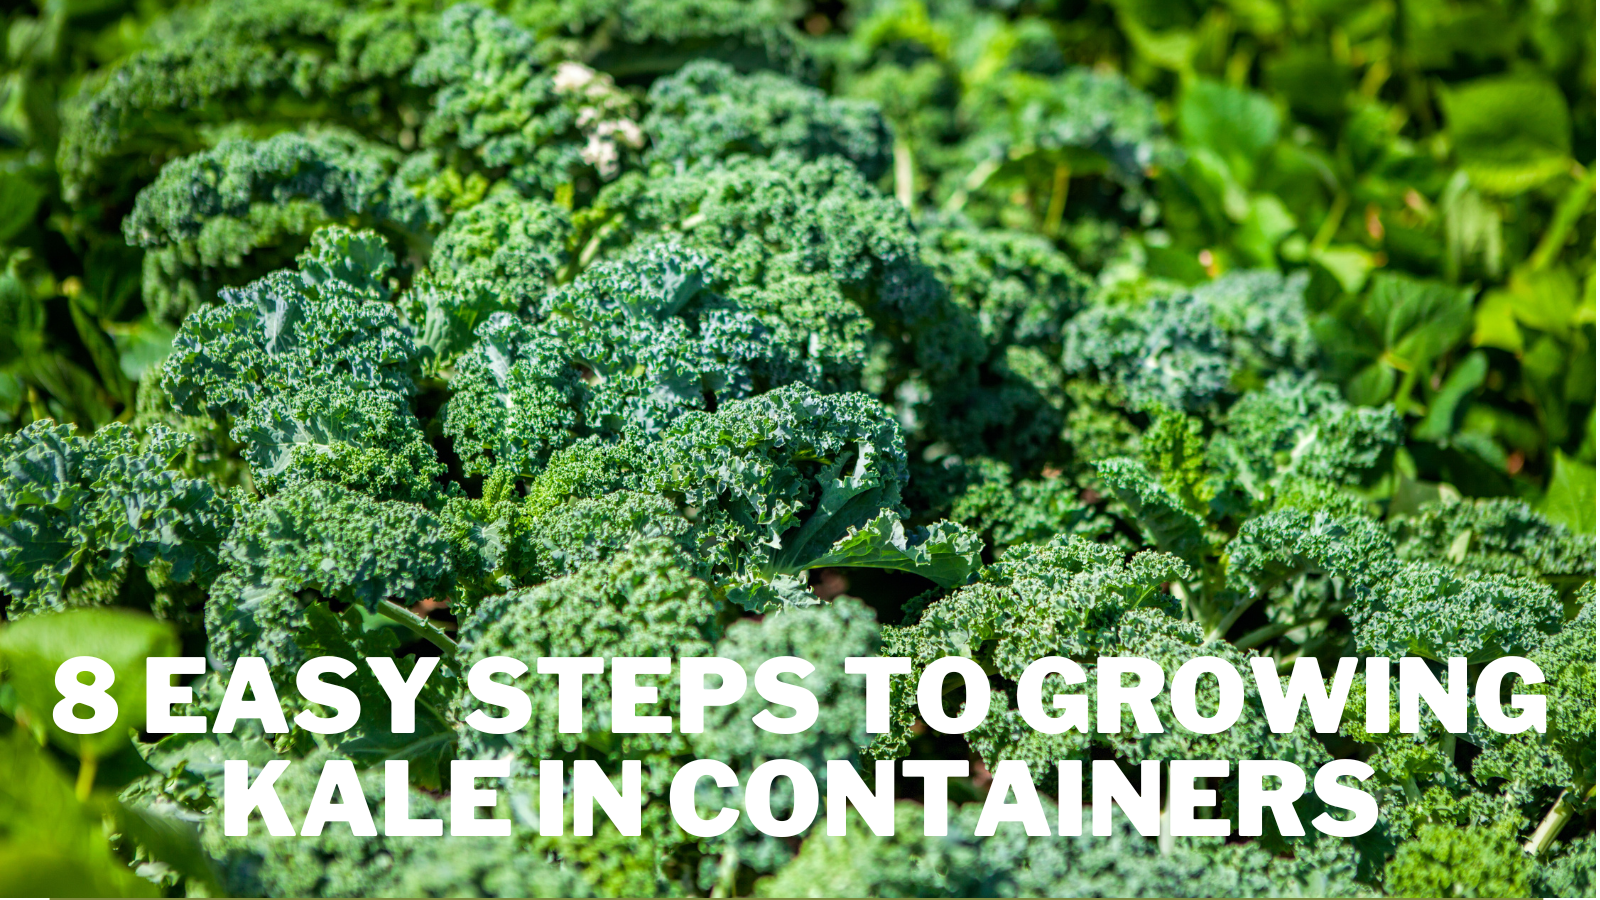
8 Easy Steps To Growing Kale In Containers
8 Easy Steps To Growing Kale In Containers
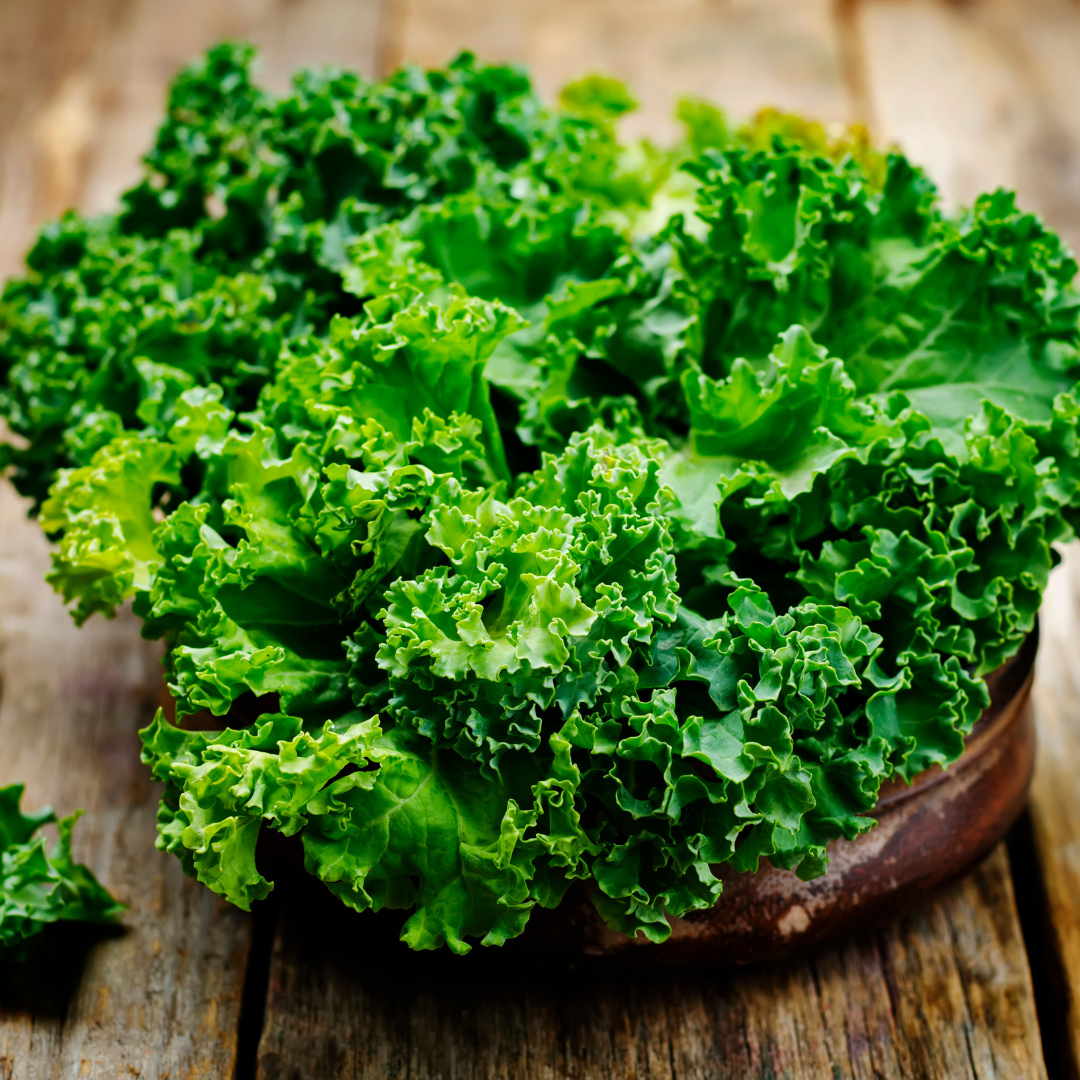
If you enjoy eating kale, you might want to learn how to grow it yourself. Kale can be grown in the ground or a pot on a balcony or patio and planted directly in the soil or a pot.
Kale is a versatile culinary staple that is simple to prepare for both novice and experienced vegetable plotters.
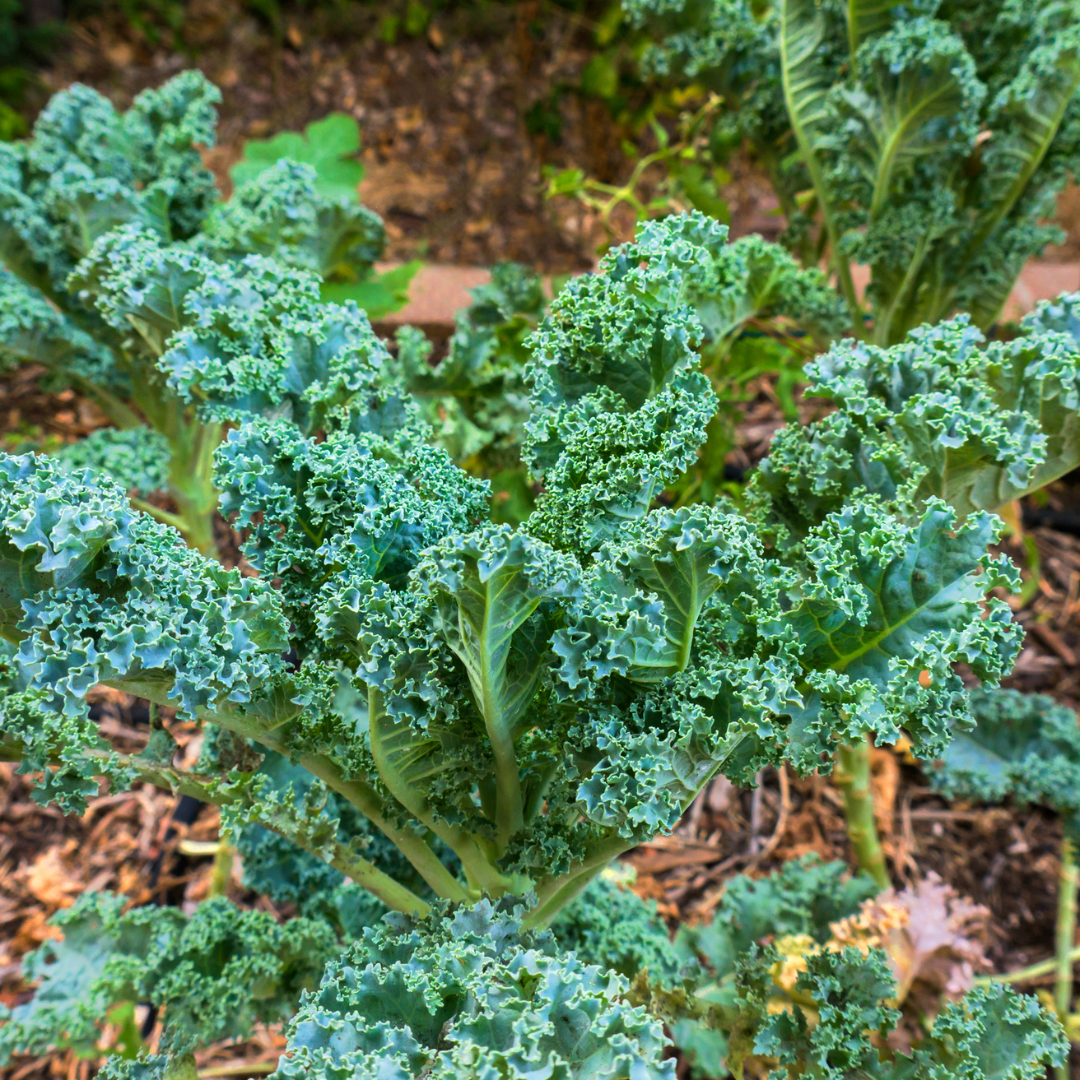
Many types are available to grow in the British environment, ranging from frizzy red and curly green to the stately slaty leaves of Cavolo Nero.
The best part is that they can be grown in almost any place with a little outside space. In veg plots, plant directly in the soil or in a container. In veg plots, plant directly in the soil or in a container on a balcony or patio.
They don't care about the soil and can work in both bright and shaded areas. Many people think the majestic or frilly leaves are beautiful enough to stand out among flowers and plants.
You may supply yourself with leaves throughout the autumn, winter, and early spring by harvesting entire or plucking side shoots to add to stir-fries and salads, which are inexpensive to cultivate from seed. Let’s follow the steps to growing kale in containers.
Nutrition Fact Of Kale
A single cup of raw kale (about 67 grams or 2.4 ounces) includes the following nutrients:
- Vitamin A: 206% of DV (from beta-carotene)
- Vitamin K: 684% of DV
- Vitamin C: 134% of DV
- Vitamin B6: 9% of DV
- Manganese: 26% of DV
- Magnesium: 6% of DV
- Potassium: 9% of DV
- Copper: 10% of DV
- Calcium: 9% of DV
It also contains 3% or more of the DV for (thiamin), vitamin B2 (riboflavin), vitamin B3 (niacin), iron and phosphorus.
The Best Kale Varieties
Before starting to grow kale in containers, you should know all varieties of Kale.

1. Scotch Kale
‘Blue Curled Scotch' kale, often known as ‘Vates' kale, is the most popular kind. The leaves of this cultivar are blue-green and curled.
It is a shorter type that rarely exceeds 2 feet in height. It blooms early but is biennial, meaning it can last two growing seasons.
Salads and stir-fries with Scotch kale are delicious. It has a sweet, nutty flavour and makes excellent chips.

2. Lacinato Kale
Lacinato kale, often known as Tuscan or dinosaur kale, is one of the most aesthetically striking kale.
It grows upright, frequently reaching several feet tall, with long, slender, dark green leaves.
The leaves' rough texture resembles reptile skin, hence the moniker dinosaur kale. ‘Nero di Toscana' is a Tuscan heirloom cultivar.
Because of its milder, nutty flavour, Lacinato kale is ideal for eating fresh. It's also quite simple to de-stem.
Simply glide your fingers down the stem, pulling off the leaves as you go. When mixed with olive oil, it produces excellent kale chips.

3. Siberian Kale
The yellow blossoms of Siberian Kale (Brassica napus) are well-known, as is the oil generated by its seeds.
The oil is commonly referred to as rapeseed oil because the plant is also known as “annual rape” or “rape kale.” In North America, the oil is known as Canola Oil because it is high in omega-3 and 6 fatty acids.
Long, thin stems with abundant glossy, tiny, spherical leaves held securely on the stem characterize this cultivar.
If eaten raw, the hardness and rubbery texture of the leaves can turn off some taste buds. On the other hand, Siberian Kale reigns supreme in the wok as a braised dish star.

4. Premier Kale
Premier is an heirloom cultivar with medium green, smooth leaves that grow to about 15 inches long. They have a moderate flavour and lend a nice touch to cold meals.
This variety is recognized for its cold tolerance, slow bolting, and excellent yield.
Maturity is expected in about 60 days. Its size of 12 to 15 inches tall and 12 to 15 inches broad makes it a good choice for growing kale in containers.

5. Dazzling Blue Kale
The puckered blue-green leaves with purple midribs on this cold-tolerant Lacinato cultivar turn purple when the temperature decreases.
Like the variety mentioned above, this type is tender and adaptable, performing as well as raw and cooked.
These early-maturing plants reach full maturity in 30 to 60 days. They grow 24 to 48 inches tall with a spread of 12 to 14 inches, making them perfect for container planting.

6. Dwarf Siberian Kale
It has a peculiar flavour with cabbage notes, and its blue-green leaves are gently ruffled.
Because of their softness, they're ideal for eating raw in sandwiches and salads.
The compact size of Dwarf Siberian' makes it ideal for container planting.
In 50 to 65 days, expect a height of 14 to 16 inches and a spread of eight to 12 inches.

7. Prizm Kale
‘Prizm' has practically stemless green leaves with a pleasantly nutty undertone that curl tightly. The newest leaves have the sweetest flavour.
This kind is excellent in cold dishes. It also works well in quick-to-prepare stir-fries. It also easily blends into smoothies and other blended beverages.
Plants take 50 to 60 days to reach full maturity. This variety is suited for compact plots and containers, with heights ranging from 10 to 24 inches and a spread of 10 to 12 inches.

8. Redbor Kale
Redbor is kale with dark purple to deep burgundy leaves. Although it starts as a more flat leaf, cold weather enhances the leaves' colour, flavour, and curling.
It's a tough plant that can reach a height of 5 feet! Redbor kale is a cross between two varieties of kale.
The flavour of Redbor is mild and cabbage-like. It's purple kale that cooks up nicely. However, it loses part of its colour as it cooks. It adds a splash of colour to green salads.

9. White Russian Kale
Blue-green oak-style leaves with white ribs and gently ruffled margins characterize ‘White Russian.' A light frost increases its sweetness, and it is particularly cold-tolerant.
Allow the tender young leaves to mature before using them in slow-cooked soups, stews, and simmering sides, or pluck tender young leaves for fresh baby greens.
In around 50 days, the plants will attain a height of 24 to 36 inches and a width of 12 to 24 inches.

10. Red Russian Kale
Red Russian kale is appreciated for its delicacy, even as a newborn kale leaf. Red Russian leaves have a ruffled texture, and ruby stems as they mature, reaching heights of 2 to 3 feet. Early harvesting is possible with red kale.
Red kale comes in a variety of heritage varieties. ‘Red Ursa,' a bolt-resistant cultivar, and ‘Winter Red,' a variation with red and purple veins that become green when cooked, are popular cultivars.
Even when mature, the leaves of Red Russian kale remain soft and have a sweet, somewhat peppery flavour.
They're perfect for snacking or adding a sweet and mild flavour to salads. Many gardeners plant them for the tender young greens that they produce.

11. Red Winter Kale
This variety has ruffled oak-shaped leaves with purple veining, similar to ‘Red Russian.'
This cultivar is particularly soft and delicious when the leaves are young and mature, rather than slow-cooking the larger leaves to tenderize them.
In 50 days, ‘Red Winter' will reach a height of 24 inches and a width of 18 inches, making it perfect for container gardening.

12. Scarlet
The Scarlet Kales leaves have a rich purple colour and are quite curled in form so that you won't miss this kale type growing in your yard.
Raw eating is favoured, especially in different salads, because the stiff and crunchy leaves don't perform well when cooked.
Scarlett Kale matures at a slower rate of 60 days, but this is necessary to achieve the deepest scarlet colour of all the kale kinds and a sweeter and lighter flavour than their green-coloured siblings.
They are, however, resistant to freezing temperatures, so there is no need to be concerned about frost damaging them. Scarlet kale thrives when grown alongside herbs like thyme, sage, and mint.

13. Tronchuda Beira Hybrid Kale
This uncommon cultivar resembles a loose head of cabbage or collard greens, with flat, blue-green leaves with prominent white ribs.
At maturity, it can weigh anywhere from five to seven pounds. The leaves can grow up to 24 inches broad and are soft and tasty despite their size.
This is ideal for hearty soups like Portuguese caldo verde and Spanish caldo gallego.
The heat tolerance of ‘Tronchuda Beira' is well known and performs well in low climates.
It will take 85 days for the plant to mature. Plants reach a height and width of around 24 inches.

14. Blue Scots Curled Kale
The heirloom, ‘Blue Scots Curled,' is blue-green with tight, curly leaves that can tolerate a light frost and taste even sweeter. It can endure slight shade and thrives in both heat and cold.
Look forward to a plentiful crop of young greens for salads, raw leaves in a blended drink, or slow-cooking them in a stew for a healthy dose of green veggie nutrients.
During the Great Depression, this species was developed at the Virginia Truck Experiment Station, an agricultural research organization.
Plants 12 to 16 inches tall and 24 inches wide should be ready to harvest in 55 to 65 days.
Steps OF Growing Kale In Containers
Step 1: Planting Time
Kale is a cool-weather crop that can resist temperatures as low as 20°F (-5°C).
Plant in the early spring if you live in a chilly climate. Fall is the greatest time to visit if you live in a mild winter zone. Late summer is the best time to plant in warm climates.
Planting kale seeds is a fairly simple process. Sow seeds are half an inch deep and 3-4 inches apart. Kale pairs well with potatoes, celery, onions, beets, and herbs, to name a few.
Step 2: Choosing The Right Container
A container of 8-12 inches will suffice for one plant per pot. Drainage holes must be present. If you're growing kale with herbs or many plants, go for a 22-24-inch pot.

Step 3: Potting Soil
Kale is a simple vegetable that doesn't require a lot of nutrients. You can use any store-bought mix.
Mix one part compost, one part coir or peat, and one part perlite or composted bark together for a DIY mix.
Add a small amount of slow-release fertilizer or a similar supplement. If you're using a ready-made mix, add some extra drainage material like perlite or decomposed bark.
Kale is resistant to the common Brassica pests, and a well-draining potting mix will help keep pests at bay.
Make sure your mixture has a pH that is close to neutral. Acidic circumstances are not good for kale. If you're using peat, add a tablespoon of lime.

Step 4: Select The Best Location
When growing kale in a container, you have complete control over where the pot is. That means you can choose a location in your yard that is ideal for growing kale, even if the soil isn't ideal.
According to Cornell University, kale requires full light throughout the year's cooler months but can benefit from some shade in the summer.
If you're growing kale in a container, set it out in the spring in a bright, sunny spot in your yard or patio. When the summer heat sets in, you can relocate the area to a cooler, more shady site.
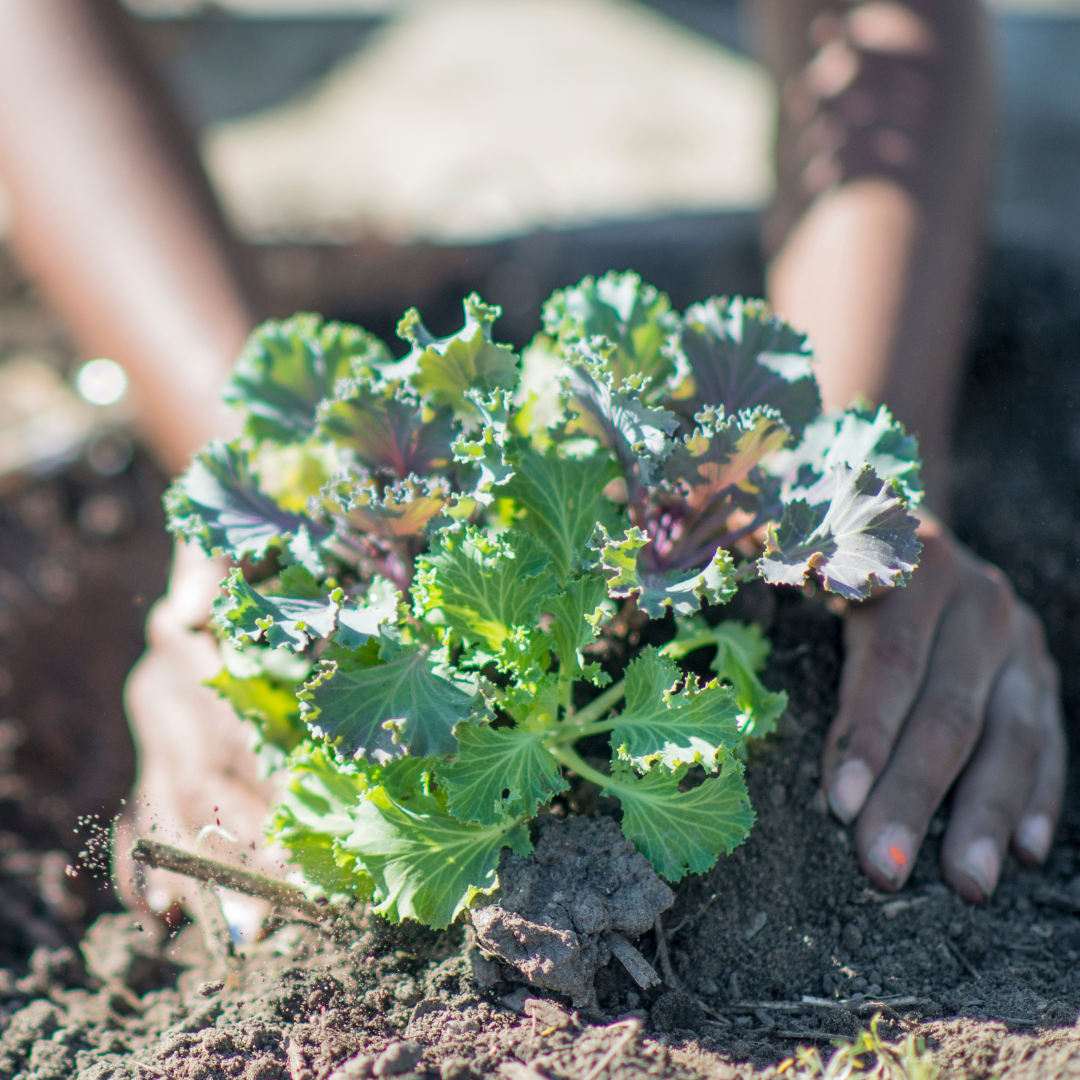
Step 5: Planting And Sowing
Kale grows well in the shade. Sunnier is always preferable, but if you don't have the space or your location is shady, don't sweat it.
Because kale is planted later in the year, you can start the seeds indoors and plant them out after harvesting some of your earlier crops (about July). Doing so will allow you to take advantage of what would otherwise be wasted space.
If you start in plugs and transplant, wait until the seedlings are around 5 inches (10cm) tall before doing so.
Slugs and birds will be kept at bay if you do so. Sow two or three seeds per plug and trim them out once they've sprouted.

Step 6: Watering
Keeping the plant well-watered is critical if you want soft, delicious leaves. Mulching also aids in moisture retention and keeps the plant cool.
Step 7: Fertilizer
Feed the plant a continuous-release food regularly, following the dosage and intervals specified on the label. Alternatively, every 5-6 weeks, side-dress plants with seasoned compost.
Step 8: Harvesting
Kale is a versatile vegetable that may be consumed at any growth stage, from baby leaf crops in the summer to full maturity in the fall and winter.
I enjoy eating the little seedlings, picking a few individual leaves from the plant as it matures, and adding them to a stir-fry or soup.
Even if you harvest the plant's crown, side shoots will continue growing. Once the first frosts arrive, the kale's flavour improves as the cold releases natural sugars in the leaves.

Pests & Diseases Of Kale
Kale is a relatively trouble-free plant, with most problems stemming from improper management.
As a Brassica, it's frequently attacked by the same pests that attack cabbage, cauliflower, Brussels sprouts, and other Brassicas.
As I previously stated, kale is probably the least likely to be attacked by pests, but there are a few things to keep an eye on when Growing Kale in Containers.
1. Cabbage Worms/Caterpillars
These wretched creatures are green, translucent caterpillars that eat your delicate leaves. Look for little openings in the leaves.
Check the undersides of leaves for eggs and scrape them off (it's not a big chore if you don't have a lot of room). Spray with a homemade insecticide to get rid of them.
2. Aphids Are A Type Of Aphid
Aphids, whether black, green, or white, can be a problem, particularly during hot weather. The best treatment for small colonies on the undersides of leaves is a natural pesticide.
The flea beetle is a type of beetle that feeds on fleas- Flea beetles can be a real pain in the neck. Examine the leaves for any holes (as with cabbage worms). If there is any damage, use an insecticide to treat it.
3. Birds
Birds are mostly an issue for young plants. Feeding by planting seeds indoors is a good way to avoid this problem.
4. Powdery Mildew
Powdery mildew is more likely to appear in moist, warm(ish) weather. Because kale is grown during the rainy season, it can be a problem sometimes, especially if moisture is present in an urban microclimate in early spring.
Watch for a minor yellowing of the leaves and a white hairy fungus. Preventing disease by starting seeds inside is a smart idea.
Conclusion
Do you have any questions about Growing Kale in Containers? Leave any questions or opinions in the comments section below.
And if you enjoyed reading about growing kale in containers, check out our other vegetable growing and care guides.
I trust you enjoyed this article on the 8 Easy Steps To Growing Kale In Containers. Please stay tuned for more blog posts to come shortly. Take care!
JeannetteZ
>>>Please click here to read my all-inclusive article about Container Gardening<<<
Are you interested in homegrown herbs and medicine? Please click here to find out more about it!
Your Opinion Is Important To Me
Thoughts? Ideas? Questions? I would love to hear from you. Please leave me your questions, experience, and remarks about this article on the 8 Easy Steps To Growing Kale In Containers in the comments section below. You can also reach me by email at Jeannette@Close-To-Nature.org.
Disclosure
This post may contain affiliate links. I earn from qualifying purchases as an Amazon Associate and other affiliate programs. Please read my full affiliate disclosure.
You might also enjoy these blog posts:
9 Easy Steps To Growing Lettuce In Containers
How To Grow Carrots In Containers
Top Reasons Why You Need A Dog In Your Life
9 Secret Techniques To Growing A Cherry Tree In Container
9 Steps To Growing Cantaloupe In Containers