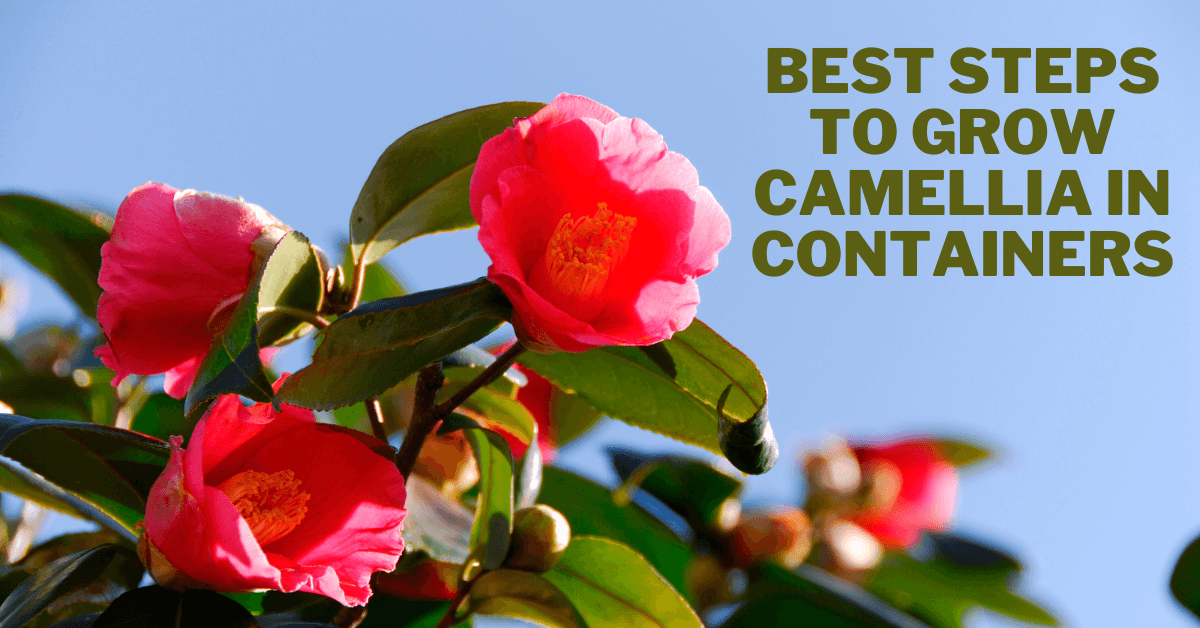
Best Steps To Grow Camellia In Containers
Best Steps To Grow Camellia In Containers
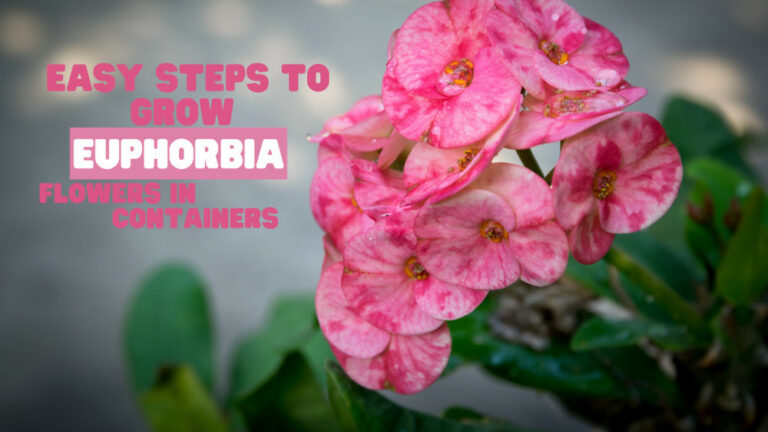
Do you want to know how to cultivate Camellias in Containers? Beautiful evergreen bushes Camellia Sinensis and Camellia japonica typically bloom in the fall and winter.
These unusual cold-weather bloomers bring beauty to a frequently desolate and lifeless terrain. You can choose from pink, red, white, and bicolour variations. Make your winter landscape more colourful.
History & Origin Of Camellia
About 5,000 years have passed since the first indications of camellia use and cultivation in China. Most were Thea, a camellia type (Thea Sinensis or Camellia sinensis).
Growing camellias have a long history in China and Japan, mainly to make tea (C. sinensis) or oil (C. oleifera).
In China, tea has a long history and was famous long before our time. In Japan, tea is a way of life that was first made famous by decorative items.
But it is also an economic reality, much like in China. There was also oil and tea production. The name “Camellia” comes from a posthumous honour given to George Joseph Kamel (1661–1706), an apothecary and botanist in Jesuit institutions, by Karl Linnaeus, a Swedish botanist and taxonomist.
It is rumoured—but unconfirmed—that Portugal in the 16th century was where the first camellia was introduced to Europe.
Camellia's history in Europe started in England. Even if the overall situation wasn't good. At least, in the beginning, it was grown in greenhouses.
The English travelled, prospected, and returned with a variety of plants. Thus, in the early 18th century, the first camellias were introduced to England.
Thea Chinensis is the name of a plant with a red blossom described by James Petiver, an apothecary, in 1702.
The English were looking for the tea plant. The multiplication of these plants to produce “tea” did not produce the intended results, even if Cunningham, a surgeon and botanist, brought back C. sinensis and C. fraterna.
In addition, it is alleged that the British were mistreated and given decorative shrubs instead of tea plants. It was unquestionably the botanical species C. japonica (picture on the right).
It is commonly accepted that a boat owned by the East India Company carried the Camellia japonica to London. The East India Company shipped tea from China to Europe using its ships.
Chinese officials transported Camellia japonica plants instead of tea plants when they were trying to transport tea plants to England for propagation, either accidentally or by design.
Before 1739, the first japonica flourished in Lord Petre's greenhouse in England. Since then, many variations of this decorative camellia have been named, making it the most well-known.
Linnaeus named the Camellia in honour of Joseph Kamel, a Jesuit missionary stationed in the Philippines.
Though this is not fully known, he likely never saw any plants. Only a few of the 200 or so species of camellia that are currently known are produced in the US for decorative purposes.

Types Of Camellia
Although native to eastern and southern Asia, camellia is now grown worldwide for its stunning blooms.
There is debate over the exact number of species because experts estimate there to be between 100 and 300 types of camellias.
Fortunately, this means that you have more choices to think about when you want to grow Camellia in containers.
")
1. Anticipation (Camellia x williamsii)
This flower has rich rose-pink petals and can occasionally resemble a carnation. It can grow up to 15 feet tall and is highly distinctive.
The Anticipation is a multiple-award-winning international flower with glossy, dark-green leaves that look lovely all year.
Depending on where you live, the flower blooms for four months, beginning in either March or October.
")
2. Australis (Camellia japonica)
The Australis features dark green leaves that look nice all year long and flowers that are a stunning shade of rose red.
If you prune it after it blooms, it will stay the ideal size. It enjoys full sun and partial shade. The plant is quite simple to cultivate, but you must be careful where you place them because they cannot be in too cold or windy areas.
")
3. Bob Hope (Camellia japonica)
Very huge, bright red, semi-double petals that can measure up to 5 inches in width can be seen on this flower.
The Bob Hope, a multiple international flower award winner that can reach a height of 8 feet, is one of the attractions of your garden when it is in bloom.
They look fantastic in big tubs or containers, and applying root mulch is strongly advised.
")
4. Bonanza (Camellia Sasanqua)
This camellia boasts huge, 4-inch-wide blooms that are bright red, fluted and have a bright-gold stamen. It can reach heights of up to 6 feet.
If the roots are kept healthy and wet, they can extend to a width of up to 8 feet and thrive in either full sun or light shade.
The Bonanza is a gorgeously perfumed Fall flower that blooms in huge tubs and spectacular containers.
")
5. Carter’s Sunburnt (Camellia Japonica)
This variety of camellia has medium-sized petals that can reach a width of 4 inches. Each petal is pale pink with delicate white trim and deeper pink flushes.
Depending on where you reside, they bloom in January or June and can reach heights of 10 feet.
After flowering, the Bonomiana should be clipped to maintain its manageable size and form. It looks beautiful in large pots or tubs.
")
6. Chansonette (Camellia Hiemalis)
The Carter's Sunburnt is a multiple-award-winning international flower with soft-pink petals, hints and lines of raspberry pink all over each petal.
Depending on where you live, the flower blooms in April or November for four months out of the year and makes a lovely specimen plant.
Additionally, it is an eye-catching addition to anyone's garden because it is a bushy plant that grows up to 8 feet tall and 8 feet broad.

Grow Camellia In Containers
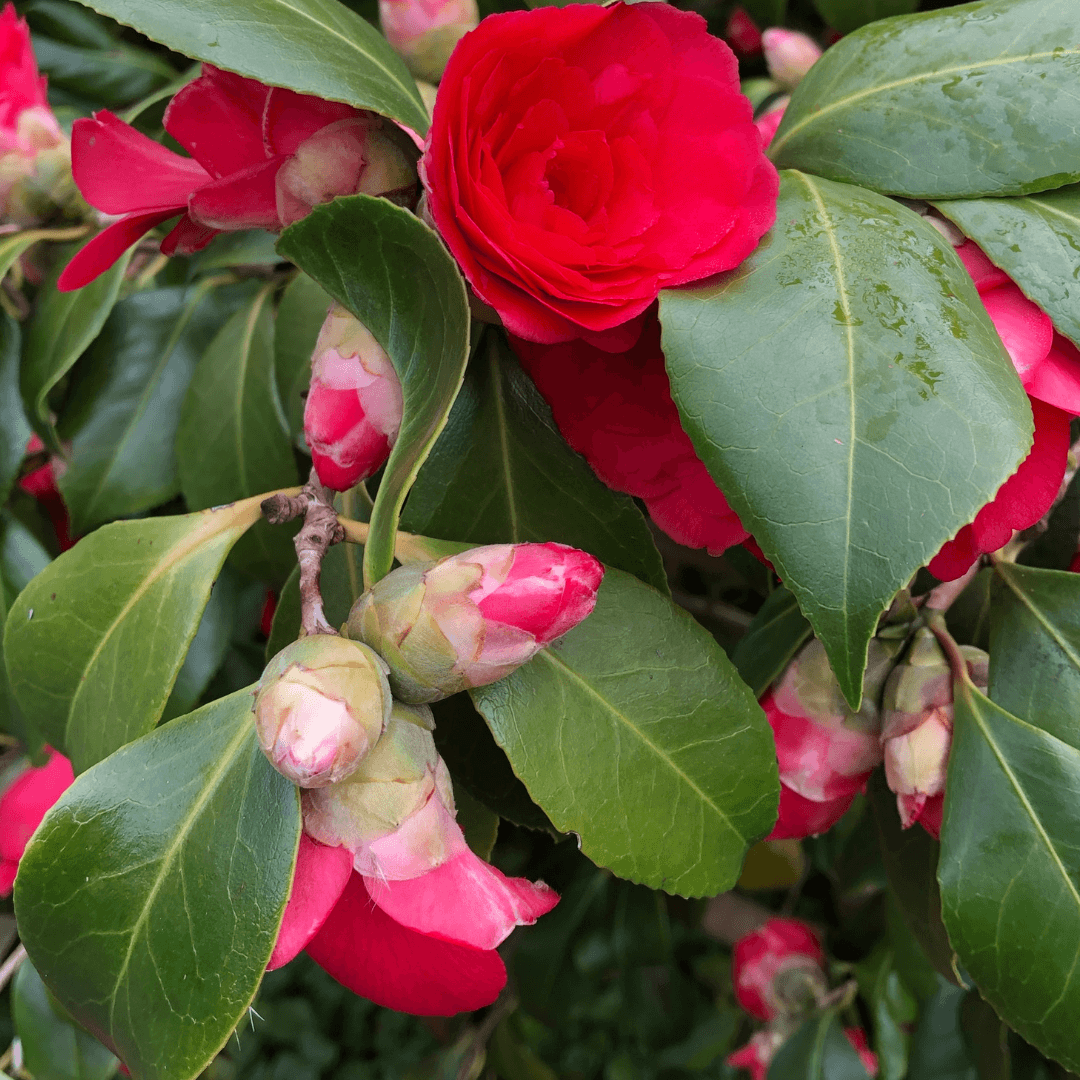
One of the earliest shrubs to blossom in the late winter or early spring is the camellia (Camellia japonica), a flowering shrub with large, splashy flowers.
Camellias can be grown in containers, even though they can be particular about their growing environment.
Cultivating the right environment for this magnificent plant is possible by growing camellias in containers.

Choose The Right Container
The best option is a manageable-sized planter that can be relocated to a safe spot during cold spells. One with drainage holes is essential since good drainage is crucial.
Consider “double planting” if you have a planter that looks wonderful but is poorly constructed or lacks drainage.
Insert your camellia inside the more fashionable planter “cachepot” in a suitable pot with appropriate drainage.
In a container considerably more significant than the root system, moisture will remain in the soil where fungus can grow and cause root rot.
Containers that are too small can frequently tilt over top-heavy plants and cause the soil to shift. Too small containers can cause top-heavy plants to topple over and frequently hasten the soil's evaporation. Plant roots may become entangled in small containers.
The planter you select should allow enough room for the roots to expand, and you should keep an eye out for symptoms that the roots are running out of space, such as leaf loss and poor development, as root-bound plants eventually start to strangulate.

Soil To Grow Camellia In Containers
Acidic soil drains well and is ideal for camellias. For camellias, a pH of 5.5 to 6.5 is optimum. Neutral potting soils are the norm. This indicates that you must use an acidic fertilizer before planting.
Ensure the soil you use for camellias is permeable yet holds onto water and nutrients. Fine potting soils with draining ingredients like pumice or perlite are good options.
These mixtures will keep the water and nutrients while keeping the plant's moisture levels down. Compost should be added when planting. The plant will receive more nutrients as a result.

Location & Sunlight
Container plants thrive in more shaded situations; camellias can take the partial sun to full shade.
Camellia containers may tolerate the morning sun quite fine but require protection from the afternoon sun, especially in warmer climates.
Keep in mind that plants require more water the more sunlight they receive. Use potted camellias to spruce up shady patios or covered porches and entryways.
With these easy methods, you can grow many blossoms to enjoy indoors and in the garden. Cut a few branches to add greenery or flowers to vases, or place a few blooms in a small water bowl to float them. Add a few clippings to your outdoor dining table to tie it to the surrounding landscape.

Fertilizing
Fertilizing is necessary for camellias grown in containers. The simplest method is buying commercial camellia/azalea fertilizer and following the label's instructions.
These products are only permitted from April through September, which is the growing season.
Never feed a dry plant. Exercise caution when fertilizing them, particularly in hot weather (over 90°F).
During the growth season, a cottonseed meal is a well-liked substitute. Being organic has a far lower chance of causing the plant to burn.
One method uses a liquid fertilizer designed for acid-loving plants, which may be sprayed on foliage or applied with a watering can during the growing season. The Miracle-Gro for azalea, camellia, and rhododendrons is the greatest illustration.
Please be aware that Miracle-Gro provides all the iron and trace elements required for healthy camellias and a high quantity of nitrogen (nitrogen 30, phosphate 10, and potassium 10). It works effectively when applied multiple times over two-week intervals.
Use fertilizers in hot weather to avoid burning your camellia plants' leaves—every 45 days for the remainder of the summer growing season.
A 2-10-10 fertilizer is administered throughout the dormant season, which lasts from October through February when buds are growing and blossoms are visible.
Pruning and Maintenance
Regarding maintenance, a terra cotta camellia is comparable to a domestic pet. They will require shelter, food, and water.
They will occasionally require a trim. Long periods of neglect won't be good for them, and if they're not cared for, they'll display specific characteristics like bud drop, poor growth, or disease.

Planting
- Increase soil acidity by adding one to two cups of old coffee grinds.
- Camellias favour rich, aerated soil. Modifying spongy or dense soils, such as those high in clay or peat moss, is necessary, as these substances retain moisture and lack aeration.
- By pressing a handful of moist soil in your hand and watching to see if the handful forms a firm clump, you may determine the consistency of the soil. If so, you can lower the density by adding one part of coarse silica sand to the mixture and thoroughly blending it.
- Perlite can be used in place of sand; however, it is not advised to breathe in the dust when handling perlite.
- Depending on the material it's made of, you might be able to create more drainage holes if the pot you've picked lacks sufficient ones.
- Ceramic pots can be drilled using a drill bit made for concrete, or a wooden planter can be drilled using a wood bit.
- Extra water can be drained away from the roots by adding a two- to three-inch layer of pea gravel to the pot's bottom. Natural aquarium gravel in bags has worked well for me in the past.
- To use a more decorative planter, you can also place the plant within a pot that is the right size and has sufficient drainage, allowing any extra moisture to drain.
- Simply ensure the outer container is waterproof and add a layer of pea gravel to the decorative pot's bottom to allow water to drain correctly.

Potting & Repotting
- Get your camellia ready for planting. Before planting, pinch or clip off the lower third of the tap root if you are working with a seedling or rooted cutting. The tap root is built to extend far into the earth, which is unnecessary in a container.
- When the tap root is pinched, the plant produces additional fibrous roots that branch out rather than delve deeply into the earth. This kind of root structure is considerably better suited for growing in containers.
- If you are starting with a pre-planted or store-bought plant, carefully remove it from its pot and check the root system's condition.
- Before repotting, you should take care of any issues with the roots, such as those that are severely compacted or exhibit rot symptoms like a dark colour, wilting, or slimy mould.
- Healthy roots should be strong, flexible, and wet but not slimy, with a colour ranging from white to brown.
- Before repotting, it's a good idea to check to see if the taproot has been cut back on plants that have already been potted.
- Because it's not ideal for the plant to have its roots exposed for an extended time, put it back in its original container until you're ready to re-pot it.
- After inserting the plant, fill the empty area in the container with dirt. Your hands should be used lightly to seat it, and water should be used to settle it.
- Once your camellia is in its new position, put it somewhere with dappled light or partial shade. When the top three inches of soil feel dry, pay attention to moisture levels and thoroughly soak the area.
Pests & Diseases Of Camellia
Frost or snow damage, especially if followed by the early sun, might result in brown flower buds. You might wrap your plant in fleece if a cold snap is predicted or you live in a frigid region of the nation.
If your plant faces east, you might want to consider transferring it to a garden area that doesn't get early sun.
If camellia flowers do not open, frost damage may be to blame. Morning direct sunlight can also prematurely dry off flower buds that are still developing, drying the outer petals and preventing the blooms from opening.
Camellia flower blight is what causes the brown spots on camellia flower petals. Coborinia camelliae, a fungus, is the culprit.
Blight affects the entire flower, with spots on the petals, and causes it to drop early, even though the consequences are comparable to frost damage.
Since no chemical cure exists, remove any harmed blossoms immediately and clean up dead leaves and other debris from the plant's base.
Do not put them in the compost pile; instead, dispose of or burn them to stop additional contamination.
Like limpets, leaf scale insects that adhere to the undersides of the leaves, name the sooty mould on the leaves surface.
To remove the mould and insects, use a gentle washing solution designed especially for plants.

Conclusion
The oil from tea leaves is called camellia Sinensis leaf extract. It is abundant in bioactive substances like caffeine, L-theanine, and catechins, and studies have linked it to various advantageous effects.
Additionally, it might strengthen your immune system, lessen stress and anxiety, and encourage weight loss.
On the other hand, it could occasionally cause harmful side effects like liver toxicity, jitteriness, nausea, and skin rashes.
I trust you enjoyed this article on the Best Steps To Grow Camellia In Containers. Please stay tuned for more blog posts to come shortly. Take care!
JeannetteZ
>>>Please click here to read my all-inclusive article about Container Gardening<<<
>>>Are you interested in homegrown herbs and medicine? Please click here to find out more about it!<<<
Your Opinion Is Important To Me
Thoughts? Ideas? Questions? I would love to hear from you. Please leave me your questions, experience, and remarks about this article on the Best Steps To Grow Camellia In Containers in the comments section below. You can also reach me by email at Jeannette@Close-To-Nature.org.
Disclosure
This post may contain affiliate links. As an Amazon Associate and other affiliate programs, I earn from qualifying purchases at no extra cost to you. Read my full affiliate disclosure.
You might also enjoy these blog posts:
Best Steps To Grow Gayfeather In Containers
Best Steps To Grow Yarrow In Containers
Best Steps To Grow Conebushes In Containers
Best Steps To Grow Curry Plants In Containers
Best Steps To Grow Viola In Containers