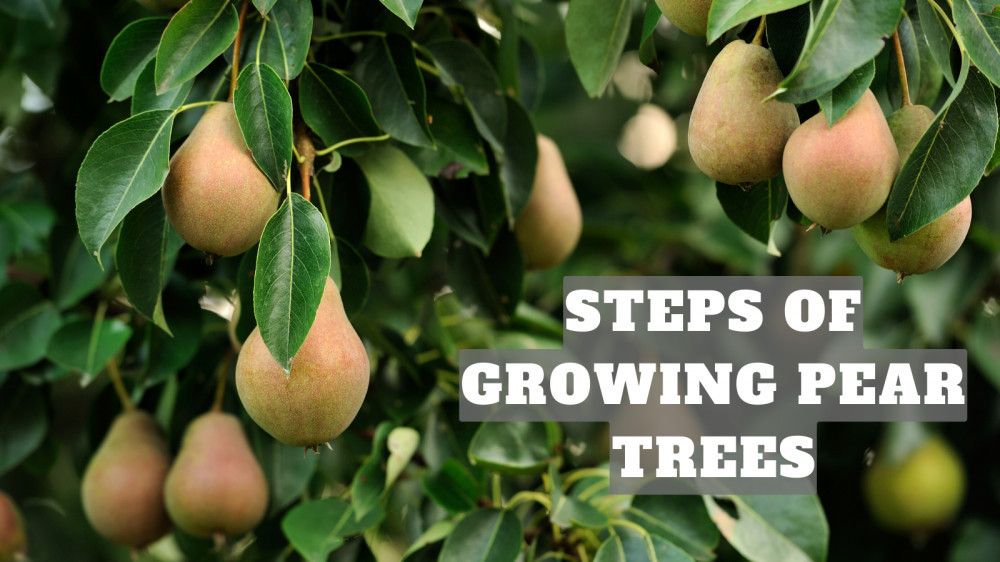
Best Steps Of Growing Pear Trees
Best Steps Of Growing Pear Trees
Pears are a famous fruit tree for the home garden because they require little care, have lovely flowers, and can be trained to grow in a small space.
Pear trees are just as hardy as apple trees (USDA hardiness zones 3 through 10) and are resistant to pests and diseases. My tips for growing pear trees in your home garden will help you. So stay connected…
History & Origin Of Pear Trees
China, Europe, and the United States primarily produce common pears. This variety of fruit is the world's fifth most popular.
And these are antique fruits. According to a 2018 study published in the journal Genome Biology, the Pyrus genus' early plant ancestors most likely emerged 65 to 55 million years ago in the mountains of southwestern China.
They are one of the oldest fruits cultivated by humanity, with evidence of their cultivation in China extending back at least 5,000 years.
For approximately 3,000 years, European pears have been farmed on their namesake continent. Around 300 BC, the first specific European cultivars were named.
From a mention in Homer's “Odyssey,” published around 750 BC, to the still lifes so beloved by Medieval artists, they have inspired artistic devotion.
The Greek poet Homer characterized pears as “pear upon pear waxing ripe” and referred to them as one of the “beautiful gifts of the gods.”
With the arrival of Europeans, the species made its way to the Americas, and large-scale commercial cultivation was once famous across the country.
Crop blights, notably fire blight in the humid South, have made commercial cultivation impossible in many parts of the United States.
Most of the expected pear production in the United States is cultivated in California, Oregon, and Washington, with the remainder in Michigan, New York, and Pennsylvania.
Cultivars brought west in covered wagons in the 1800s thrived in the drier and more hospitable growing conditions of the Pacific Northwest.
Improved irrigation systems, initially established in the early twentieth century, boosted commercial production.
Modern production in the United States is concentrated in Washington and California, where cultivars like ‘Bartlett' and ‘Bosc' are cultivated.
Those cultivated in Oregon are also popular, with many produced by specialty orchards maintained by single families for centuries.
Types Of Pear Trees
There are over 2,000 types of pears, and it is impossible to list them all. It is available in regular, semi-midget, and dwarf sizes.
Its dwarf varieties are ideal for growing in pots. There are both fruitful and non-fruitful trees among their different types.
You must find the best types for growing pear trees in your garden. Fruit trees are classified into three types: European, Asian, and Hybrid.
European Pears
These are the types most commonly seen in supermarkets. They are delicious but susceptible to disease.
They have an upright growing tendency, making your garden look nice. This primarily contains Barlett, Bose, Colette, Anjou, Moonglo, and Sunrise.

Asian Pears
Asian pears have harder meat and differ in size from European pears. It's also referred to as a Chinese pear or apple pear.
Its variants can grow to be 15 feet long, most of which are somewhat self-fertile. Olympic, Peggy, Moonglow, Hosui, and Maxie are among these varieties.

Hybrid Pears
Hybrid pears are a cross between European and Asian pears, and they are excellent for preserving and cooking since they are more challenging. It mainly consists of Kiffer, Comice, Orient, and Seckel types.
Steps Of Growing Pear Trees

Choose The Right Location
Pear trees require full sun to yield tasty fruit, so choose a location that receives at least six hours of sunlight daily.
They appreciate well-draining soil rich in organic matter but avoid nitrogen-heavy fertilizers; pear trees exposed to too much nitrogen are more susceptible to a disease known as fire blight.
Because very few pear tree varieties are self-pollinating, you'll need to plant at least two trees for cross-pollination to get any fruit at all, so choose a location with enough space for at least two mature trees.
Standard-size trees require at least twenty feet, semi-dwarf varieties require at least twelve feet, and dwarf pear trees require at least eight feet.
Soil
For growing pear trees, you should be conscious of soil. These fruit trees can tolerate damp soil, but the soil should drain effectively for best growth. The pH level should be between 6.0 and 8.0.

Planting
You don't need to do anything to prepare a pear sapling that's been planted in a container or ball-and-burlap (meaning its roots are wrapped in burlap for safe transit).
If you're planting a bare-root pear tree, immerse the roots in a pail of water for up to six hours to ensure they're well-watered.
- The planting hole should be four to six inches bigger and more profound than the root ball of your pear sapling; you don't want any of the roots to bend back on themselves when you put the tree in.
- The surface line of the hole should be parallel to the soil line on the trunk. If your sapling is a grafted tree, check the graft union visible from the ground. If your sapling is a ball-and-burlap tree, place it in the hole while the burlap is still wrapped around it to keep the rootstock firm, then tear the burlap along the sides of the hole and lift the tree to remove all of the wrappings. Gently spread and place the roots without bending too much to encourage them to develop from the tree.
- Soil and compost should be used to fill the hole. As you fill the trunk, gently shake it back and forth to help the soil get into the root system. Once the hole has been filled, firm the soil in with the toe of your shoe to provide a strong foundation for the tree that is free of air pockets. Add a top layer of mulch around the tree to keep moisture in and weeds out, but do not touch the trunk since it could cause the wood to rot.
Fertilize
Pear trees thrive when fertilized once a year, in early spring. Because pear trees are susceptible to disease if given too much nitrogen, avoid using nitrogen-rich fertilizers.
If you're unsure how much fertilizer to use, start with a small amount and allow your tree to tell you what it needs—if the leaves turn yellow throughout the summer, use more fertilizer the following year.

Watering
The tree is considered newly established during the first year and must be hydrated. Water twice a week on light/sandy soil but once a week on clay soil. When watering your tree, make sure to hydrate the root system thoroughly.
Whether you have a sophisticated automatic irrigation system or simply a watering can or bucket, it is best to water regularly and let the soil dry between waterings.
Fruit trees do not expect to flourish on soil that is always damp. Overwatering can be just as damaging as underwatering. Always consider rainwater while watering your tree by hand or with irrigation.
Once established, the tree should receive at least one inch of water weekly. After the first year, you won't need to be as watchful because the tree's root system will have developed.
Generally, fruit trees require the most water shortly before, during, and after the blossom season (about 6 weeks total) and during harvest.
Water regularly, particularly during dry seasons. If not well irrigated during the dry time, a lack of rain/water might cause fruit to drop prematurely.
Pruning
The natural tendency of the pear tree is to grow upright, forming narrow V's that break under large fruit loads. Training your tree to have an open center habit from the start is critical to avoid this.
When planting, choose 3-4 scaffold branches evenly distributed around the trunk and remove any other components flush with the trunk.
Remove any branches that are less than 18 inches (45.5 cm) from the ground and have crotches that are less than 60 degrees if your new tree has a lot of them.
The interior of the tree must have adequate air circulation. Thinning out crossing limbs should be done for five years to train the tree to grow higher and outward.
The main stem of a young pear tree should always be taller than the surrounding branches as it matures.
Peartree branches naturally grow upright, but the branches spread as the tree bears fruit. The fruit's weight pulls the branch downward into a more horizontal position. You can aid this process by drawing the branch down and twine-tying it to a stake in the ground.
To avoid harm, wrap the twine around the branch. Cut it off if you can't get an angle of at least 60 degrees between the branch and the tree's trunk.
Once your tree has matured, it should only be pruned during the dormant season. Thin the branches and chop back long shoots to keep the tree shape.
Take out the water sprouts (suckers). If the tree is not pruned, it will become bushy and lack energy, producing little fruit and inferior pears.
Remove any dead, damaged, or diseased branches while pruning. Mould trees back and hold cuttings to maintain height for easy plucking.

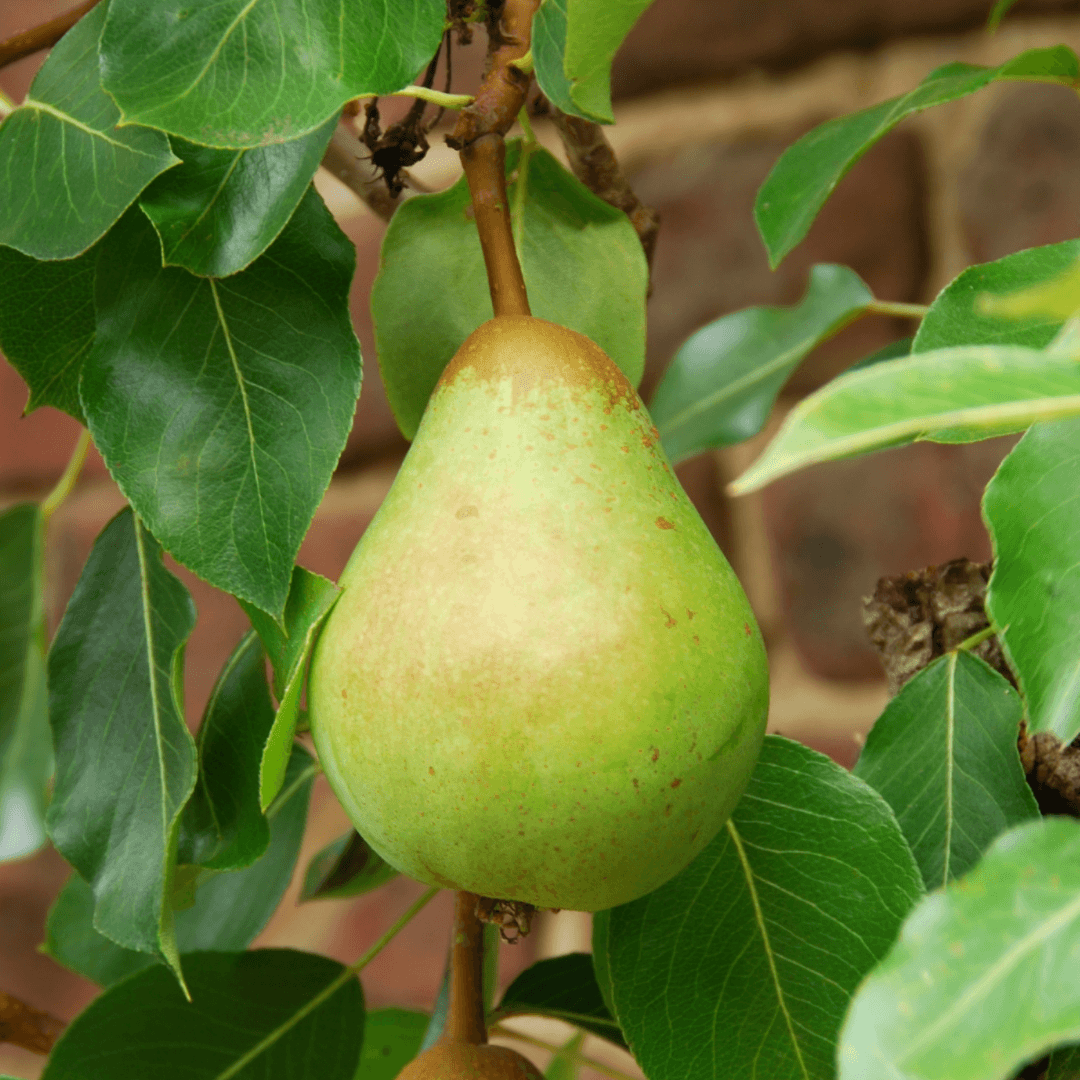
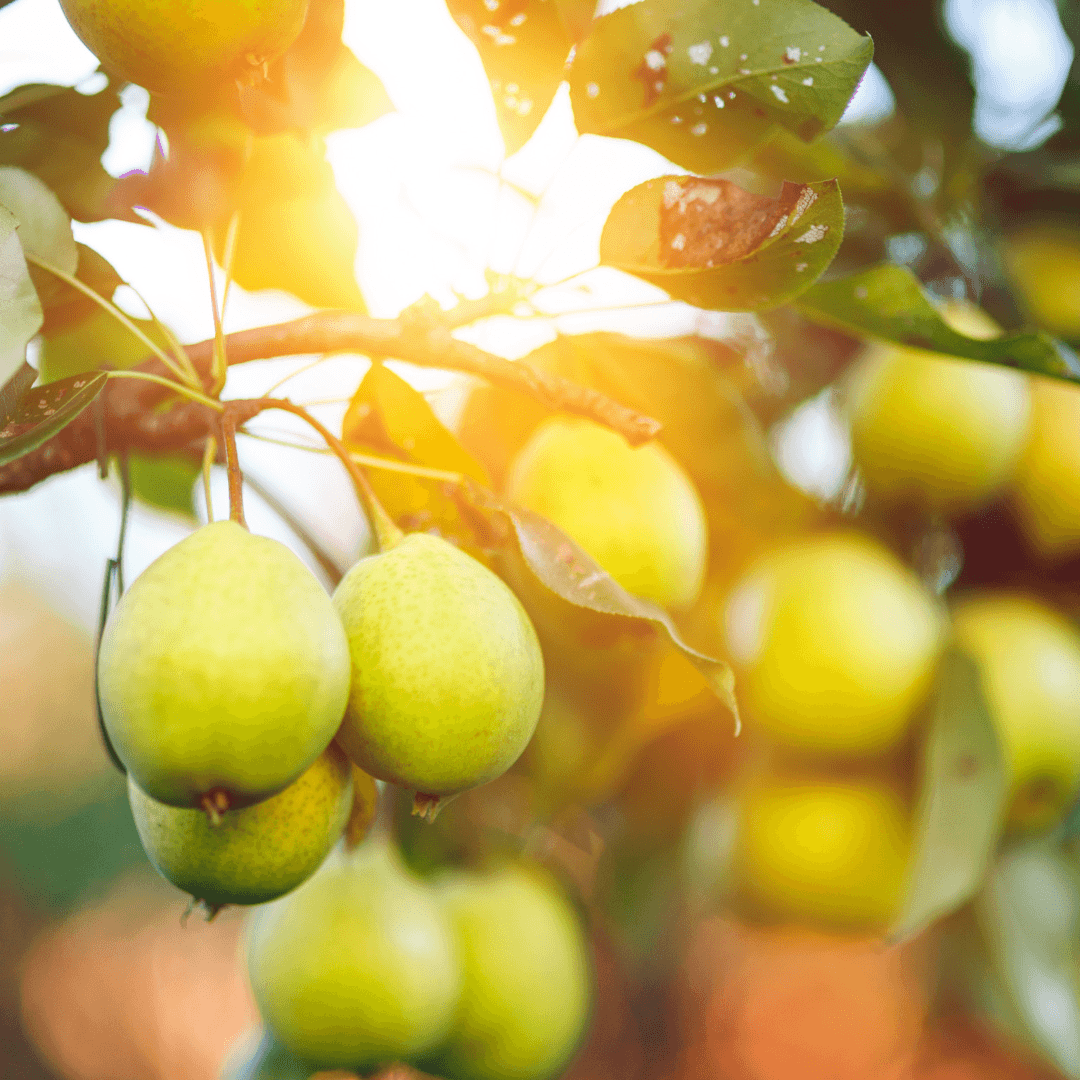
Harvesting
The pear is one of the best summer fruits. These pomes are among the few fruits that taste best when collected before they are fully ripe.
Harvesting times for pears will vary depending on the variety. Early variations mature up to a month earlier than late-blooming cultivars. The best way to detect if a pear is ready to pick is to hold it in your hand and tilt it horizontally.
The whole fruit will readily separate from the branch (instead of its natural vertical hanging position). It will cling to the branch if it is not ready for picking.
After being harvested, most pears will take about a week to ripen at room temperature (65-72°F). If you put the fruit in a paper bag, you can hasten the ripening process and have it ready in days.
You can also keep your picked pears with an apple or a banana, which are more prone to generating ethylene gas, which speeds up the ripening process.
Be aware that ethylene gas may cause your pears to break down faster than expected, starting from the inside out, so it may be best to be patient and let the pears mature independently at room temperature.
Storing the pears at 30° Fahrenheit, you can keep them longer (-1° C). The ripening process is aided by the cold period.
Bartlett pears require only a day or two of chilling, but many other types benefit from two to six weeks. Then, it's time to ripen the fruit forcibly.

Pests & Diseases Of Pears
Compared to apples, Pears are pretty resistant to most pests and illnesses. However, there are a few to keep an eye out for.
Aphids, fruit worms (particularly the codling moth), mites, and scale are just a few insects and pests that can harm pear trees.
Another insect pest, pear psylla (Cacopsylla pyricola), is problematic because it can develop chemical resistance. Mature pear psylla are sap-sucking insects with the appearance of tiny 2-millimetre-long cicadas.
According to Tianna DuPont, Tree Fruit Extension Specialist at Washington State University, they can also transmit a mycoplasma disease organism to the tree, which can cause the tree to deteriorate.
Immature nymphs exude a sugary substance called honeydew onto both leaves and fruit, promoting a fungal growth known as sooty mould.
This renders the fruit unappealing at best and inedible at worst, impeding the tree's development and yield.
One method is to control pear psylla with predators and parasites like brown lacewings and minute pirate bugs.
Some commercial fruit tree sprays and organic options such as insecticidal soaps and kaolin clay treatment can help reduce an infestation. However, you must be cautious because many pesticides will kill beneficial insects.
If you must apply a chemical spray, do so just before the tree blooms. Adults begin producing eggs as pear buds begin to grow, so spraying before laying will maximize the benefit of chemical sprays. Before the pear tree blossoms, this should be done at least once, ideally twice.
You'll also need to keep an eye out for larger pests. When food is short, members of the animal world will occasionally enjoy looting the sweet crop or nibbling the bark from the trunks.
Deer consume the fruit, while rabbits and voles wrap the trunks and harm the seedlings by chewing the bark and young shoots.
Most of this damage can be avoided using tree guards or tree wrap in the late fall. If you have voles, ensure any barriers extend six to ten inches into the earth to prevent them from burrowing beneath them.
European pears are praised for being more accessible to grow than apples, but they are susceptible to a few illnesses. Many are trivial, but a few are more significant.
Here are a few to keep an eye out for:
The most serious is fire blight caused by the Erwinia amylovora bacteria. This illness makes commercial European pear production impossible in the southern United States and other hot, humid environments.
Only members of the rose family are susceptible to this disease. It is abrasive and causes unsightly damage. It spends the winter in cankers produced on dead wood.
When the weather warms, the flowers begin to bloom, wreaking havoc. The initial sign of fire blight is unusual: it causes the flowers to seem water-soaked.
Soon, the bacteria works its way down the branches. Tissues infected with fire blight wither and die so quickly that you may not notice what happened to your once-healthy sapling.
There's an icky, black, damp patch beneath the bark of damaged tissue. The identical spots will exude a pale fluid when they are humid or wet.
As it dries, it turns a reddish-brown colour, similar to blood. So, no, it's not that appealing. The best line of defence against fire blight begins with the variety you choose to grow.
Many hybrids are relatively resistant to fire blight, with ‘Kieffer' standing out as the standout, which is why it's so popular in the South.
If you live in a hot and humid climate, you may want to consider moving from European cultivars to more fire-blight-resistant Asian pears.
When flowers bloom, you can also begin a spray program with a product containing Streptomyces lydicus, a helpful bacteria. Apply the solution every five to seven days until the end of the summer.
However, if you notice a moist patch, dark tissue under the bark, and dried red things after a few rainy days, fire blight is the culprit, and you must remove any sick branches.
First, make a solution of one-third cup chlorine bleach (not colorfast) and four cups water. Keep it on hand to soak your shears or clippers between cuts and after the job is over.
Begin each cut around eight inches below where sick tissue was discovered. The fragments you sever must be burned.
Or, if that’s not possible in your location, you’ll need to dispose of them in a sealed trash bag with the household waste.
If the leaves are blackened and dry, but the tissue beneath the unsightly bark area is still green or dry brown, your tree has another problem, such as a nutrient imbalance or drought stress.
Conclusion
One of life's pleasures is biting into a juicy pear. Pears are often easier to grow than apples since they have fewer pest and disease problems. They are very easy to fit into small yard spaces!
I trust you enjoyed this article on the Best Steps Of Growing Pear Trees. Please stay tuned for more blog posts to come shortly. Take care!
JeannetteZ
>>>Please click here to read my all-inclusive article about Container Gardening<<<
>>>Are you interested in homegrown herbs and medicine? Please click here to find out more about it!<<<

Your Opinion Is Important To Me
Thoughts? Ideas? Questions? I would love to hear from you. Please leave me your questions, experiences, and remarks about this article on the best steps of growing pear trees in the comments section below. You can also reach me by email at Jeannette@Close-To-Nature.org.
Disclosure
This post may contain affiliate links. I earn from qualifying purchases as an Amazon Associate and other affiliate programs. Please read my full affiliate disclosure.
You might also enjoy these blog posts:
Simple Guide To Growing Apricot Trees In Pots
Super Easy Ways Of Growing Lychee Trees In Pots
Easy Ways To Grow Mango Trees In Containers
11 Simple Ways To Use Avocado In Your Daily Meal
12 Easy Steps Of Growing Avocado Trees In Containers