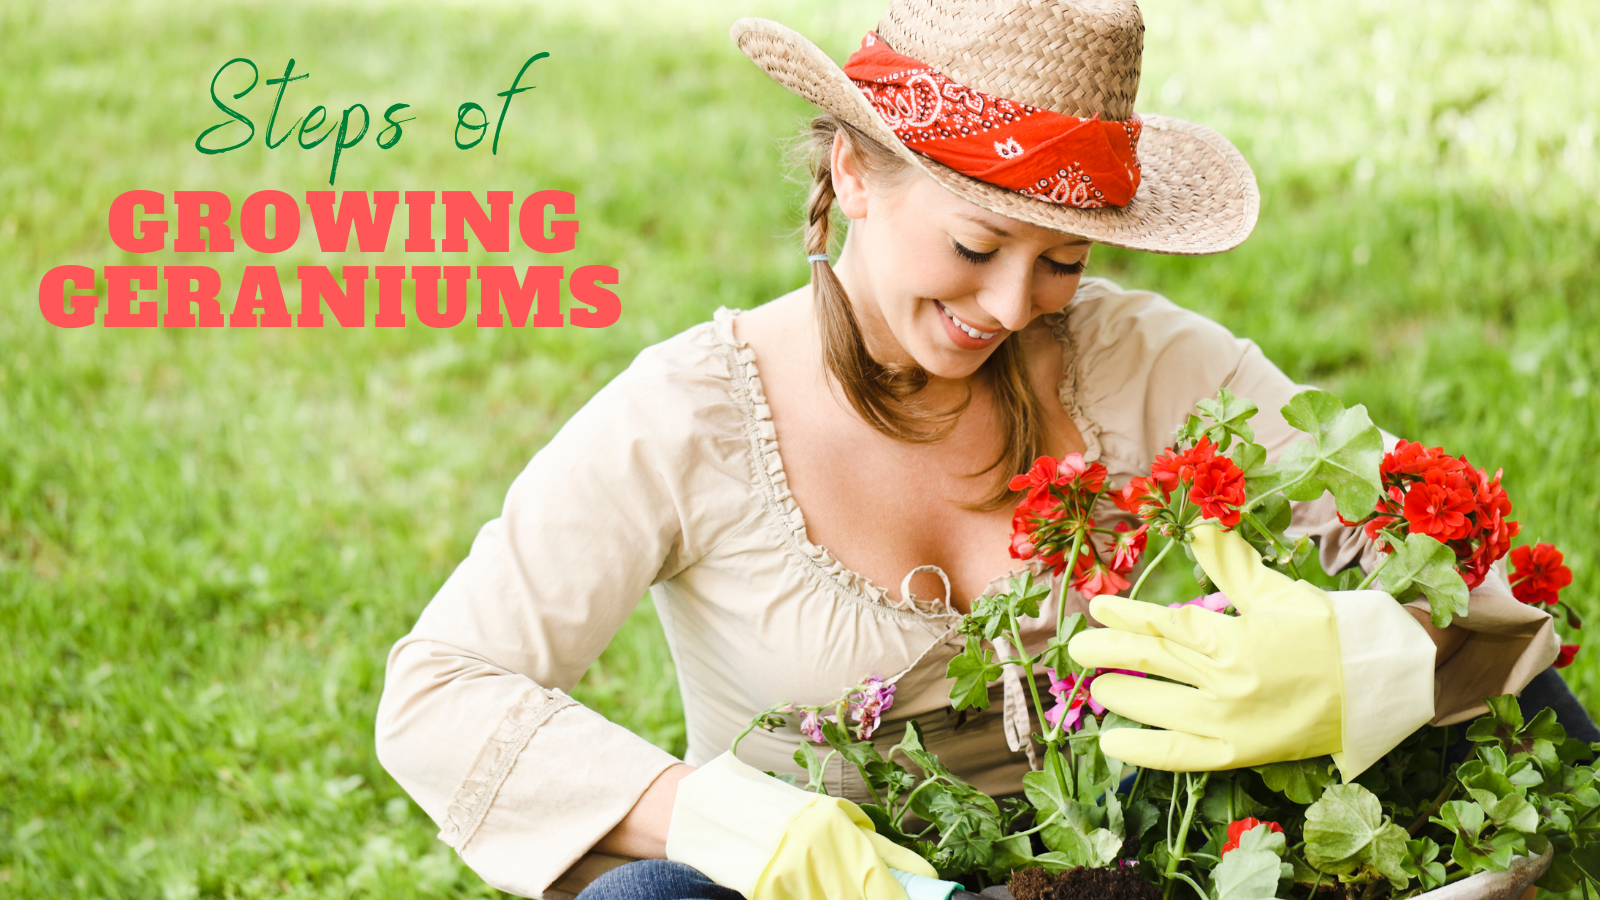
Top 8 Common Steps Of Growing Geraniums
Top 8 Common Steps Of Growing Geraniums
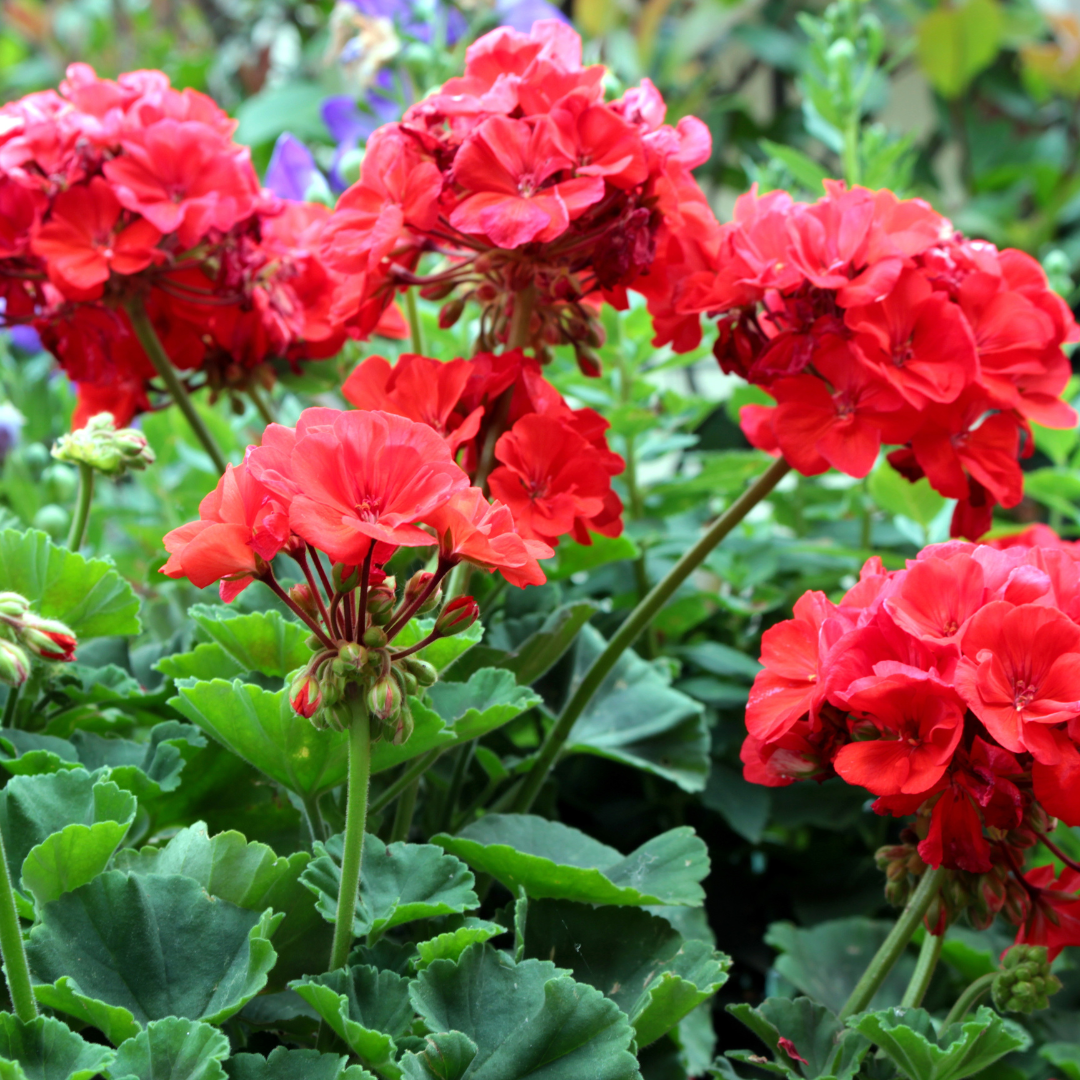
Geraniums (also known as pelargoniums) are attractive summer bedding plants that provide a flash of colour and smell.
They're easy to grow and do well in clay pots and classic bedding arrangements. They look great when planted alone or with other plants. Some geranium varieties are ideal for growing in hanging baskets.
Some geraniums, known as scented-leaf geraniums, have fragrant leaves and gorgeous blooms. Apple, orange, lemon, spice, or lavender are all options.
Because the leaves are edible, they're frequently sold as herbs. Let’s get started growing geraniums in your home garden…
Common Types Of Geraniums
Many plants have been reclassified botanically, but because they are so popular, they often become the representative of an entire genus to which they no longer belong. For growing geraniums in your home, you can find any variety.

1. Zonal Geraniums
The flowers of zonal geraniums (Pelargonium x hortorum) are those upright, colourful balls that sprout from the plant's foliage.
The name is unrelated to growth zones. Instead, it refers to the ring of colour that runs through each leaf.
These bands might be dark green, purple, or red in varied shades. Zonal pelargoniums, also known as common geraniums, can be grown in full sun (at least six hours) to partial shade. Ensure that the soil dries thoroughly between watering.
Zonal geraniums thrive in containers. The flower and foliage stem stand straight rather than cascading, making them ideal for the garden.

2. Ivy Leaf Geraniums
In pots, hanging baskets, or window boxes, ivy leaf geranium types (Pelargonium peltatum) are showy spillers.
Because the plants want to expand outward, they are ideal for filling out any container for a lush summer design.
Ivy geranium flowers trail over the sides of a pot, as do the glossy leaves, which resemble English ivy.
Plants prefer moist soil and direct to indirect sunshine. Ivy pelargonium flowers are similar to zonal variations in that the bloom clusters create a pompom. However, the blossoms on these bushes are spaced a little more apart.
Allow the soil to dry out between waterings. Even though ivy leaf geraniums are self-cleaning, which means they don't need deadheading, you may want to get in there with your garden pruners to keep plants looking fresh.

Scented Leaf Geraniums
Scented pelargonium species come in a wide range of smells, from rose and coconut to the classic citronella.
It's all about the fragrant foliage with these plants—the flowers are smaller and more delicate. Some have fuzzy leaves, whereas others, like ivy, have smooth leaves.
Certain pests, such as bunnies and deer, are repelled by the fragrance of scented geranium leaf. However, the blossoms attract a slew of pollinators.
Plants thrive in pots and in well-draining soil in the garden. Plant them in areas where passers-by can enjoy their fragrance.
Drought tolerance is a feature of scented geraniums. Plant them in full- to partial sun conditions. Overwatering plants can cause the stems to decay.
Plants should be overwintered in a bright, sunny window so that you may enjoy the aromatic leaves.
Allow the plant to slumber in winter by putting it in a cold basement or garage. Plants can be moved back outside once other heat-loving plants, such as tomatoes, have been planted.

Regal Geraniums
Regal geraniums (Pelargonium x domesticum), Martha Washington and fancy leaf geranium, feature beautifully ruffled blooms. Flowers, like pansies, usually have two different hues on their petals.
They don't mind lower temperatures and thrive indoors as a houseplant during winter. They are most commonly found at garden centers in the spring.
Bring the plant outside after the weather warms up, and the threat of frost has passed. Gradually introduce the plant to outdoor temperatures to avoid being frightened by the light.
Also, if there is a sudden frost warning in the late spring, bring it in. In scorching summer temperatures, the plant will stop blooming. Throughout the season, deadheads wasted flowers to foster new ones.
Pelargonium Or Geranium? A Case Of Identity Mistaken
The plants we know as “geraniums” were introduced to Europe by Dutch traders in the early 1800s, who carried them from South Africa.
Botanists put these new plants into the same genus because they resembled the hardy wild geraniums already thriving in Europe.
Carl Linnaeus, a Swedish botanist, classified them in the genus Geranium in 1753. When it was determined that these new “geraniums” differed from European geraniums in terms of petal shape, stamen number, and other characteristics, they were categorized as Pelargonium, which means “stork's bill” and refers to the long, sharply pointed shape of its seedpod.
However, the famous word “geranium” has stayed, and we still use “geranium” when we mean “pelargonium.”
8 Steps Of Growing Geraniums
Step 1: Soil Requirements
Loose soil with plenty of organic materials is ideal for geraniums. Incorporate peat, compost, or perlite if your soil is heavy. Manure and vermiculite are not advised.

Step 2: Sunlight Requirements
Allow geraniums to soak up those rays by placing the container on the south side of walls, on patio tabletops, or as an accent in sunny areas of the garden.
Geraniums require between six and eight hours of full sun each day to bloom well, so allow them to soak up those rays by placing the container on the south side of walls, on patio tabletops, or as an accent in sunny areas of the garden.
Don't be alarmed if your plant stops blooming over the summer. Geraniums have the propensity to stop flowering in really hot weather, so if you live in a hot area, move your pot to where it will receive some afternoon shade.

Step 3: Watering
Check the soil frequently for annual geraniums and water when the top inch is dry. Keep them continuously wet during the first growing season.
Perennial geraniums can usually survive on rainfall once planted in extreme droughts during the first growing season.
Step 4: Mulching
After planting, apply a 2- to 3-inch mulch layer around (but not on) the geraniums to help keep the soil moist and control weeds by restricting weed growth and sun exposure.

Step 5: Propagate
Commercial producers employ two propagation methods: seed and cutting.
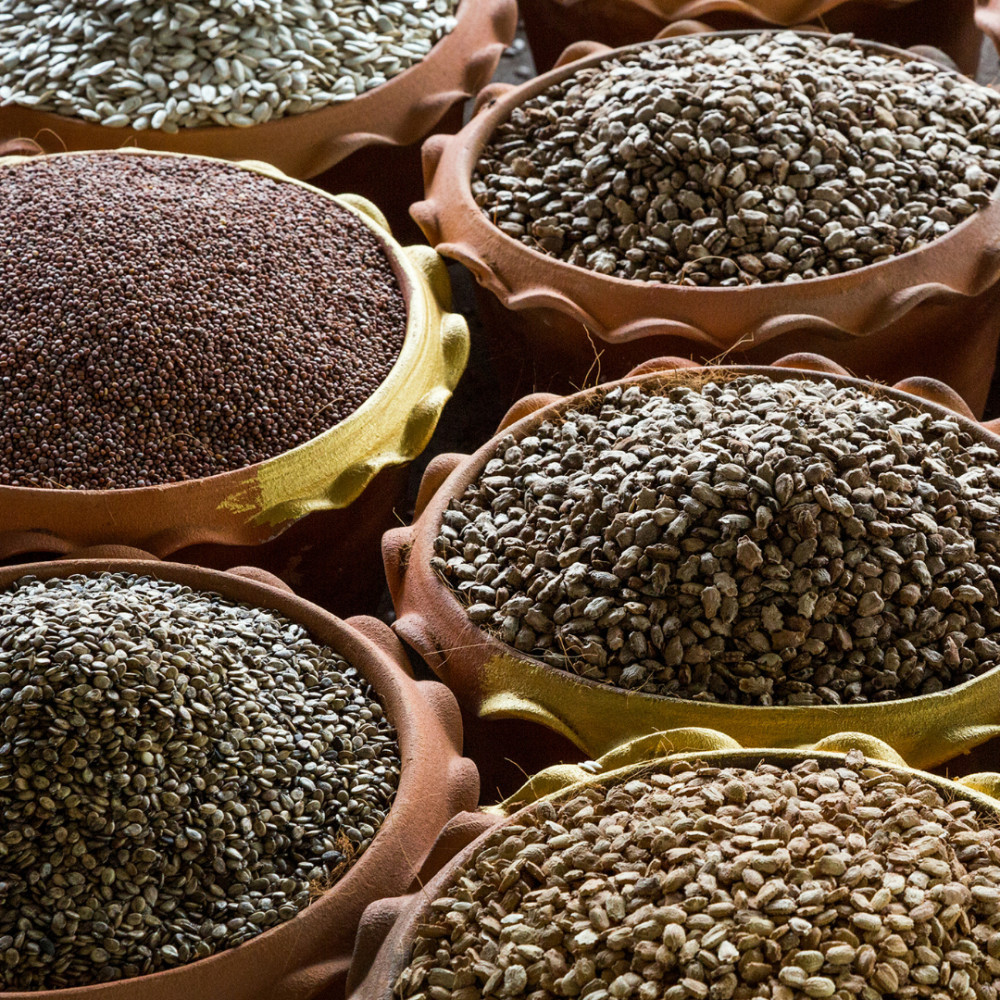
From Seeds
- Seed geraniums are developed from F1 or first-generation action hybrid seeds and be 12 to 18 inches tall. The petals of flowers are arranged in a single row.
- Seed variants are typically seen to be inferior to vegetatively propagated types because they feature smaller flower heads and a single row of petals that may not endure strong winds and rain. There are, however, notable exceptions, as you'll see in the cultivars section below.
- Plant breeders have created “designer cultivars” with semi-double or double rows of petals and heights of up to three feet. Cuttings are used to propagate these, which result in clones of the original plant. These plants, in many circumstances, do not yield viable seeds.
- Geraniums can start from seeds or by cuttings from an existing plant.
- Additionally, you can purchase seedlings or existing plants from your local nursery. These plants will be cultivated from seed or vegetatively propagated.
Let's take a closer look at each way of propagation:
- Purchase F1 seeds from a reputable source to start geraniums from seed. Attempting to save seed from an established plant will result in a second generation that is not true to the parentAcAccordingn and OutreachSeeds should be started indoors in mid-February, the seeds should be started indoors in mid-February to get a head start on the 13 to 15 weeks it takes for the plants to grow and flower.
- In Zones 10 to 11, you can sow seeds outside at any time.
- Sanitary conditions are crucial to avoid damping-off, a fungal disease that causes seedlings to die suddenly.
- Fill the containers to a depth of 1/2 to 1 inch below the rims of the pots.
- Scarify the seeds with an emery board to break the seed coats before sowing. In bigger containers, space seeds two to three inches apart or one seed per cell, and cover them with ¼ inch of potting media. Cover them with clear plastic wrap after thoroughly soaking the containers to moisten the potting map.
- The soil temperature must not exceed 75°F for germination to occur, thus keeping containers out of direct sunlight in a room with a daily temperature of 70-75°F and a nighttime temperature of 60-65°F. When the potting medium becomes dry, water it to make it moist but not soggy.
- When you notice the first sprouts, remove the plastic wrap.
- Iowa State horticulturists recommend placing containers four to six inches below a 40-watt fluorescent grow light for 12 to 16 hours each day after germination. Unless the seedlings grow in individual cells, thin them out after acquiring a set of genuine leaves. Keep the strongest in each container and pull up or trim down the remainder.
- Put each seedling into a six-inch container filled with soilless potting mix. You can apply diluted houseplant fertilizer to the seedlings every two weeks. After all dangers of frost have passed, gradually acclimatize the growing plants to the outside, setting them out for a few days.
From Cuttings
- You can also take stem cuttings from existing plants to establish new plants.
- Cuttings should be taken from new green growth rather than old woody stems. Early spring or immediately after a new flush of growth after blooming is the most acceptable time to accomplish this.
- Make a clean incision approximately six inches down from the stem tip, preferably just above a leaf node, with a sharp knife. This encourages the present plant to produce new foliage.
- Remove all except the top few leaves from their sites of origin, leaving a four-inch length of the naked stem.
- Place the cutting in a clean, transparent container. Fill the container with three to four inches of water, ensuring the water does not touch the stem's top leaves.
- To keep the water fresh, choose a position out of direct sunlight and change it daily.
- Roots will begin to sprout from the bottom of the stem after about a month. Before transplanting the rooted stem cutting to the desired area, wait until the roots are well established, about one to two inches long.
- Alternatively, you can start cutting in sterile soilless potting material instead of water.
- Purdue University Extension experts recommend using a sterile, soilless potting media with additional vermiculite or perlite to maintain the potting medium airy and beneficial to root growth.
- After you've completed the steps above, wet the cut end and dip it into powdered rooting hormone. Place the stem into a three- to four-inch hole in the potting material.
- Firm the soil around the stem and set it in a sunny spot with temperatures between 65 and 75 degrees Fahrenheit.
- Keep a damp but not saturated potting media. Never let it dry out entirely. Because the roots grow first, foliar growth on top will take longer to observe. Plant the rooted stem when you detect new green growth.
Step 6: Winter Care
Geraniums that spent the summer outside can be preserved as houseplants if they receive plenty of sunlight.
The sun may not be intense enough in late winter in northern regions to promote buds of some kind.
Lift the plants and, using a sharp, clean knife, cut the stems back in a shapely form to approximately 6 to 8 inches before the first fall frost (see your local frost dates here).
In the low-light habitat they will inhabit, they shouldn't have to hold large quantities of leaves. A simple technique to reproduce your plants is to save a few stems as cuttings to root.
Fill the pot with ordinary potting soil and transplant the “mother plant” to the tiniest pot possible—just big enough to fit the roots.
Keep the plants in the shadow for a week, then move them to a sunny position and keep them cool (they need all the sun they can get).
Geraniums prefer night temperatures of 50° to 60°F (10° to 16°C) in the winter, although they may endure temperatures as low as 32°F (0°C) and as high as 80°F (27°C) as long as they are kept generally dry.
Cut off all the old leaves when new growth develops in the spring. Only retaining the new growth is more challenging than getting it to appear. And here's some assistance:
Only water when the leaves begin to droop, and only in small amounts. Fertilize and feed the plants sparingly. These plants must get some rest.
Pinch back your overwintered geraniums in February if you want them to bloom by Memorial Day.
When the weather warms up and the threat of frost has passed, bring the plants outside and transplant them to beds or pots as desired.
Step 7: Geraniums Should Be Kept In Bloom
Deadhead faded flowers by removing the entire flower stalk to meet the main stem to keep your geraniums in bloom.
Use a sharp pair of scissors, or even your fingers, to snip or pinch about a ½ inch of growth from the end of each stem to keep plants bushy, full, and packed with flowers.
The plant will sprout two additional stems, giving it a fuller appearance and the potential for more blooms.
Geraniums bloom best when they're root-bound, so only repot them into a larger container when required and only one size larger than the previous one.
Geraniums are heavy feeders. Therefore, use a balanced fertilizer according to the product description every few weeks during the spring and summer. Feeding should be stopped after the summer.
Step 8: Fertilizer
Light fertilizing is required for geraniums. If you overfeed them, the leaves will overgrow at the price of the blossoms.
You don't need to buy a specialized geranium fertilizer, even if you see it in your garden center—mix 2 tablespoons of a water-soluble 20-20-20 fertilizer into 1 gallon of water for mild fertilizing. Throughout the growing season, apply this solution every three weeks.
Pests & Diseases Of Geraniums
Insects and other pests generally avoid geraniums. On the other hand, Botrytis and other fungus attacks can occur in cooler, wetter conditions.
Commercial fungicides provide some protection. Overwatering can result in issues such as edema and root rot.

“Harvesting”
Most geraniums root easily from stem cuttings placed in soil, coarse sand, water, perlite, or another rooting medium.
Make a slanted incision 4 inches below a stem tip, above a node where leaves emerge, with a sharp, clean knife.
Trim the cut to just below a node. Remove all but two or three leaves and the leaf-like stipules at the base of the leaf stalks.
Roll the stem cutting in a newspaper or place it in the shade for 24 hours to seal the cut end and prevent it from rotting.
Place the stem in a wet rooting medium container and keep it in a warm, shady location for two days. After that, provide the cutting with indirect sunlight. Only dampen the medium as needed.
Conclusion
Geraniums have long been a favourite of gardeners. They are simple to grow, colourful and have a pleasant aroma.
We have a lot of geraniums we take into the garage to overwinter them and bring back outside in the Spring.
I trust you enjoyed this article on the Top 8 Common Steps Of Growing Geraniums. Please stay tuned for more blog posts to come shortly. Take care!
JeannetteZ
>>>Please click here to read my all-inclusive article about Container Gardening<<<
Are you interested in homegrown herbs and medicine? Please click here to find out more about it!
Your Opinion Is Important To Me
Thoughts? Ideas? Questions? I would love to hear from you. Please leave me your questions, experience, and remarks about this article on the Top 8 Common Steps Of Growing Geraniums in the comments section below. You can also reach me by email at Jeannette@Close-To-Nature.org.
You might also enjoy these blog posts:
5 Quick Tips For Growing Coconut Trees
The 6 Best Things About Growing Pear Trees
Simple Guide To Growing Apricot Trees In Pots
Super Easy Ways Of Growing Lychee Trees In Pots
Easy Ways To Grow Mango Trees In Containers