How To Make A Vertical Garden
Whether you have a small backyard or an apartment, growing a vertical garden is a great way to add greenery to your cramped living area.
This innovative gardening method maximizes space by growing plants upward instead of outward, making it perfect for urban living.
If you’re wondering how to make a vertical garden, this article will guide you through easy steps and creative ideas to create your beautiful green space.
What Is A Vertical Garden?
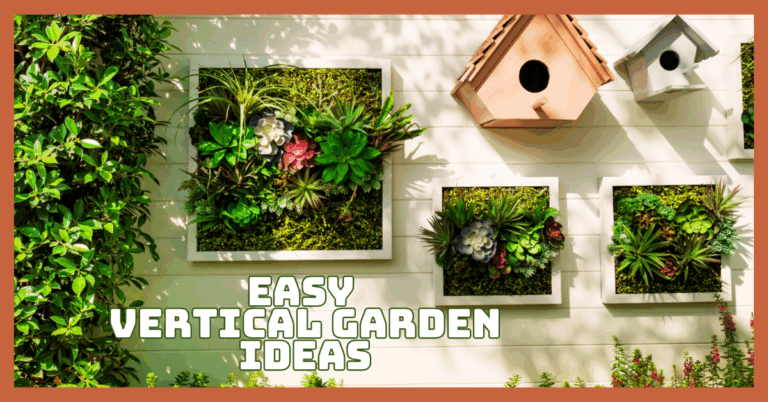
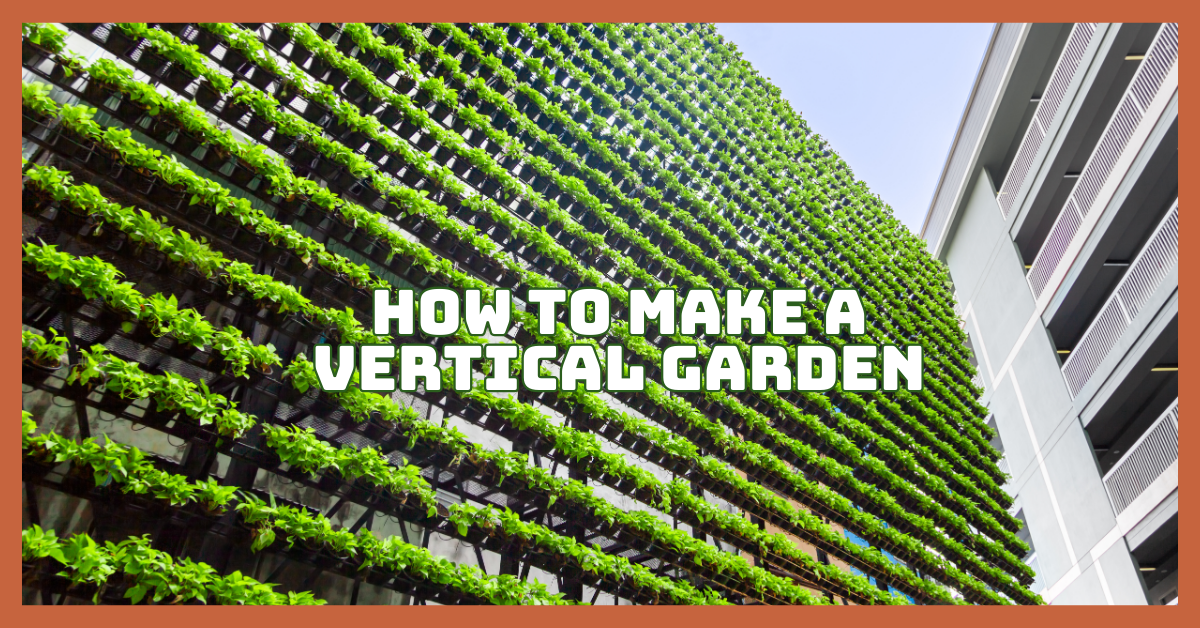
A vertical garden, often called a living wall or green wall, is a creative gardening method where plants grow upwards on a vertical surface instead of spreading horizontally like traditional gardens.
Imagine turning a plain wall, fence, or balcony into a lush, green tapestry bursting with life—that’s the magic of vertical gardening.
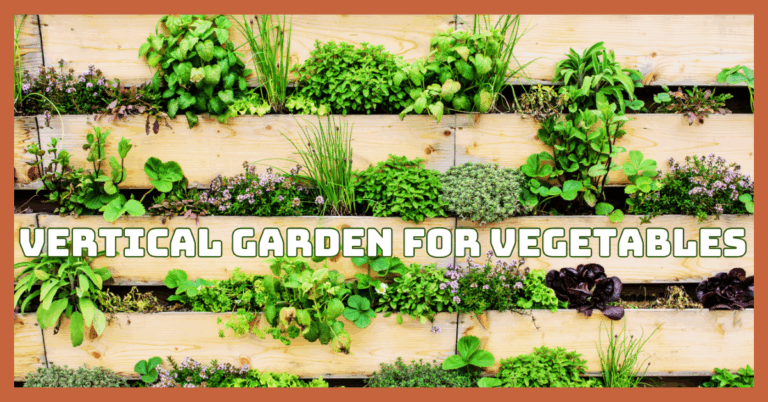
These gardens can be simple DIY projects using wooden pallets, pockets, or pots, or they can be high-tech setups using hydroponics, where plants grow without soil in nutrient-rich water. Vertical gardens work both indoors and outdoors, making them incredibly versatile.
Vertical gardens offer an ingenious way to bring nature closer to urban areas with limited outdoor space. They transform tiny balconies or blank walls into thriving green spaces, adding beauty and freshness to cramped living areas.
But the benefits go beyond aesthetics. Vertical gardens filter pollutants from the air, lower noise levels, and even insulate buildings by controlling temperature.
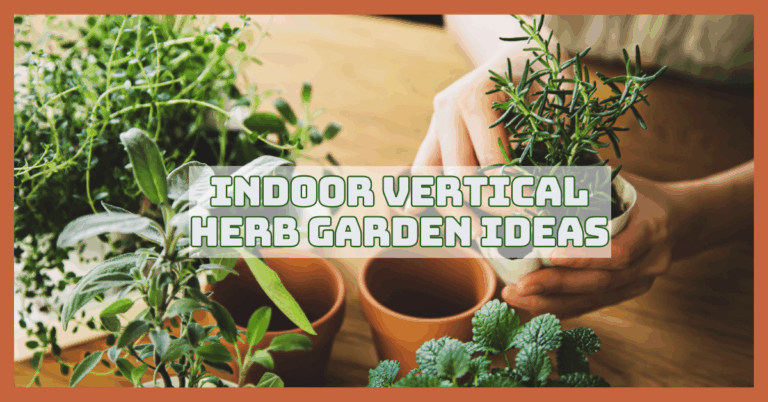
Whether you want to grow fragrant herbs in your kitchen, decorate an empty wall with flowers, or create a green privacy screen on your balcony, vertical gardening offers a practical, eco-friendly way to reconnect with nature, no matter how small your space.
Benefits Of A Vertical Garden
Vertical gardens offer an innovative and stylish way to bring nature into small spaces. Learning to make a vertical garden allows you to enjoy these benefits while transforming even the smallest spaces into vibrant, green sanctuaries.
Here are some of the key benefits of creating your vertical garden:
1. Space Saving
Vertical gardens make the most of limited space by growing plants upward instead of outward. They’re ideal for balconies, patios, and small yards where horizontal gardening isn’t possible, allowing even apartment dwellers to enjoy fresh plants without sacrificing precious floor space.
2. Improved Air Quality
Vertical garden plants filter out dangerous pollutants and toxins while releasing oxygen and absorbing carbon dioxide. This natural air purification improves the indoor and outdoor environment, helping create healthier, fresher spaces that enhance overall well-being.
3. Aesthetic Appeal
A vertical garden transforms plain, dull walls into vibrant, living works of art. The vibrant flowers and verdant foliage produce striking focus points that raise the beauty of any area and give both the inside and the outside a cozier, livelier vibe.
4. Urban Farming
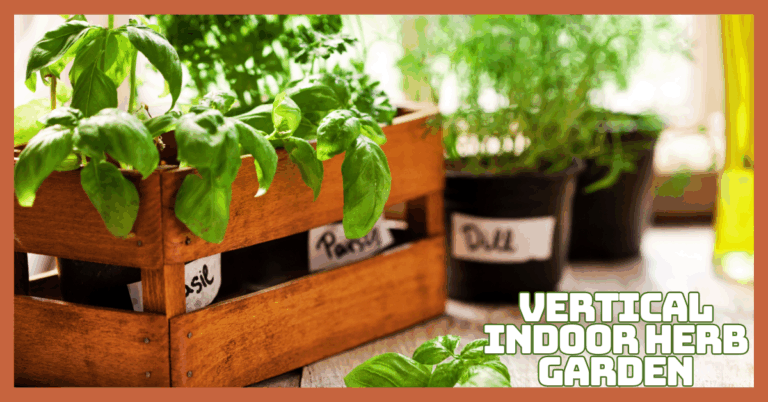
Vertical gardening allows city residents to grow fresh herbs, leafy greens, and fruits like strawberries. This urban farming approach promotes self-sufficiency, reduces grocery trips, and brings the joy of harvesting homegrown produce, regardless of outdoor space limitations.
5. Temperature Regulation
Living walls act as natural insulators, reducing heat absorption during summer and retaining warmth in winter. In addition to reducing energy use for heating and cooling, this helps control indoor temperatures and creates a more cozy, environmentally responsible house.
6. Mental Wellness
Surrounding yourself with greenery reduces stress, enhances mood, and boosts focus. Vertical gardens bring nature closer, promoting relaxation and mindfulness.
Caring for plants also offers therapeutic benefits, improving mental health and creating a peaceful sanctuary in busy urban settings.
Types Of Vertical Gardens
Vertical gardens come in many forms, each suited to different spaces, plant types, and styles. Whether you want a simple DIY project or a more elaborate setup, there’s a vertical garden type to fit your needs. Knowing these possibilities, you can choose the finest way to turn your area into a colourful green haven.
1. Living Wall (Green Wall)
Best Plants
Ferns, pothos, philodendrons, spider plants, peace lilies
Materials & Tools Needed
Modular wall panels, irrigation system, waterproof backing, potting mix, frame, mounting tools, LED grow lights (optional)
How To Make
Install the frame and waterproof backing on a wall. Insert modular panels filled with nutrient-rich soil: plant shade-loving, humidity-tolerant plants like ferns and pothos.
Connect a drip irrigation system to provide consistent watering. Ensure the area gets indirect light or use grow lights. Trim plants regularly and feed monthly with liquid fertilizer. Check the irrigation system for clogs and maintain humidity for optimal growth.
")
2. Trellis Vertical Garden
Best Plants
Jasmine, morning glories, bougainvillea, cucumbers, peas, climbing roses
Materials & Tools Needed
Wooden or metal trellis, garden twine, containers or raised beds, pruning shears, stakes, organic compost
How To Make
Place the trellis near a wall or along a fence. Secure it firmly to support the weight of plants. Plant climbers at the base with nutrient-rich compost.
Train vines by gently tying them with twine as they grow. Give the soil a thorough watering, but let it dry out a little in between. Add mulch to retain moisture.
Prune regularly to direct growth and remove dead leaves. During active growing seasons, fertilize every few weeks with a balanced fertilizer.
3. Pocket Wall Planters
Best Plants
Herbs, lettuce, strawberries, succulents, small ferns, pansies
Materials & Tools Needed
Fabric pocket panels, wall anchors, potting mix, small hand trowel, watering can or sprayer
How To Make
Attach the fabric pocket system to a sunny or partially shaded wall. Fill each pocket with lightweight potting mix. Plant herbs or compact veggies that thrive in small spaces.
Water gently to avoid runoff. Use a liquid organic fertilizer once a month. Avoid overcrowding for proper air circulation. Trim regularly to encourage regrowth. These planters are ideal for kitchens or balconies where fresh herbs are within reach.

4. Tower Garden (Stacked Pots)
Best Plants
Lettuce, basil, mint, strawberries, spinach, cherry tomatoes
Materials & Tools Needed
Vertical stackable pots, potting mix, slow-release fertilizer, watering can, gardening gloves
How To Make
Assemble the stackable pots in a sunny location. Fill each level with potting soil mixed with slow-release fertilizer. Plant shallow-rooted vegetables or herbs—water from the top, allowing moisture to trickle down.
Rotate levels occasionally to ensure even sunlight. Harvest frequently to promote new growth. Clean pots between plantings to prevent disease buildup. This system is perfect for patios, rooftops, or tight urban spaces.
5. Hydroponic Vertical Garden
Best Plants
Lettuce, kale, basil, cilantro, arugula, Swiss chard
Materials & Tools Needed
Hydroponic tower or frame, nutrient solution, water reservoir, submersible pump, LED grow lights
How To Make
Set up the vertical hydroponic structure indoors or in a controlled environment. Pour water and nutrition solution into the reservoir.
Use net pots and grow plugs for seedlings. Ensure proper light exposure (12–16 hours/day) with grow lights. Monitor pH and nutrient levels weekly.
To avoid obstructions and algae, clean the system on a regular basis. Plants proliferate with minimal soil, making this method efficient and space-saving.

6. Gutter Garden
Best Plants
Spinach, radishes, lettuce, parsley, thyme, and nasturtiums.
Materials & Tools Needed
Old gutters, brackets, screws, potting mix, drill, measuring tape, and hand trowel
How To Make
Cut gutters to desired lengths and drill drainage holes. Mount them horizontally on a wall or fence using brackets. Fill with lightweight potting soil.
Sow seeds or transplant seedlings suited for shallow soil. Water lightly and frequently. Use a diluted liquid feed to fertilize every few weeks.
Ensure gutters are not overexposed to direct sunlight to prevent overheating. Gutter gardens are ideal for small balconies or along fences.
7. Hanging Pots Or Shelves
Best Plants
Petunias, trailing ivy, geraniums, string of pearls, and herbs
Materials & Tools Needed
Hanging pots or shelves, wall hooks, potting soil, watering can, drill, rope or chains
How To Make
Secure hooks or shelves to a stable wall or ceiling. Fill pots with quality potting mix. Plant trailing or compact species that adapt well to container life.
Arrange at varying heights for visual interest. Water carefully to avoid drips. Ensure adequate light for each level. Fertilize monthly with a balanced liquid feed. Rotate pots if needed to ensure even sunlight. Ideal for indoor decor or enhancing patio walls.

8. Pallet Garden
Best Plants
Lettuce, spinach, pansies, succulents, herbs
Materials & Tools Needed
Wooden pallet, landscape fabric, staple gun, potting mix, trowel
How To Make
Lay a wooden pallet flat and staple landscape fabric to the back and bottom. Stand the pallet upright, then fill the compartments with potting mix.
Insert plants into the gaps between slats. Ideal for shallow-rooted species. Water gently and often. Place in a sunny spot and ensure drainage.
As plants establish, the garden becomes denser and more attractive. Secure the pallet to a wall or lean it safely against a structure.
Turn Your Passion for Nature Into Income
🌿 Whether you love gardening, caring for animals, or exploring holistic living,
You can share your knowledge online and earn from it.
Discover how nature lovers are growing their passions into meaningful, income-generating blogs. 👇
9. Recycled Bottle Garden
Best Plants
Mint, oregano, thyme, small flowers, lettuce
Materials & Tools Needed
Plastic bottles, string or wire, scissors, nails, potting soil, and wall hooks.
How To Make
Cut plastic bottles in half or add a side opening. Poke drainage holes at the bottom. Fill with soil and plant herbs or leafy greens.
Suspend bottles on a wall or window frame using wire or string. Ensure sunlight and water are available regularly. This is an eco-friendly way to recycle plastic and create a productive mini garden. Rotate bottles occasionally for even growth and harvest frequently.

10. Frame Garden (Picture Frame Planter)
Best Plants
Succulents, mosses, small ferns, and air plants.
Materials & Tools Needed
Shadow box or frame, chicken wire, sphagnum moss, staple gun, soil, succulents
How To Make
Attach chicken wire over a shadow box filled with soil and moss. Plant succulents through the wire mesh into the moss. Let it lie flat for a few weeks until the plants have roots.
Then hang vertically like a picture frame. Water sparingly. Ideal for decorative indoor walls with plenty of indirect light. It's a creative way to turn plants into living artwork and adds charm to small spaces.
11. Ladder Vertical Garden
Best Plants
Herbs, marigolds, mint, cherry tomatoes, pansies
Materials & Tools Needed
Old ladder (wood or metal), pots or planters, potting mix, zip ties or hooks
How To Make
Lean an old ladder against a wall or fence for a new purpose. Attach pots to each rung with hooks or zip ties. Fill pots with soil and plant compact species like herbs or small flowers.
Water consistently and ensure good sunlight. Great for patios or balconies, this setup is easy to assemble, space-saving, and movable.
Paint the ladder for visual appeal or to match decor. Prune regularly for air circulation and rotate pots occasionally for balanced growth.

12. Crate Stack Garden
Best Plants
Basil, lettuce, chives, violas, radishes
Materials & Tools Needed
Wooden or plastic crates, potting mix, landscape fabric, screws or brackets
How To Make
Stack crates in a pyramid or staggered pattern, securing them with screws or brackets. Line the inside of each crate with landscape fabric and fill with potting soil.
Plant leafy greens or herbs that do well in containers. Water from the top and let it drain naturally. Ideal for urban gardeners with limited ground space.
The crates provide natural drainage and can be easily rearranged. Add mulch to retain moisture and fertilize biweekly during the growing season.
Step-by-Step Installation Guide
Step 1: Select A Location
A minimum of six hours of direct sunlight each day is necessary for most vegetables and herbs, so choose a location to provide them with the light needed.
Shade-loving plants, such as ferns or pothos, thrive in indirect light. Make sure the surface can support the combined weight of soil, plants, and water, especially for wall-mounted gardens.
Proper drainage is crucial to avoid water damage to walls or floors. Also, avoid areas where water runoff might accumulate, which can cause mould or structural issues. Selecting the right spot sets the foundation for a healthy, thriving vertical garden.
Pro Tip
South-facing walls usually offer the best light exposure for sun-loving plants.
Step 2: Choose Your Structure
Pick a vertical garden structure that matches your space, plant choices, and visual preferences. For a rustic touch, repurpose a wooden pallet—sand it well and line it with landscape fabric to hold soil.
Fabric pockets or hanging organizers are ideal for lighter, indoor gardens. Trellises support climbing plants and must be firmly anchored to prevent tipping. Opt for materials that withstand rain and sun outdoors, such as treated wood or weatherproof metal.
Pro Tip
Pre-assemble your structure before mounting to ensure correct spacing and placement. Use treated wood or coated metals for durability.
Step 3: Prepare The Plants
Begin with vigorous seedlings or well-rooted cuttings to ensure healthy growth. Before planting, gently loosen the root balls to encourage outward growth and trim any yellow or damaged leaves.
Soaking the roots in water for 10–15 minutes helps minimize transplant shock and keeps plants hydrated. Be mindful to group plants with similar sunlight and watering requirements to simplify ongoing care.
Proper spacing is crucial—overcrowding limits airflow, leading to disease or stunted growth. This preparation stage lays the foundation for a thriving vertical garden, setting your plants up for long-term success in their new upright environment.
Pro Tip
Group plants with similar light and water needs together to simplify care. Avoid overcrowding to ensure proper airflow and reduce disease risk.
Step 4: Install Irrigation
Proper irrigation is essential for vertical gardens, as they dry out more quickly than traditional gardens due to gravity and air exposure.
Larger installations can save water wastage and labour by using a drip irrigation system, which consistently supplies moisture to the roots.
Smaller gardens need frequent care but can be kept up with a spray bottle or watering bucket. Ensure water reaches all levels evenly to avoid dry patches, especially at the top or bottom.
Pro Tip
Use moisture-retaining soil and add mulch to reduce evaporation. Test your system before planting to check for leaks or clogs.
Step 5: Plant And Arrange
Begin by organizing your plants based on their light and growth needs. Place taller or sun-loving plants at the top of the structure, where they'll receive maximum light.
Reserve the lower sections for trailing or shade-tolerant plants, allowing them to cascade naturally. Use a lightweight, nutrient-rich potting mix and press it gently but firmly around each plant’s roots to ensure stability and moisture retention. Avoid overcrowding to promote airflow and reduce the risk of disease.
Pro Tip
Plan your layout first by arranging plants while still in pots. This helps visualize spacing and design before committing.
Step 6: Secure And Maintain
Ensure your vertical garden structure is firmly secured to prevent tipping or collapse, especially during watering or strong winds.
To address issues early, regularly check the garden for indications of pests, illnesses, or instability. Trim any dead, damaged, or overgrown leaves to encourage healthy growth and preserve a pleasing appearance.
Rotate plants periodically so they receive even sunlight, which supports balanced development. Fertilize your plants monthly or as needed, based on their specific requirements and soil quality. Your vertical garden needs regular care and upkeep throughout the seasons to remain vibrant, healthy, and attractive.
Pro Tip
Keep a small maintenance kit nearby with shears, gloves, and a watering can. Take photos over time to track plant health and growth.
Conclusion
Understanding how to make a vertical garden is the first step to creating a personalized green space that enhances your home’s beauty and functionality.
You can build a thriving, beautiful garden that fits your style and needs with the proper structure, plants, and care. Vertical gardening offers versatility and charm for fresh herbs, vibrant flowers, or lush indoor plants.
Start small, plan carefully, and enjoy the benefits of a living wall that brightens your space and promotes well-being.
I trust you enjoyed this article on How to Make A Vertical Garden. Please stay tuned for more inspiring guides, helpful tips, and ideas to help you live closer to nature every day.
Take care!
— JeannetteZ
💬 Your Opinion Is Important To Me
Do you have thoughts, ideas, or questions? I’d love to hear from you. Please leave your comments below or email me directly at Jeannette@Close-To-Nature.org.
📚 More Nature-Inspired Reads
Explore more ways to connect with nature, nurture your pets, and live in harmony with the world around you 🌿