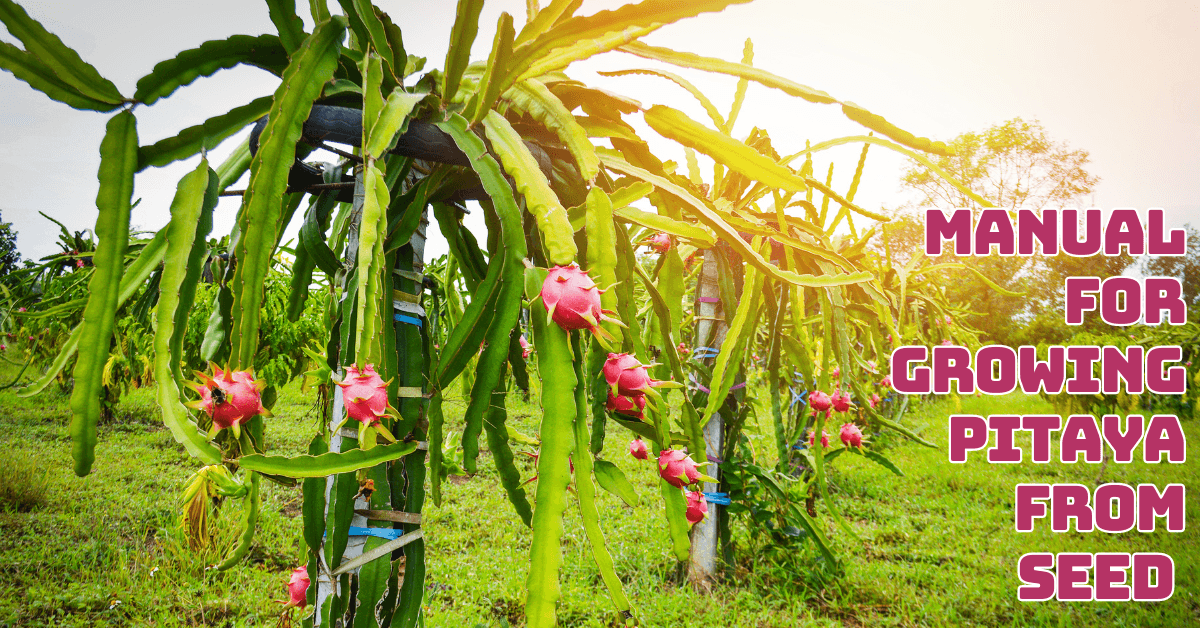
The Complete Manual For Growing Pitaya From Seeds
Growing pitaya from seed can be a rewarding experience for gardeners seeking an exotic touch in their backyard. With its vibrant, distinctive appearance and delicious flavour, pitaya is an attractive, healthy addition. This process is straightforward yet requires patience, as it takes time for the plant to mature.
In this guide, you’ll discover step-by-step instructions to successfully grow pitaya from seeds, from preparation to care tips for optimal growth.
Growing Pitaya From Seeds
Growing pitaya, also known as dragon fruit, in your backyard can be satisfying. To help you develop a healthy pitaya plant, follow these important guidelines:
1. Choose The Right Pitaya Seeds
Choosing the right seeds is the primary stage in effectively developing pitaya (a winged serpent natural product). To begin, choose ripe, fresh dragon fruit from a reputable source.
The fruit should be firm and slightly soft, with a bright colour. Overripe or damaged fruit should be avoided because its seeds may be nonviable.
After selecting a ripe dragon fruit, cut it open and remove some of the pulp and seeds. To remove any still-present pulp, thoroughly rinse the seeds in water before planting.
This step is critical because leaving pulp on the seeds can encourage mould growth and prevent germination. After cleaning, spread the seeds on a paper towel or clean surface and let them dry for a few days.
This drying period makes handling the seeds during planting easier and prevents them from clumping together. Your dried seeds can be sown in well-draining soil, setting the stage for successful germination and growth.

2. Preparing The Soil To Plant Pitaya Seeds
Growing pitaya (dragon fruit) from seed requires careful soil preparation. Pitaya plants thrive in soil that drains well and resembles their arid natural environment.
Pick a cacti or succulent-specific potting mix to make the ideal growing medium. These are designed to quickly drain while maintaining sufficient moisture for the seeds to germinate.
A sandy or cactus-specific potting mix is perfect because it prevents water from pooling around the seeds and roots, which can lead to rot.
You can make your cactus mix by combining regular potting soil with perlite or sand in a 2:1 ratio. This will improve drainage and aeration.
Fill your prepared soil into shallow trays or small pots, gently tapping the mixture to settle it, but keep it loose and airy.
Compaction hinders seedling growth; loose soil prevents it and allows for better root penetration. Once the soil is in place, the prepared pitaya seeds can be planted to ensure strong seedling development and healthy germination.
3. Planting Pitaya Seeds
Sowing pitaya seeds is delicate and requires careful attention to detail. To grow pitaya successfully from seed, sprinkle the seeds evenly across the prepared soil in your tray or small pots.
Carefully distribute the seeds to avoid overcrowding, which can lead to competition for nutrients and space as the seedlings grow.
After sowing, sprinkle a thin layer of dirt or sand—no more than ⅛ inches thick—over the seeds. This light covering protects the seeds while providing the warmth and light they need to germinate. A thicker layer may hinder the seeds' ability to sprout.
After covering the seeds, water the soil lightly to moisten it. Soggy soil can cause rot or fungal problems, so it's important not to overwater.
Misting does not disturb the seeds and keeps the soil evenly moist. Keep misting the tray or pots regularly until the seeds germinate, usually within a week to two weeks, in a warm, sunny location.
4. Creating A Humid Environment For The Pitaya Seeds
Cover the seed tray or pots with plastic wrap or a seedling dome to create the ideal humid environment for pitaya seeds.
This helps trap moisture and warmth, which are essential for germination. Ensure the soil is consistently moist, but don't overwater it, as this can cause the seeds to rot. Mist the soil lightly when it starts to dry out.
Place the covered tray in a warm, sunny location, ideally where temperatures stay between 70-85°F (21-29°C). When growing indoors, use grow lights to ensure at least 12-14 hours of light each day.
The combination of warmth and humidity will speed up germination, which typically occurs within 1-4 weeks. Once seedlings emerge, gradually remove the plastic cover to allow airflow and prevent mould growth.

5. Germination Of Pitaya Seeds
Providing the ideal environmental conditions is essential to guaranteeing the germination of your pitaya seeds. To begin, set the pots or tray containing the seeds in a sunny, warm area.
Pitaya seeds grow best in temperatures between 70° and 85°F (21° and 29°C), so make sure the space gets enough sunlight.
If there isn't much natural light available, you can use a grow light to give the seeds the warmth and light they need to sprout.
Keeping the soil moist during germination is essential, but avoid overwatering because waterlogged soil can cause seed rot.
When the top layer dries, lightly sprinkle the soil with a spray bottle. This ensures that the soil stays evenly moist and doesn't get too wet.
Pitaya seeds typically germinate within one to two weeks under these ideal conditions. The pitaya plant's growth will begin when you observe tiny green sprouts emerging from the soil. As the seedlings grow, monitor the moisture levels and ensure they have enough light and warmth.
6. Transplanting Pitaya Seedlings
Your pitaya seedlings are ready to transplant when they have grown a few sets of leaves and are about 2 inches tall. They need this stage to have more space and nutrients to grow strong and healthy.
The first step is to prepare individual pots or a well-draining garden location for the seedlings. When transplanting, choose pots at least 4-6 inches in diameter to allow the roots to spread.
Pitaya plants don't like wet conditions, so choose a sunny garden with well-draining soil. Water the seedlings gently before transplanting to reduce transplant shock and make the soil easier to work with.
Use a small tool, such as a spoon, to carefully lift each seedling by its base to avoid damaging the roots. Place the seedling in its new container or garden spot at the same depth it grew in before.
7. Temperature Requirements For Growing Pitaya From Seeds
For pitaya seeds to germinate successfully, they must be kept at the right temperature. This temperature range, between 70° and 85°F, encourages faster and more consistent germination by mimicking the warm conditions of their native tropical habitats.
Use a heat mat if you live in a colder area where it can be hard to maintain these temperatures. Heat mats create a more controlled environment for the seeds by providing a steady, gentle warmth from below.
Place the heat mat underneath the seed tray or pots to keep the soil temperature within the desired range. In addition to using a heat mat, the seeds should be kept in a warm, sunny area to get more light and heat.
Consistently monitor the temperature and make any necessary adjustments. You must manage the temperature appropriately for your pitaya plants to germinate successfully and develop into healthy seedlings.

8. Fertilization Of Pitaya Seedlings
Fertilize your pitaya seedlings once they have established their first set of leaves and are a few inches tall. This will help them continue to grow and develop.
Start with a balanced liquid fertilizer that has equal proportions of nitrogen (N), phosphorus (P), and potassium (K). One example of such a formulation is 10-10-10.
Follow the manufacturer's recommendations to dilute the fertilizer to ensure it is not excessively concentrated, as strong solutions might damage early plants.
Throughout the growing season, apply the diluted fertilizer every four to six weeks. This routine feeding schedule's essential nutrients strengthen the seedlings, encouraging healthy root and stem growth and overall vigour.
You can adjust the frequency of fertilization for seedlings as they mature into mature plants based on their particular requirements and growth stage.
Your pitaya plants will thrive and produce fruit with regular watering, light, and feeding. Thoroughly water the soil before and after applying fertilizer to prevent root burn and ensure an even distribution of nutrients.
9. Acclimate Pitaya Seedlings For The Outdoors
Preparing pitaya seedlings for outdoor growth is a crucial step in growing pitaya from seed, as it helps them acclimate to their new environment and reduces transplant shock.
This gradual acclimatization makes the seedlings more accustomed to their new surroundings, lowering the likelihood of transplant shock and making the transition easier.
The first step is to expose the seedlings for a few hours on the first day in a protected, shady area. This initial exposure allows the plants to adapt to natural light, wind, and temperature variations without overwhelming them.
Gradually increasing the time seedlings spend outside during the hardening-off period is crucial for successfully growing pitaya from seed, as it helps them adjust to outdoor conditions and reduces transplant stress.
Modify the seedlings' exposure in reaction to any indications of stress, including wilting or leaf burn. By the end of the hardening-off period, the seedlings should be well-adjusted to outdoor conditions, making them more resilient when transplanted into their permanent garden location or larger pots.
This careful acclimatization will help the animal grow normally and reduce the likelihood that problems related to the transplant will arise.
10. Training And Supporting The Pitaya Plant
Pitaya, or dragon fruit, is a climbing cactus that requires support as it grows. To accommodate its climbing nature, provide a sturdy trellis or stake for the plant to attach to.
As the pitaya plant grows taller, it will send out long, sprawling stems that need guidance to stay upright and healthy. Secure the stems loosely to the trellis or stake using soft ties or garden clips, ensuring they do not damage the plant.
This support helps the plant develop a strong structure, prevents stem breakage, and improves air circulation around the plant.
Well-supported Pitaya plants will develop faster and produce more fruit because they keep the fruit off the ground and reduce their risk of disease. Regularly check and modify the ties as the plant grows to match its rising growth.

11. Watering Pitaya
It's important to strike the right balance when watering dragon fruit cacti. The plant thrives in well-drained soil and doesn’t tolerate being waterlogged.
To avoid root rot, water only until the top inch of soil seems dry. Before watering, insert your finger into the dirt to determine how damp it is.
When watering, give enough to moisten the soil evenly, but ensure any excess water drains completely from the pot. Let the soil dry out between waterings when the plant's water requirements are lower in the cooler months.
In warmer weather or active growing seasons, you may need to water more frequently, but always be cautious of overwatering, as it’s the most common cause of issues like root rot and fungal infections.
12. Propagation Of Pitaya Plants
Pitaya (dragon fruit) can be propagated through cuttings or seeds. Cuttings are the most efficient and common method, as they ensure faster fruit production and maintain the parent plant's qualities.
To do this, take a healthy stem cutting from a mature plant, allow it to dry for a few days to form a callus, and then plant it in well-draining soil. The cutting will root and grow into a new plant with the correct care.
Alternatively, seeds can be used to propagate pitaya, though this method takes longer. Seeds are extracted from the fruit, cleaned, dried, and planted in soil.
Seedlings can take several years to mature and bear fruit, making it a less popular option. Both methods can be successful, but cuttings are generally preferred for quicker and more reliable results.
13. Pest & Disease Control Of Pitaya
Pitaya seedling growth is dependent on effective pest and disease management. Pests like aphids, spider mites, and fungal diseases can be problematic for these young plants, even when they are just seedlings.
Check your seedlings regularly for evidence of disease or infestation, such as wilted leaves, slowed growth, or visible insects. If you see pests, it's important to act quickly.
Organic pest control methods are often the most effective for protecting young plants. Natural pest control options like neem oil are popular.
Apply it to the affected areas by diluting it as the manufacturer directs. Insecticide soap is another effective and environmentally friendly method for soft-bodied insects like aphids.
Maintaining adequate air circulation around the seedlings and avoiding excessive watering can help prevent fungal diseases.
Consider using an organic fungicide to protect the plants in the event of a fungal problem. By monitoring and using these natural pest control methods, your pitaya seedlings can be protected from common diseases and pests.

14. Harvesting Pitaya
Once pollination is successful, harvesting dragon fruit is straightforward. The fruit will begin to develop and ripen within 30-50 days.
The best indicator that it's ready for harvest is its vibrant colour: bright pink, red, or yellow, depending on the variety. Another sign of ripeness is that the fruit feels slightly soft but not mushy.
Gently twist or cut the fruit from the stem, careful not to damage the plant. Harvesting at the right time is important because the fruit may split or become overripe if left on the plant for too long. Dragon fruit is ready to eat immediately after picking and can be stored in the refrigerator for several days.
FAQs
Q1: Can I Grow Pitaya In A Pot?
Answer: Yes, pitaya can be successfully grown in pots. Make sure the pot drains properly, and choose a combination of well-draining cacti. Regularly check for signs of root congestion and report as needed.
Q2: How Often Should I Water Pitaya Seeds During Germination?
Answer: Make sure the soil is consistently damp, not drenched. Water lightly to maintain moisture levels, ensuring the soil remains wet but not soaked.
Q3: How Long Does It Take For Pitaya To Produce Fruit?
Answer: Pitaya plants typically begin producing fruit 1-2 years after planting from seed. The timing can vary based on growing conditions, plant care, and the specific pitaya variety.
Q4: What Should I Do If My Pitaya Plant Isn't Flowering?
Answer: If your pitaya plant isn’t flowering, it might need more light or a change in care practices. Ensure it receives adequate sunlight, check for any nutrient deficiencies, and consider adjusting its watering and feeding schedule.
Q5: How Do I Know When Pitaya Fruit Is Ready To Harvest?
Answer: Pitaya fruit is ready to harvest when its colour deepens and the scales on the fruit become more pronounced. When the fruit is ready, gently twist it or cut it from the plant with a sharp knife.
Conclusion
Growing pitaya from seed is a fascinating journey that offers both challenges and rewards. While the process demands patience, the outcome is truly worth it as you watch your exotic plant flourish.
From the first tiny sprouts to the eventual blossoming of the vibrant dragon fruit, nurturing pitaya is a satisfying experience for any gardener.
With proper care, attention to detail, and perseverance, you’ll enjoy the beauty and bounty of this unique fruit right from your backyard.
I trust you enjoyed this article on The Complete Manual For Growing Pitaya From Seeds. Please stay tuned for more blog posts soon. Take care!
JeannetteZ
>>>Please click here to read my all-inclusive article, About The Essential Companion Planting Guide<<<
>>>Please click here to read my all-inclusive article about Container Gardening<<<
>>>Are you interested in homegrown herbs and medicine? Please click here to find out more about it!<<<

Your Opinion Is Important To Me
Do you have thoughts, ideas, or questions? I would love to hear from you. Please leave me your questions, experiences, and remarks about this article, The Complete Manual For Growing Pitaya From Seeds, in the comments section below. You can also email me at Jeannette@Close-To-Nature.org.
Disclosure
This post may contain affiliate links. As an Amazon Associate and other affiliate programs, I earn from qualifying purchases at no extra cost to you. Please read my full affiliate disclosure.
You might also enjoy these blog posts:
Top Time Management Activities For A Productive Day
Best Tips To Grow Hibiscus In A Pot