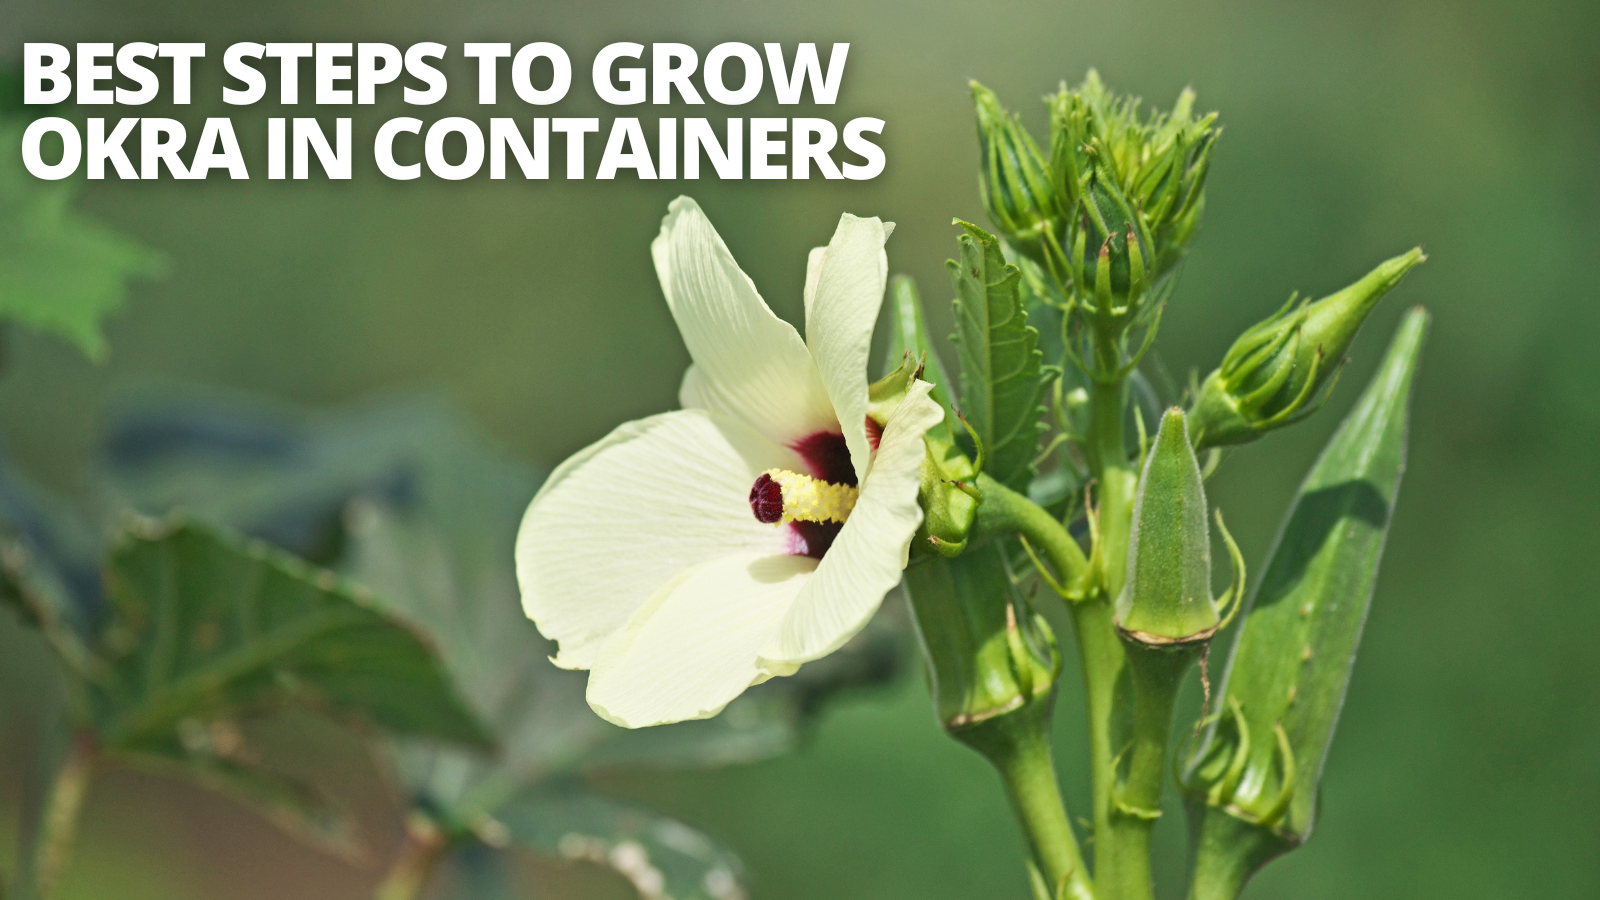
Best Steps To Grow Okra In Containers
Best Steps To Grow Okra In Containers
Okra thrives in pots because the plants don't take up much room so that you can eat them. Many people believe okra cannot grow because they don't live in tropical areas.
Okra is a low, warm-season vegetable, but growing in containers lets you bring plants indoors if the weather becomes too chilly. The blog will help you to grow okra in containers.

History & Origin Of Okra
By the 12th century B.C., the ancient Egyptians were cultivating okra, which is thought to have its origins in or near Ethiopia.
It was grown all over the Middle East and North Africa. The consumption of cooked seed pods and the toasting, grinding, and production of a coffee substitute (and still is).
Okra was presumably brought to the Caribbean and the United States by enslaved people from West Africa in the 1700s, and it was then introduced to Western Europe not long after.
Enslaved people taught the Creoles in Louisiana how to utilize okra (gumbo) to thicken soups, and it is a necessary component in Créole Gumbo today.
Okra is a well-liked food in the Southern U.S., the Caribbean, Greece, Turkey, India, the Middle East, and Africa.
Except for portions of Turkey and Greece, it is not a very common vegetable throughout most of Europe due to a rise in interest in regional American recipes.
These vibrant green, delicate pods—also used as a thickener—have gained increased prominence as a vegetable in the U.S. It thrives in the southern U.S., where there is little risk of frost.
These vivid green, sensitive pods, also used as a thickener, have earned more recognition as a vegetable in the U.S. due to a rise in interest in regional dishes from the United States.
Okra (Hibiscus esculentus) is a tropical annual that multiplies and enjoys high temperatures.
It grows naturally along the White Nile, which empties into the southwest Ethiopian highlands.
The trunk will be 6 to 10 feet tall, often unbranched by the season's conclusion. The coarse, palmately veined, and finely bristly pubescence on the leaves might irritate some people's skin.
Types Of Okra
There are numerous varieties of okra to pick from. Although the flavour is typically modest, the length of the pods might vary.
All cultivars should be selected young, three to four inches long for the best flavour and tenderness. You should know about the best varieties to grow okra in containers perfectly.

1. Blondy Okra
Blondy can be a great choice if you're searching for a dwarf okra plant that doesn't grow too tall. This type of okra typically grows to a maximum height of four feet.
Blondy is a great alternative for people with a shorter growing season because it matures fully in around 50 days and yields three-inch-long, soft, pale green pods. It does well in tiny areas and container gardens.

2. Baby Bubba Hybrid Okra
The baby bubba hybrid okra cultivar is ideal for growing in containers or tiny garden spaces.
Usually, these plants grow 3 to 4 feet tall and 24 inches wide. Baby Bubba yields okra fruits that mature in an average of 53 days and are dark green.
Baby Bubba is perfect for shorter growing seasons if you reside in a northern region or elsewhere.

3. Burgundy Okra
It is preferable to select Burgundy okra if you have space because this kind is not a small plant. The plants typically grow up to five feet tall and four feet wide. That is quite a size for just one plant!
This variety of okra is a genuine show-stopper if you have the room. Its green foliage and crimson stems make for a stunning contrast. This variety's pods are 6-8 inches long and mature after 49–60 days.

4. Clemson Spineless Okra
Since Clemson Spineless okra won the All-America Selection Award in 1939, it has been accepted as the industry standard and the most common variety of okra.
It continues to lead the charts for the most sales each year because gardeners love it. Clemson Spineless okra is estimated to make up 90% of all commercially grown okra.
According to one study, this variety can produce up to 3,989 pods per acre. It's a lot, that! There is no little or dwarf cultivar called Clemson Spineless.
The plants grow to a height and width of four feet. Something takes 60 days to mature. The dark green, spineless, slightly curved pods can grow up to nine inches long.

5. Bowling Red Okra
Who doesn't adore an old-fashioned plant with a story to tell? In the 1920s, the Virginian Bowling family invented Bowling Red okra.
It has a longer growing season than most varieties, maturing in up to 65 days because its origins are closer to the southern states. Keep in mind that those are ideal conditions.
Bowling Red plants can reach heights of eight feet and have stunning, deep red stems. Gardeners describe the long, thin pods as more sensitive than typical okra pods.

6. Jing Orange Okra
The Jing Orange okra variety, which has a magnificent deep reddish-orange, vibrant pod, is one of the most widely grown types.
Jing Orange fulfills your desires if you enjoy growing aesthetically pleasing plants that yield great fruit.
Even if you live in a dry climate, this Chinese heirloom species produces pods six to eight inches long early on.
According to gardeners, these pods become extraordinarily soft when cooked. The plants themselves are not too large or too small.
They are in the middle of the ranges for heights of five to six feet. Instead of growing these in containers, you might prune them to keep them smaller.
Steps To Grow Okra In Containers
Okra, commonly known as lady's finger, is a warm-season tropical vegetable with an unmistakable, earthy flavour.
It also makes a great ornamental plant because of its delicate foliage and brilliant blooms that resemble hibiscus.
Below are detailed instructions for growing okra in pots if you wish to include it in your kitchen garden.

1. Choose The Right Container To Grow Okra
Your ability to produce okra successfully depends on your container size. You will need a pot that can accommodate the size of the okra's taproots.
The pot should be at least 3 gallons in capacity, ideally 5 gallons, 10 to 12 inches deep and similar in circumference.
Okra loves heat. Thus, black is the perfect colour for pots. If the pot is black or dark, it will absorb more sunshine.
Ensure the container's bottom has drainage holes, then line it with gravel to allow the extra water to escape from the soil. A plate or tray underneath the pot is preferable.
2. Choose Okra Variety For Containers
Before planting your okra, you must choose the appropriate kind. Okra plants don't all reach the same height; some have pods of various hues.
Look for dwarf okra plants that don't become much taller than 5 feet. Of course, you can grow any variety, but dwarf varieties get the finest results when the size of the container constrains their root growth.
You'll want a variety that grows more quickly if you don't reside in a tropical, warm area. Here are some of the perfect okra kinds for containers.
- Baby Bubba
- Hybrid Cajun
- Delight Perkins
- Long Pod
- Dwarf Blondy

3. Planting Okra From Seeds
Okra won't transplant well because of its vast root system, one of the most crucial things to remember.
If you try to transplant them, you'll likely encounter a root-bound plant that succumbs to shock and dies during the transfer.
- Plant a few okra seeds about half an inch deep in each container.
- Use a hose to thoroughly water your seeds, and keep them in a warm, well-lit area to aid germination. Until germination occurs, make sure the soil is kept moist.
- Typically, germination takes 5 to 10 days, although it will happen faster if the soil and conditions are warmer.
- Plant okra 12 to 18 inches apart.
- You might select to plant seedlings you locate at your nearby garden nursery.
- You might plant seedlings at your neighbourhood garden nursery rather than starting from scratch. You must be careful while transplanting okra seedlings into the garden beds since they have sensitive taproots.
- Dig a hole in your garden bed somewhat deeper than the container they grew. When you plant them, they should be 12 inches deeper.
- The seedlings should be carefully removed from the pot and placed into the hole. Place your plants 12 to 18 inches apart. Fill in the gap and press the soil down firmly.
- To aid in the establishment of the roots, make sure to hydrate the seedlings deeply.

4. Soil To Grow Okra In Containers
Okra needs soil that drains effectively because wet feet can cause rot and plant death. A soilless potting mix packed with organic matter is a terrific alternative to fill your containers.
Sand, peat moss, and vermiculite should equal whatever soilless mix you employ. Go for crumbly, loamy soil.
Before placing the plant in the compost, add a lot of compost or aged manure. The plant needs a steady supply of nutrients.
Although they can survive in soil with a pH as high as 7.6, it is best if the ground has a neutral pH range of 6.5 to 7.0.
Since topsoil tends to pack down and interfere with drainage and root growth, potting soil is light and loose.

5. Sunlight To Grow Okra In Containers
Once your seedlings have emerged, choose a spot that receives full sunlight for at least five to six hours each day, preferably more.
Okra needs lots of sunlight, like other popular southern veggies like tomatoes and peppers.
It would be best to plant okra in potting soil that is loamy, crumbly, and well-draining. Rich in organic content, soilless potting mixtures are excellent.
If not, you can add a lot of organic matter, such as compost or old manure, to your okra plants to ensure a steady supply of vital nutrients.
6. Watering Requirements To Grow Okra
Soak the soil until it feels damp to the touch. After planting the seeds, lightly water each pot until the soil is thoroughly moist and some water leaks from the bottom of the container.
You shouldn't use a strong stream of water because it can harm the earth or knock the seeds loose.
Observing little soil shrinkage is common due to the water's compression. You don't need to bother putting more roots in the pot as long as they remain buried.
7. Temperature To Grow Okra
Temperature is the most crucial element in growing healthy okra since it needs a lot of heat.
The plant may grow above 50°F but requires temperatures between 75 and 95°F to flower and produce abundant fruit.
Okra plants can withstand high temperatures well but do not have pods when the temperature drops too low.
8. Fertilizer To Grow Okra
Manure can be added to the soil to nourish it and occasionally be applied as a side dressing to plants.
You can also use a balanced fertilizer to boost your plants' extra nutrients during planting time. Reapply a balanced fertilizer once the plant has grown to six inches.
Maintaining balance by monitoring your pH levels is important if the soil is nitrogen-rich. Adding balanced fertilizer could tilt the balance favouring vegetative development at the fruiting price.
Instead of balanced mixes like a 5-10-15 or 6-12-12 later in the growing process, feed the plant lower nitrogen fertilizers.
9. Pruning Okra Plants
As okra plants grow to a maximum height of 4-6 feet, you can pinch the top growth of your plant once or twice when it is young.
Mulching is always a good idea because it aids in the soil's ability to retain moisture. Mulching lowers the watering required if you live somewhere with scorching summers.
Even though these plants can tolerate drought, the soil must be slightly moist for the best growth and output.
10. Pests & Diseases Of Okra
Aphids, nematodes, flea beetles, stink bugs, and whiteflies are a few of the problems that can harm okra.
Keeping your plants warm and dry is the most effective approach to ward off pests. Additionally, you'll want to prevent any infestations from starting, so keep an eye out for any tiny bugs and regularly check the plant's base and the leaves' undersides.
If your plant has a pest infestation, you can use commercial pesticides or insecticidal soap to eliminate the pests. Okra is vulnerable to worm attacks, fusarium wilt, and problems like aphids and whiteflies.
Mealybugs also hinder the development of the plant. However, plants grown in large quantities sustain more damage from these pests. Okra grows well in pots because it is simple to manage.
Here is yet another fungus that can quickly ruin your crop. The leaves eventually turn necrotic, with older plants first displaying wilting symptoms. Your plants may finally get stunted and die from severe infections.
Fusarium wilt is a contagious disease more likely to occur in warm climates. You'll observe a darkening of the stem near the soil line and perhaps canker growth due to this fungus. The plant's leaves gradually wilt and fall off as a result.
Sadly, once infected, this fungus is impossible to get rid of. It suggests using crop rotation to prevent it from growing in the soil.
11. Blooming Time Of Okra
After planting, okra blooms in approximately two months, and the fruits start to appear in 5- 7 days.
Okra must be plucked frequently to keep the soft pods from becoming overly fibrous and difficult to consume.
Pick your pods when they are between three and five inches long. Harvesting fruit that bends readily and breaks off at the tip is still sensitive and possible.

12. Harvesting Okra
The most crucial fact to be aware of is that okra plants must be harvested regularly. Blooms don't start to show for about two to three months after planting. Predict that fruits won't start to appear for another week after the blossoms do.
A cut-and-come-again plant is an okra. You don't have to be concerned about pollination because they bloom almost daily, and each flower will self-fertilize.
After flowering, fruiting takes 7–10 days. When the pods are still fragile, you want to harvest them.
They become too difficult to consume if you wait too long because they get fibrous. Aim for a length of 3 to 5 inches for each pod. The first pods are ready for harvest, starting at the plant's base and moving upward.
You'll take cuttings from the top of the plant toward the end of the growing season. Cut the pods free from the plant using pruning shears.
You must make sure to inspect the plant every day. The pods only need to stay on the plant for one or two extra days before they turn hard and woody and are all but unusable.
You should grow okra without spines to avoid their stiff hairs cooking off later. Since being trapped with the hair is uncomfortable, it is a good idea to use gloves and a long-sleeved shirt.

Conclusion
Okra is a tasty dish with several health advantages. It is a good source of magnesium, folate, fiber, antioxidants, and vitamins C, K1, and A.
Okra may help with blood sugar management, heart health, and pregnancy. It might even have anti-cancer qualities. So don't miss trying these Vegan Okra Recipes For Your Kids on my vegan website.
I trust you enjoyed this article on the Best Steps To Grow Okra In Containers. Please stay tuned for more blog posts to come shortly. Take care!
JeannetteZ
>>>Please click here to read my all-inclusive article about Container Gardening<<<
>>>Are you interested in homegrown herbs and medicine? Please click here to find out more about it!<<<
Your Opinion Is Important To Me
Do you have thoughts, ideas, or questions? I would love to hear from you. Please leave me your questions, experience, and remarks about this article about the Best Steps To Grow Okra In Containers in the comments section below. You can also email me at Jeannette@Close-To-Nature.org.
Disclosure
This post may contain affiliate links. As an Amazon Associate and other affiliate programs, I earn from qualifying purchases at no extra cost to you. Read my full affiliate disclosure.
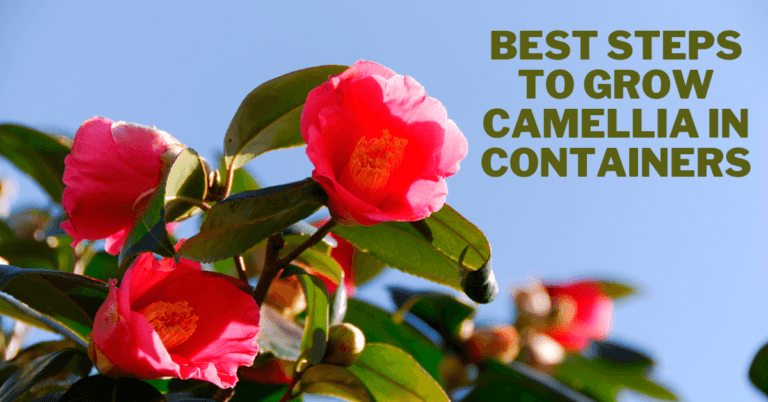
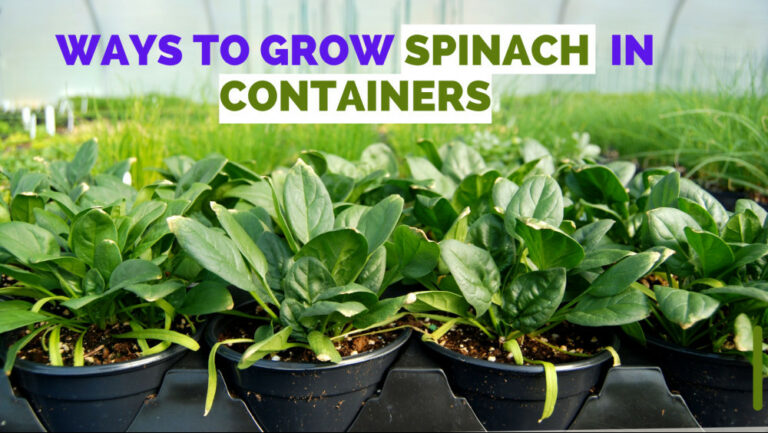
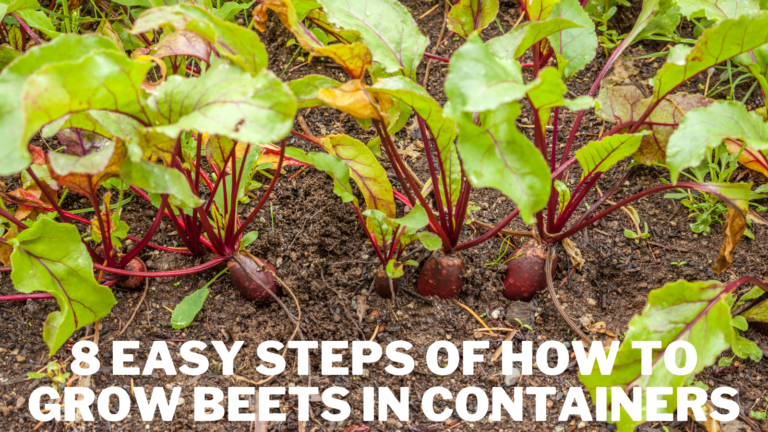
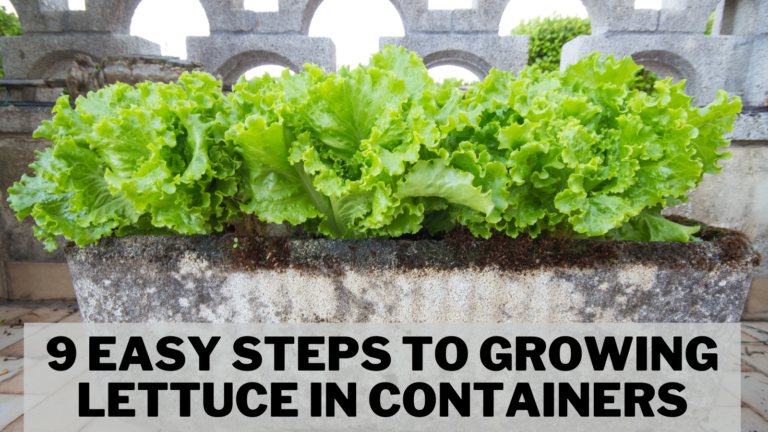
You might also enjoy these blog posts:
Best Steps To Grow Drumstick Alliums In Containers
Best Steps To Grow Ylang In Containers
Best Steps To Grow Cloves In Containers
Best Steps To Grow Eucalyptus In Containers
Best Steps To Grow Acai In Containers