Best Steps To Grow Chickpeas In Containers
There’s something truly rewarding about making hummus from scratch — especially when you’ve grown the chickpeas yourself.
Whether you have a sprawling garden or a small balcony, you can easily grow chickpeas in containers and enjoy fresh, homegrown flavour right from your own hands.
These hardy legumes do more than enrich your kitchen — they also nourish your soil by adding nitrogen, making them a smart, sustainable crop for gardeners of all levels. Watching chickpeas sprout, bloom, and ripen is deeply satisfying, and the harvest is as nutritious as it is fulfilling.
Originally from the Middle East, chickpeas have travelled across centuries and continents — now thriving in gardens from Europe to India and beyond.
Rich in plant-based protein and nearly therapeutic in their benefits, they’ve earned a special place in gardens and kitchens worldwide.
Before you sow your seeds, let’s explore how to care for chickpea plants and get the most from your container garden.
History & Origin Of Chickpeas
Chickpeas were one of the first legumes to be cultivated. Middle Eastern chickpea remains dating to about 7,500 years ago have been discovered.
The fact that these bones were found in the aceramic layers beneath Jericho and ayönü in Turkey indicates that people had been raising chickpeas long before they could make pottery.
Other samples have been discovered in Neolithic pottery from Hacilar, Turkey, and they have been used historically in Greece, France, and other parts of Europe.
Around 800 AD, Charlemagne's Capitulare de villis began its literary appearance. In that writing, Charlemagne explains how chickpeas were raised in every imperial demesne, or portion of a manor, under the supervision of a lord.
Later, Nicholas Culpeper and Albert Magnus refer to chickpeas as having three different hues and being less “windy” than peas.
A German author also suggested chickpeas as a coffee alternative in 1793. During World War 1, Germany would later apply this information and cultivate chickpeas.
Even now, chickpeas are sporadically used in place of coffee. Chickpea is a mixture of the French word “chiche” and the Latin word “cicer,” which means “chickpea.
“The first time the word “chickpea” appeared in English print was in 1338, according to dictionaries from the middle of the 18th century.
“Cicer may be named in English Cich, or ciche pease, after the French [sic] tongue,” the Oxford English Dictionary wrote in 1548.
The French word “pois cliche,” which became “chiche pease” as it crossed the English Channel, is most likely where the legume got its name.
Many believed one “chiche pease” was equivalent to one “chickpea.” The Spanish term for chickpea is “garbanzo,” which is a combination of the words “garau,” which means “seed,” and “antzu,” which means “dry.”
Types Of Chickpeas
If 40 is the new 20, chickpeas are unquestionably the fresh go-to protein food. Well, not that new. The fact is that chickpeas have been valued as a dependable source of protein and energy for a very long time and have been around for a very long time.
In truth, chickpeas are a gastronomic marvel in their own right. Now is your time to find them if you haven't already.
1. Green Chickpeas
Green chickpeas are typically available in stores and preferred in many cuisines. They are comparable in size to green peas but have a sweeter flavour. As opposed to ordinary peas, green chickpeas don't have consistent shapes.
Like all other cultivars and types, green chickpeas contain antioxidants and other beneficial compounds. They improve the condition of your arteries and aid in lowering cholesterol. Additionally, chickpea consumption is linked to a reduced risk of various malignancies.
2. Black Chickpeas (Ceci neri)
Chickpeas take on a dark, nearly black hue after thoroughly drying in the sun. This is the origin of the term “black chickpea.” They also go by the name Kala Chana and taste nutty and earthy.
These chickpeas are a strong source of antioxidants and other substances, such as cyanidin and phytonutrients, which are especially advantageous for heart and blood vessel health problems. As a result, black chickpeas are crucial for heart health and other disorders.
Additionally, black chickpeas include folate, a crucial source of energy and vitamin B9. This benefits overall cell health and growth, particularly for teenagers going through growth spurts and pregnant women.
Black chickpeas are utilized in various dishes in addition to their health advantages. They hold their shape well and can be used to create hummus, falafel, and flour.
3. Kabuli
You may not be familiar with the desi kind if you're scratching your head about it. This is because supermarkets tend to stock the Kabuli variety more frequently. The typical chickpeas that you see many people prepare are called kabuli.
They often have a thin covering, are huge, and are beige. Kabulis have a longer grain-filling process, even if they bloom simultaneously as Desis.
The longer grain filling and thin covering make Kabuli more susceptible to contamination from many sources.
These include things like chemicals, fungi, and insects. Despite being a popular variety, cultivating the seed requires significantly more care.
4. Chana Dal
The last variety of chickpeas is the little split desi type (or variation) known as chana dal. They can also be discovered most frequently in specialist or Indian stores.
The chana dal chickpeas are yellow, unlike the other chickpeas mentioned above. Extremely comparable to yellow split peas.
Fresh chana dal chickpeas have a sweet and nutty flavour as well. In India, they are typically used to manufacture chickpea flour.
Chana dal is a good source of vital amino acids when appropriately prepared. Due to its low sugar content, it is also a great source of nutrients for those with diabetes.
5. Kyabra
The chickpea cultivar known as Kyabra is a relatively new product because it is pretty tall, and the plants are easy to harvest. Additionally, this cultivar matures a little bit sooner than some other types.
This is useful while trying to bring in the product while avoiding storms in the summer. It has an early growing season since it is comparatively frost-hardy.
6. Flipper
NSW I&I developed this cultivar, which was made available in 2005. When there is a high risk of Ascochyta, Flipper, the most resistant chickpea type currently available, should be used.
Flipper is advising for production in southern Queensland's surrounding border regions and greater rainfall areas of New South Wales.
The flipper's disease resilience must weigh against slower maturity and a lower potential yield. In western Southern Queensland, it needs to function better. The company AWB Seeds sells seeds.
7. Moti
The Western Australian Department of Agriculture (DAWA) introduced this cultivar in 2003 with Central Queensland production in mind. Moti cannot be grown south of Theodore/Rolleston because of its vulnerability to Ascochyta blight.
It is currently the tallest and highest-producing desi chickpea cultivar suitable for dryland and irrigated farming.
Moti consistently outperformed other commercial types in yield experiments conducted between 1999 and 2005 by an average of 12%.
When planted in Central Queensland in May and left to grow until late June, Moti performs better than Jimbour and Amethyst in flowering and pod sets.
Because of its early blossoming, early planting dates should be cautiously utilized in areas susceptible to severe frosts.
Steps To Grow Chickpeas In Containers
Chickpeas may be the best complete protein available. They are easy to cultivate and have many health advantages. They are known for regulating appetite and are high in fiber. They feed your gut wall's lining cells.
They are rich in potassium, vitamin B3, omega-6 fatty acids, and many other beneficial substances. The harvest season for these delicious beans can take up to 100 days from the seeding date due to their long growing season.
However, as long as you guard the shallow root system and refrain from overwatering them, the plants are simple to care for.
1. Choose The Right Container
Use biodegradable pots or containers instead. Use paper or peat seedling pots that can be planted straight into the ground when transplanting chickpea seedlings, instead of plastic or ceramic pots or containers, since they will not transplant effectively.
You can buy these biodegradable seedling pots or containers from online retailers and most local gardening supply stores.
2. Pick The Perfect Planting Time
Chickpeas can be planted in the spring when the soil temperature has reached at least 50°F. They require a long, warm growing season following that.
To increase your chances that your plants will mature before the end of the summer if you reside in a cold area, you need to start your outdoor growing season earlier than you would otherwise.
You can begin chickpeas indoors two to four weeks before your average last frost date if you use coir or paper pots that can be buried in the ground without damaging the roots.
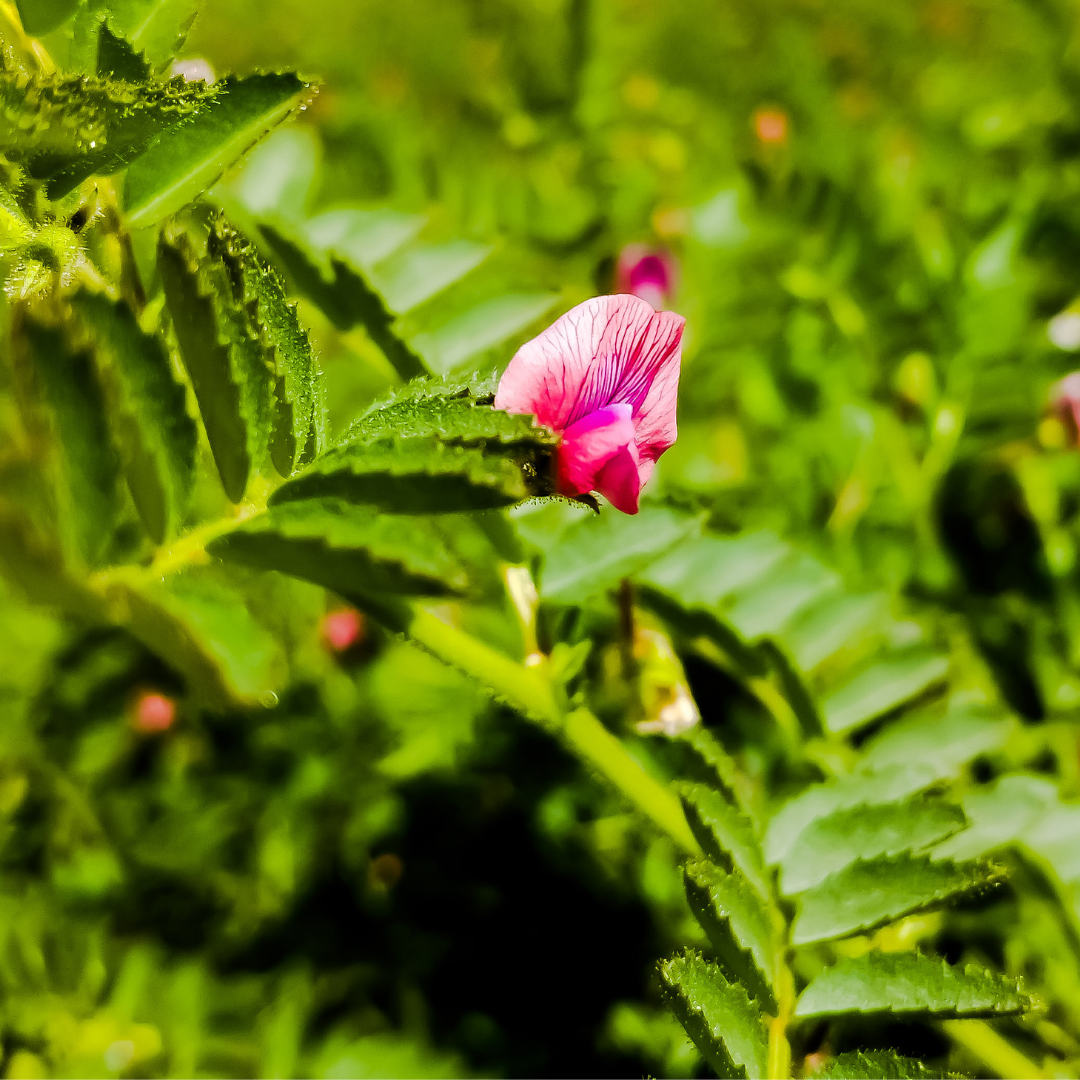
3. Select The Ideal Location
Select the ideal and proper place. You should pick an area with at least six hours of direct sunshine because chickpeas thrive in full sunlight. Additionally, the soil should be loose, exceptionally well-drained, and densely organic.
Chickpeas can be grown in light or partial shade; however, doing so will significantly reduce the plant's ultimate production. Refrain from using places that are particularly shaded or soils that are heavy in clay.
Nitrogen may make the leaves very big and bushy, but your plant's overall yield may suffer if nitrogen levels are too high. Avoid using locations or soils with a lot of clay.
4. Soil Requirements To Grow Chickpeas In Containers
Mix in a few handfuls of aged compost a week before transplanting your plants to increase the soil's quality and condition.
To stimulate a bigger output from the plant, consider using a fertilizer that is particularly high in potassium and phosphorus.
It is preferable to use agricultural sand, fine gravel, or even specially formulated soil to make it less dense and to enhance the drainage system if the soil is too heavy. Avoid mosses since they tend to hold onto water too much.
Turn Your Passion for Nature Into Income
🌿 Whether you love gardening, caring for animals, or exploring holistic living,
You can share your knowledge online and earn from it.
Discover how nature lovers are growing their passions into meaningful, income-generating blogs. 👇
5. Sun & Temperature
Garbanzo beans require full sun for at least six to eight hours daily. Chickpeas grow well in USDA zones 2 through 10b in the spring. Zones 10b through 11 can be planted in the fall, although pestilence is a bigger concern.
The native environment of the chickpea plant experiences days with temperatures between 70°F and 80°F. Nighttime lows of 64°F can be handled without causing any damage to the plant.
Garbanzo beans must be cool for at least 90 days for them to grow. They can tolerate some frost as well. Blossom drop can occur when chickpeas experience too much cold during the flowering stage of growth.
The vegetative stage of garbanzo beans is affected by cold, which inhibits water and nutrient uptake and growth. Heat waves above 85°F have the same effect.
Increase your watering during the summer, and cover your plant with a shade cloth during a heat wave. A frost cloth could be helpful during a sudden freeze. If you currently keep your plant in a container, bring it inside.
6. Water & Humidity
To keep the soil moist throughout, water frequently throughout the morning. Every week, chickpea plants require at least 1 inch of water.
Hydrate the plants at the base using drip irrigation or soaker hoses to provide water directly to a plant's root system. Avoid watering from above. Give the plant more water than usual in the seed production stage.
This guarantees a high yield. Avoid overwatering if it rains a lot during the cool seasons while you are producing chickpeas.
Instead, give the soil time to dry up before the subsequent irrigation cycle. When there is not enough soil moisture, chickpea plants cannot tolerate drought, and their yields are reduced.
7. Fertilizer
Do not use fertilizers high in nitrogen when growing chickpeas. Because these plants already supply nitrogen to the soil, adding too much nitrogen will cause the plant to focus on producing leaves rather than healthy, green chickpeas.
You shouldn't cultivate this plant alongside other legumes for the same reason. When planting, apply a 5-10-10 NPK powder fertilizer.
You'll get an excellent yield using 1 cup per 50 feet of row. In the middle of the growing season, you can amend the soil surrounding the chickpeas with a small amount of aged compost or another high-organic material.
However, like before, you should avoid fertilizers with high nitrogen content. Chickpeas manufacture all the nitrogen they require by collaborating effectively with soil microbes. Any excess nitrogen may make the leaves bushier, reducing the yield in the long run.
8. Planting Chickpea Seeds
Put the chickpea seeds into the soil to a depth of ¼ inch. Planting the seeds about four weeks before the anticipated last frost date is better.
Chickpea seeds must be sown indoors instead of in cold or cool ground because they are rather brittle.
If you want to plant chickpea seeds outside, wait one to two weeks before your final anticipated frost, and then cover the area at night with a very light layer of mulch or old sheets to help the seeds stay warm.
Due to their long growing season, chickpeas may take 90 to 100 days to reach harvestable maturity. You must plant them as soon as possible for this reason.
Sow one to two seeds in each pot or container. Now, plant one seed 1 to 2 inches (2.5 to 5 cm) deep in the potting soil used to fill the seedling containers in each pot or container. One seed per pot or container is advised or urged, but you may plant as many as two.
However, you will need to trim the seedlings so that there is just one in each pot or Container after they emerge. If you need to thin down the seedlings, use sharp scissors to clip the weaker seedlings away at the soil line.
Avoid digging it up because doing so might harm the roots. Typically, sprouting or germinating takes close to two weeks.
9. Pruning
Chickpeas must be thinned out, but do not require trimming. Cut off any additional seedlings at the surface level when they reach a height of 3 inches to ensure that each plant has a 6-inch spacing between them.
Because doing so can disturb and harm the roots of the plants you wish to maintain, do not remove the seedlings like you would weeds.
10. Pests & Diseases Of Chickpeas
Chickpeas are highly susceptible to attacks from various problems. To begin with, avoid pre-treating the plant for pests; wait until you see or notice bugs before taking any action.
Use a hose blast of water or insecticidal soap to manage or regulate adult aphids, leafhoppers, and mites. After spotting the adults, find the pests' eggs and crush them between your fingers. Alternatively, you can chop off any leaves with egg cases on them.
Try using a natural, food-safe insecticide with pyrethrins for nasty infestations. You should even keep the garden clean to lessen the number of pests.
11. Harvesting Chickpeas
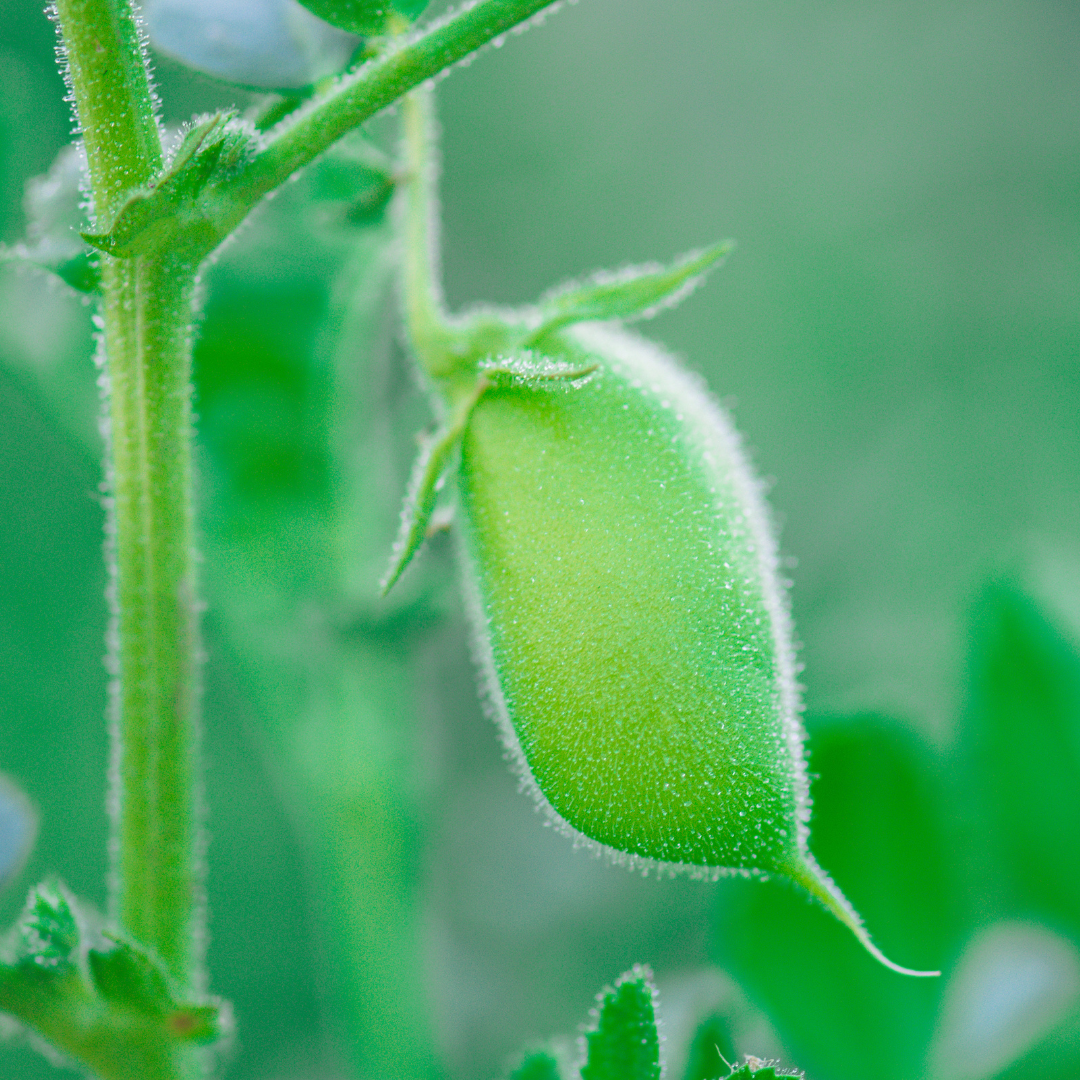
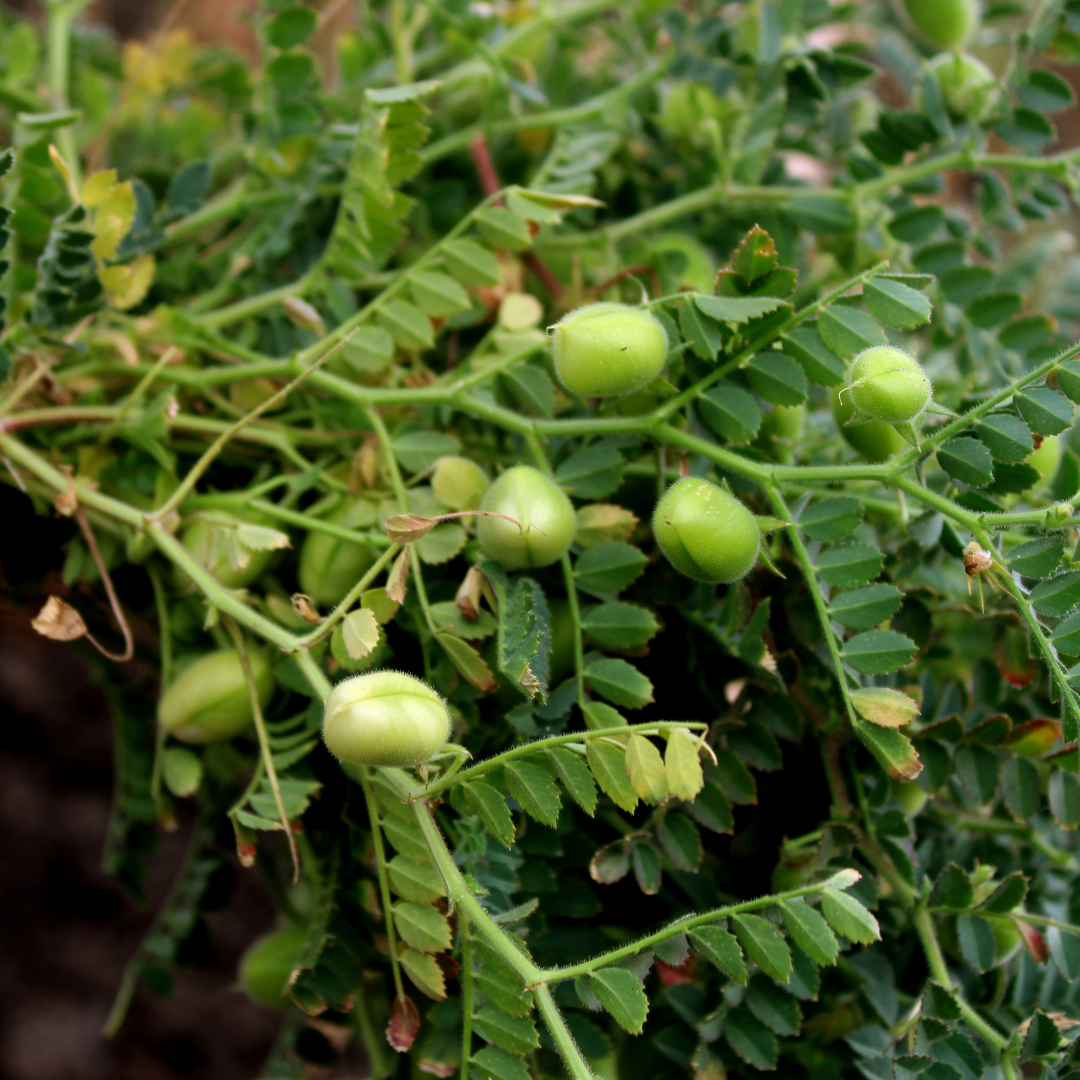
Small, one-inch-long pods with only one or two beans will grow on the vines. This could appear discouraging or indicate difficulties if you are used to producing peas or other podded beans. That is how the plant develops.
Chickpeas can be harvested when still green and eaten like fresh snap beans. However, dried bean harvesting is more typical.
The pods can be left on the plant until they are thoroughly dried, but moist weather increases the danger of mould. When the plant's leaves turn brown, harvest the pods and bring them inside to complete drying.
Chickpea Recipe Ideas from my LivingTheVeganLifestyle Website
Conclusion
Growing chickpeas in containers is a fun and rewarding way to enjoy fresh, nutrient-rich legumes in your home garden.
By following the steps outlined in this article, you can successfully grow chickpeas in containers and enjoy a bountiful harvest.
Remember to choose the right container size, use well-draining soil, and provide ample sunlight and water. Also, select the right chickpea variety for your container and provide adequate support as the plants grow.
With a bit of care and attention, your container-grown chickpeas will thrive and provide a delicious and healthy addition to your meals. Happy gardening!
I trust you enjoyed this article on the Best Steps To Grow Chickpeas In Containers. Please stay tuned for more tips, guides, and inspiration about caring for your feline companions.
Take care!
— JeannetteZ
💬 Your Opinion Is Important To Me
Do you have thoughts, ideas, or questions? I’d love to hear from you. Please leave your comments below or email me directly at Jeannette@Close-To-Nature.org.
📚 More Nature-Inspired Reads
Explore more ways to connect with nature, nurture your pets, and live in harmony with the world around you 🌿

