How To Build A DIY Hydroponic System
How To Build A DIY Hydroponic System
Building a DIY hydroponic system is an exciting way to grow plants without soil, using only water, nutrients, and a controlled environment.
Ideal for small spaces, hydroponics allows you to cultivate fresh herbs, leafy greens, and more right in your home. This guide covers the essentials—explaining the tools, materials, and steps needed to create your system.
With just a few supplies, you can enjoy a sustainable, soil-free garden that delivers fresh produce year-round, perfect for beginners and seasoned gardeners.
What Does Hydroponics Mean?
Hydroponics is a method of growing plants without soil by using a nutrient-rich water solution instead. In traditional soil gardening, plants rely on the soil for essential nutrients, stability, and moisture.
In hydroponics, however, plants receive all their nutrients directly from the water, allowing for more precise control over nutrient levels and environmental factors like pH and moisture.
In hydroponic systems, the roots are either fully submerged in water or supported by an inert growing medium, such as perlite, coconut coir, or clay pellets.
This setup gives plants constant access to oxygen, water, and nutrients, promoting faster growth and higher yields than soil-based gardening.
Because hydroponic systems are typically housed indoors, they can run year-round, allowing gardeners to grow crops in winter or urban settings with limited space.
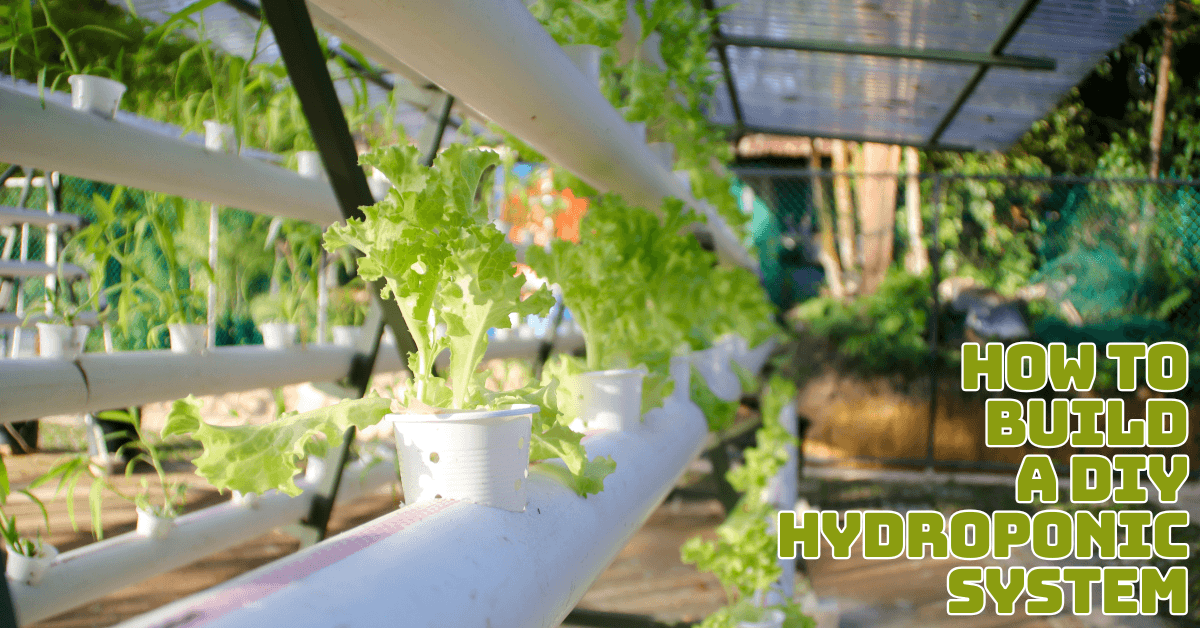
Hydroponic systems come in various types, including nutrient film technique (NFT), deep water culture (DWC), and drip systems, each catering to different plant needs.
With the proper setup, hydroponics can efficiently yield fresh vegetables, herbs, and fruits, using less water and space than traditional agriculture.
The controlled environment also reduces the risk of soil-borne diseases, making hydroponics a cleaner, eco-friendly, and productive way to grow plants.
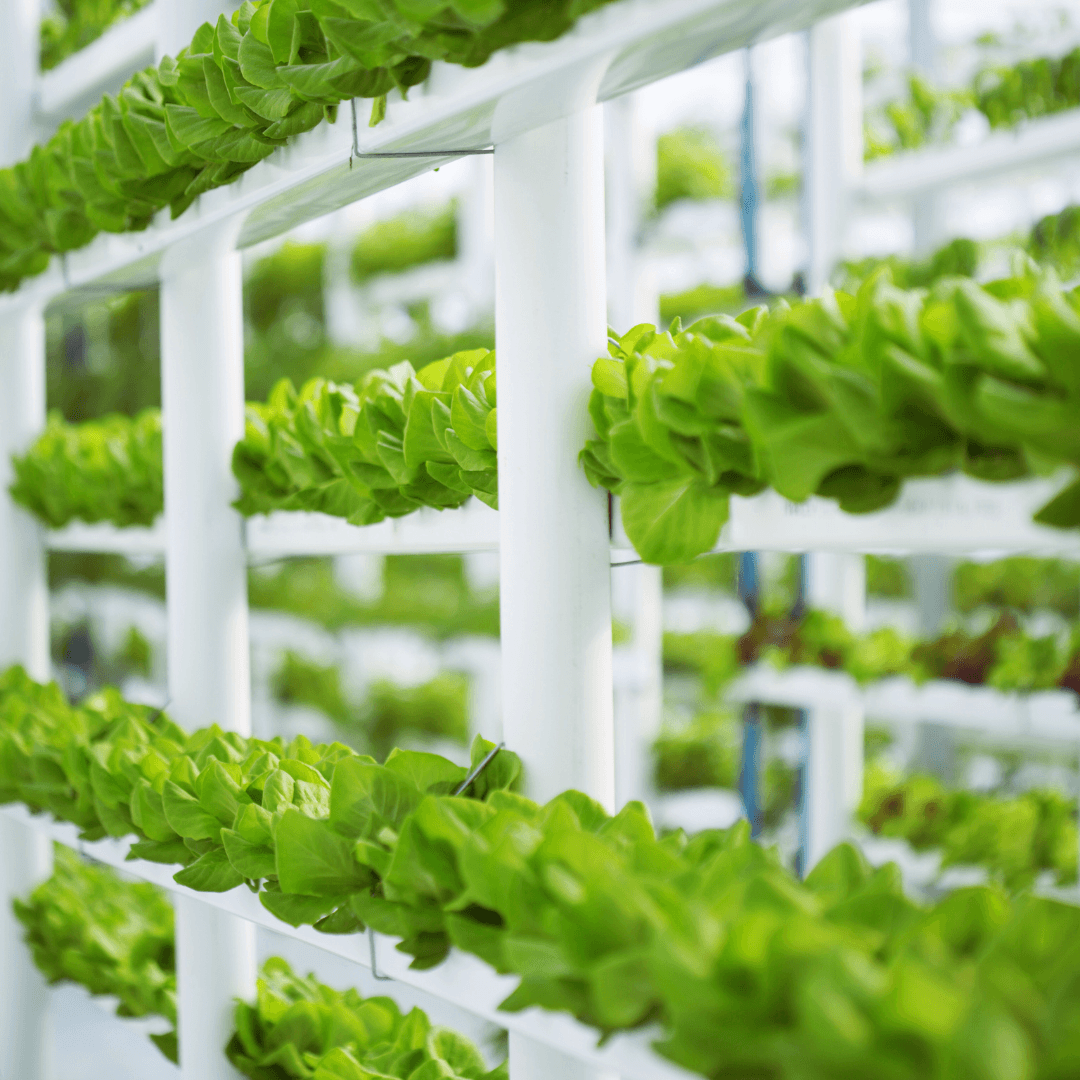
Different Types Of Hydroponic Systems
Each hydroponic system has its own configuration and advantages for particular types of plants. The primary types are summarized as follows:
1. Nutrient Film Technique (NFT)
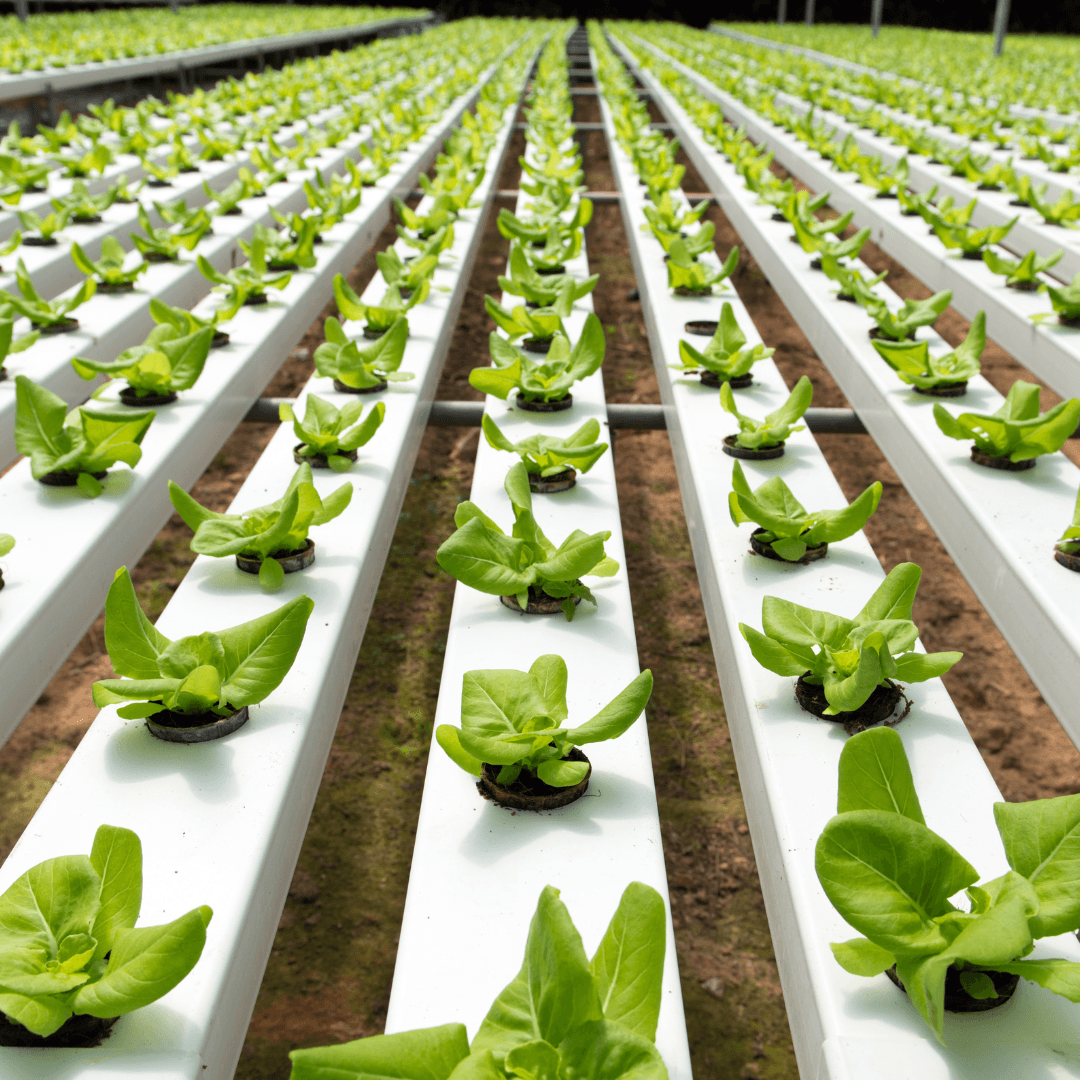
The NFT system circulates a thin film of nutrient-rich water along a slanted channel, allowing plant roots to absorb nutrients while staying oxygenated.
The continuous flow helps prevent stagnation and root rot, making it efficient for small plants that don’t need heavy root support, like lettuce and herbs. NFT systems are compact and widely used in hydroponics.
2. Deep Water Culture (DWC)
In DWC, plants are held above a large reservoir filled with nutrient-rich water, with roots fully submerged. An air pump adds oxygen, preventing root suffocation.
This system promotes rapid growth and is easy to maintain, making it famous for leafy greens and herbs. DWC systems are ideal for beginners due to their simplicity and effectiveness.
3. Drip System
This setup involves dripping a nutrient solution directly onto each plant’s base through tubes, providing efficient, targeted hydration.
Drip systems are adequate for various plants, including more significant fruit-bearing types in commercial hydroponics. They allow precise control over nutrient delivery and moisture, making them highly adaptable and suitable for crops from tomatoes to strawberries.
4. Wicking System
The wicking system uses absorbent materials, like cotton, to pull nutrient solution up to the roots without pumps, making it simple and energy-efficient.
Though best for small, water-tolerant plants, it’s great for beginners seeking a low-maintenance setup. However, wicking can be slower, so it’s typically used for herbs and leafy greens rather than larger plants.
5. Ebb and Flow (Flood and Drain)
In this system, the growing bed periodically floods with nutrient solution before draining, allowing roots to absorb nutrients and oxygen alternately.
The flooding schedule provides balanced moisture levels, which are ideal for plants with moderate water needs, like strawberries and herbs. Ebb and Flow systems offer flexibility, working well with various plants and supporting large or small gardens.
6. Aeroponics
Aeroponics suspends roots in the air, misting them with nutrient solution at timed intervals. This oxygen-rich environment promotes fast, healthy growth but requires careful timing and maintenance.
Aeroponics is commonly used for leafy greens and maximizes root exposure to oxygen and nutrients, producing high yields. Though effective, it can be more costly and technically demanding than other methods.
7. Aquaponics
Aquaponics merges hydroponics and fish farming into a mutually beneficial system. Fish produce waste, which becomes natural plant nutrients, while plants filter the water, keeping it clean for the fish.
This autonomous, closed-loop setup requires careful management but provides an eco-friendly way to grow plants and fish, offering a balanced and productive ecosystem.
8. Kratky Method
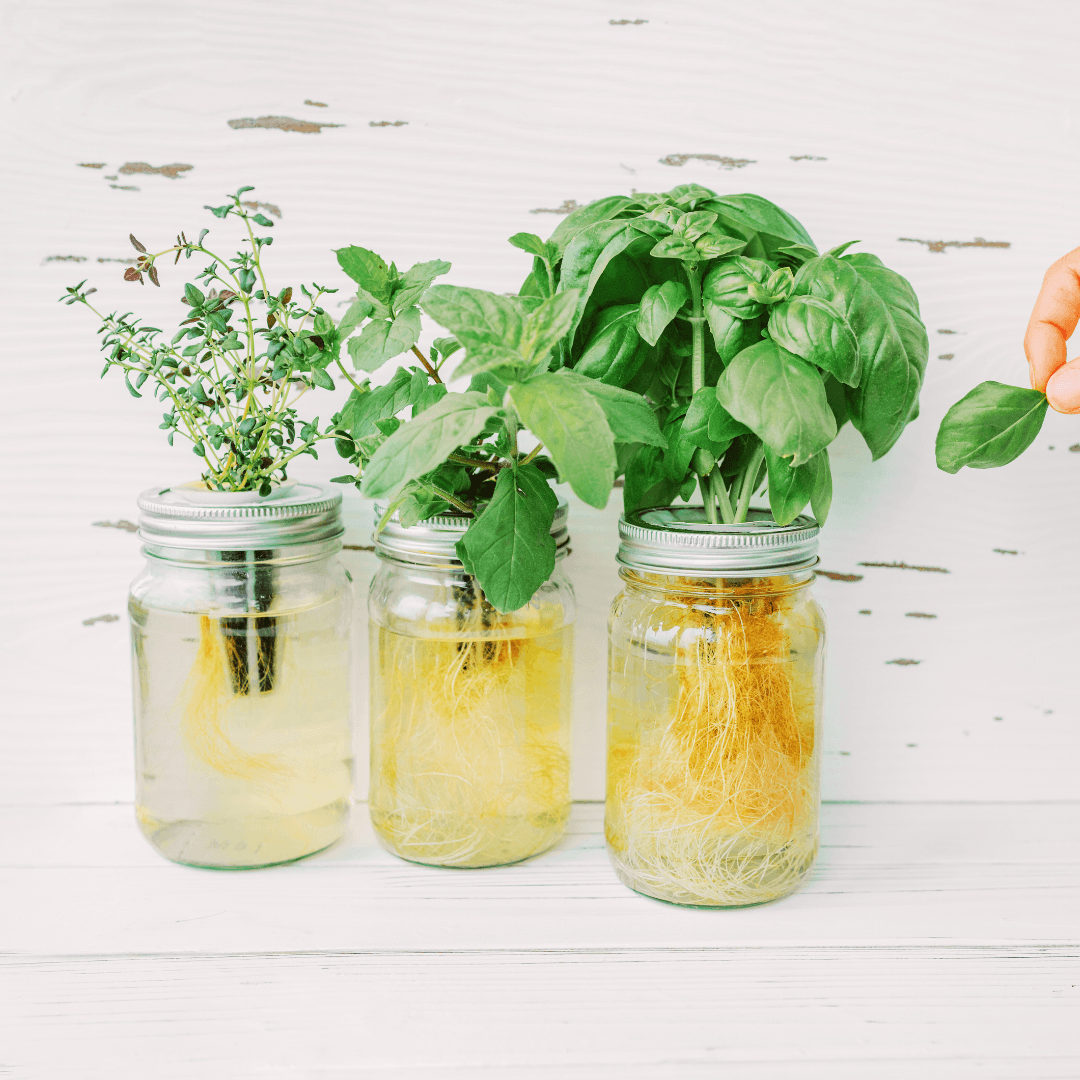
The Kratky method is a simple, non-circulating hydroponic system in which plants are suspended above a gradually depleting nutrient solution.
As the solution lowers, roots gain access to oxygen, eliminating the need for pumps or electricity. This hands-off approach is perfect for beginners and small-scale gardeners, especially for growing leafy greens with minimal setup and maintenance.
9. Tower Garden
A tower garden grows plants vertically in stacked containers, with nutrient solutions cascading down from the top. This efficient, space-saving setup is ideal for urban gardening or small spaces.
It supports a wide range of plants, including herbs and small fruits. Tower gardens maximize yield per square foot and create visually striking, productive displays.
10. Fogponics
Fogponics, a variation of aeroponics, uses an ultrasonic fogger to transform nutrient solution into a fine mist. This mist envelopes the roots, providing nutrients in an ultra-fine form, enabling fast nutrient absorption and accelerated growth.
While it yields impressive results, fogponics demands precise control, making it more technically demanding and suitable for advanced gardeners.
Step-By-Step Guide To Building A DIY Hydroponic System
Step 1: Gather Your Materials
Container
A storage tote or 5-gallon bucket holds the nutrient solution, submerging the plants’ roots. This tote or bucket serves as the core of your hydroponic system, providing a steady reservoir for nutrients and water.
Net Pots
Small, perforated baskets hold the plants securely, allowing roots to extend into the nutrient solution. Net pots help stabilize plants in the container and ensure consistent access to nutrients and oxygen.
Air Pump And Air Stone
This setup adds oxygen to the nutrient solution, preventing root rot and promoting healthy growth. An air pump pushes air through the stone, producing bubbles to circulate and oxygenate the water.
Hydroponic Nutrients
These specially formulated nutrients provide essential minerals in water, replacing the soil's role. They include macronutrients and micronutrients, supporting optimal plant health and ensuring fast, balanced growth in a hydroponic environment.
Grow Medium
Materials like rock wool or clay pebbles stabilize plants in the net pots. They hold moisture while keeping the roots aerated, giving plants a steady foundation for growth in the nutrient solution.
pH Testing Kit
A pH testing kit monitors solution acidity, which is crucial for nutrient absorption. Maintaining a pH between 5.5 and 6.5 helps plants effectively absorb nutrients and ensures optimal growth conditions in hydroponics.
Grow Light (optional)
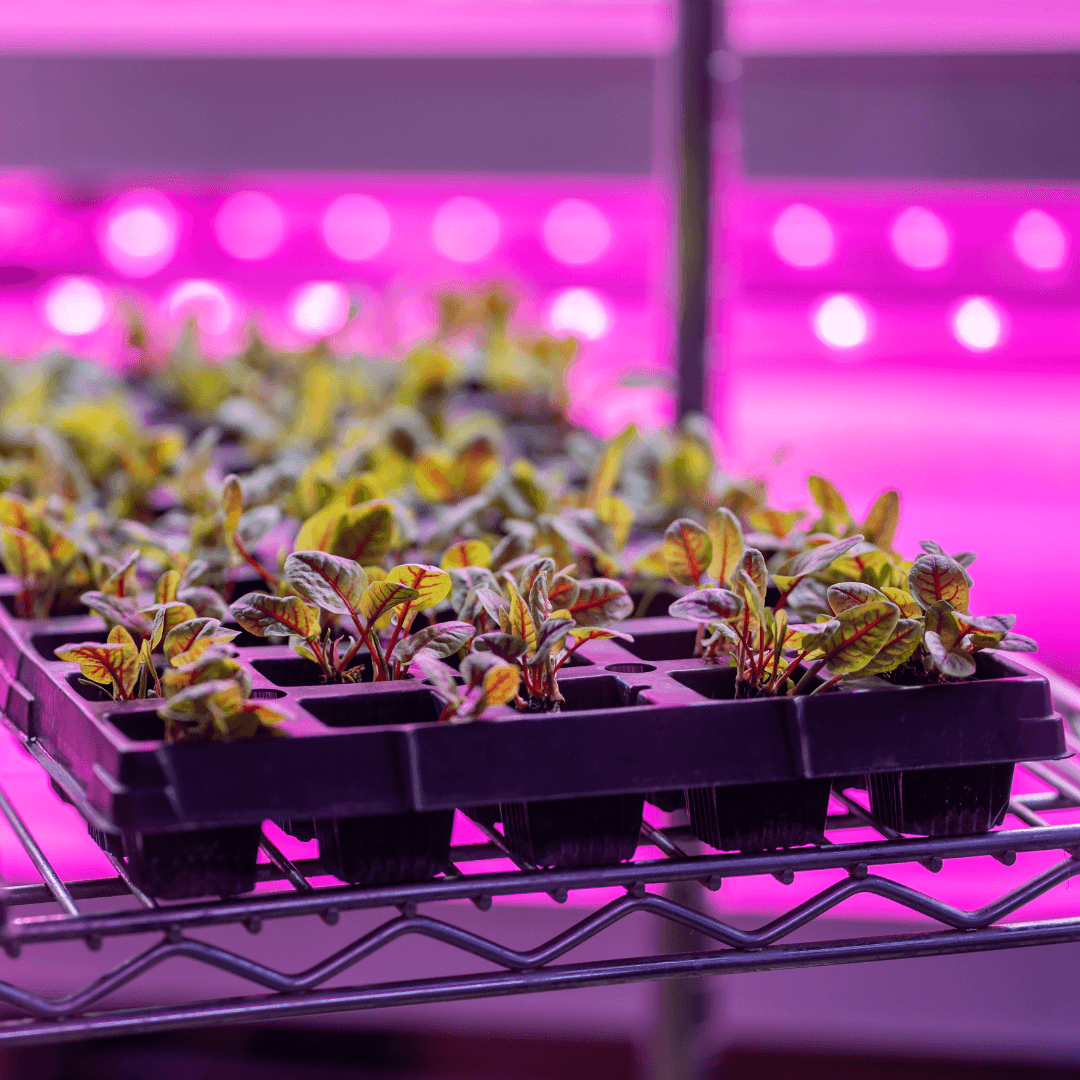
LED grow lights simulate sunlight in indoor setups, supporting plant growth by providing the required light spectrum. They’re ideal for indoor hydroponics, mainly if natural light is limited or unavailable.
Step 2: Prepare Your Container
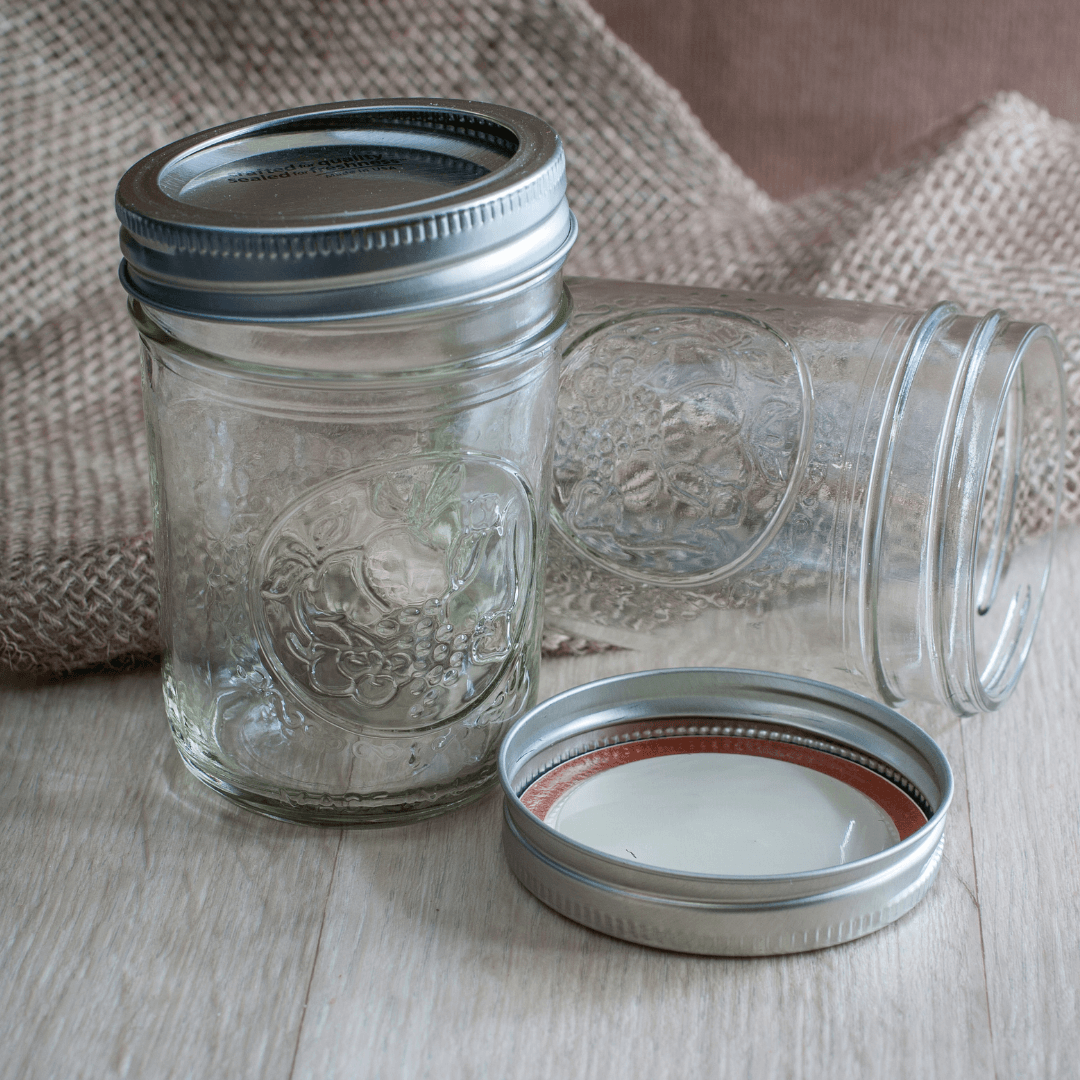
Cut Holes In The Lid
Drill holes in the container lid, making them just large enough for net pots to fit securely. This ensures the plants are supported, with roots reaching the nutrient solution below.
Add Air Stone
Place the air stone at the container’s bottom and attach it to the air pump. This setup releases oxygen bubbles, preventing root rot and circulating nutrients throughout the solution, supporting healthy root growth.
Step 3: Prepare The Nutrient Solution
Fill With Water
Pour water into the container, leaving a gap below the net pots, to encourage root growth toward the nutrient solution. This ensures that roots receive oxygen from the air-filled space.
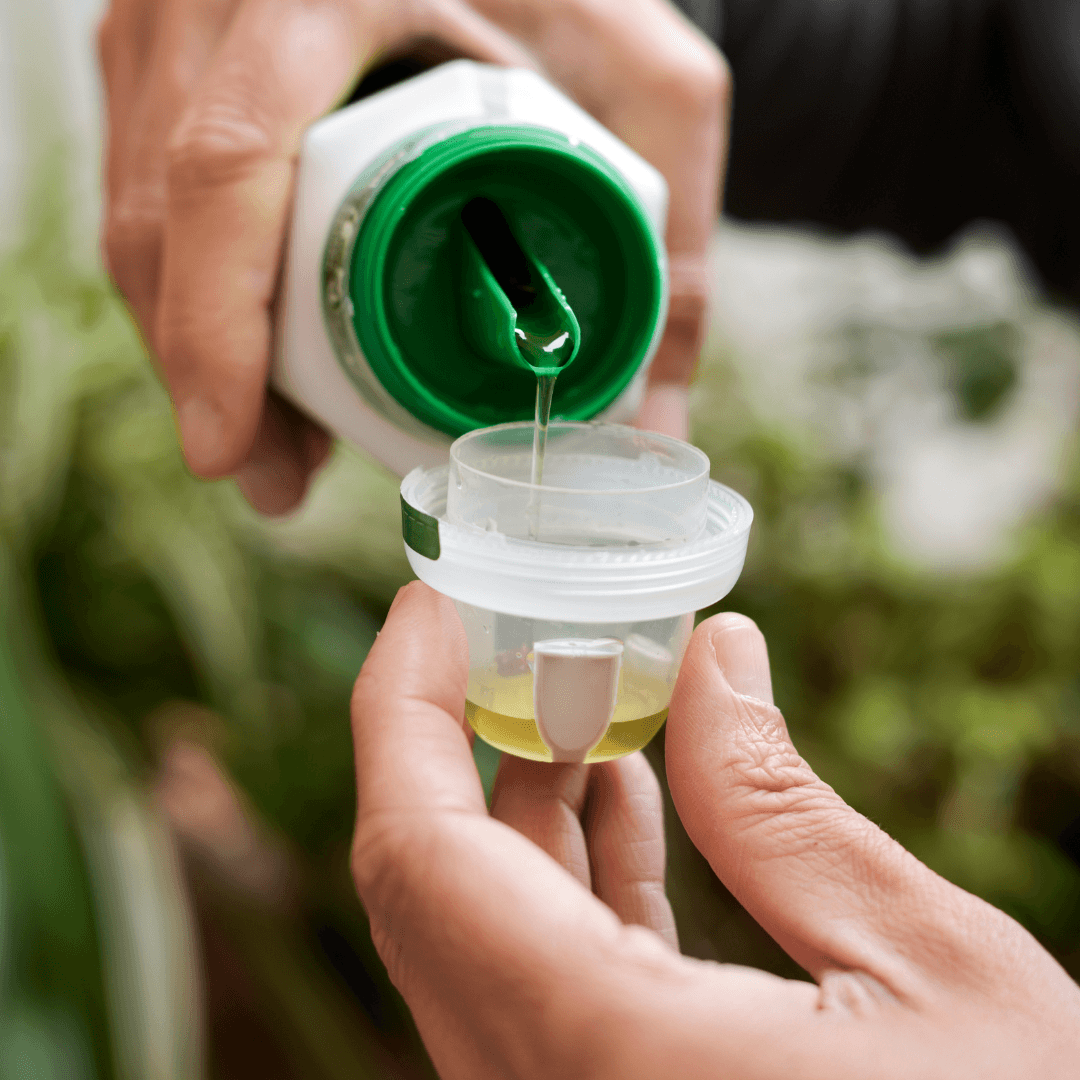
Mix Nutrients
Add the nutrient solution according to package directions, mixing thoroughly until it’s fully dissolved. Properly balanced nutrients provide essential minerals, supporting healthy growth and development for hydroponic plants.
Adjust pH
Use a pH testing kit to measure the solution’s acidity, adjusting as needed to keep the range between 5.5 and 6.5. This range allows optimal nutrient uptake for most hydroponic plants.
Step 4: Set Up the Plants
Prepare Grow Medium
Rinse clay pebbles or pre-soak rock wool to ensure they’re clean and pH-balanced. This step helps create a stable environment, allowing the growing medium to support plants without altering nutrient pH.
Plant In Net Pots
Place seedlings or cuttings in net pots, filling gaps around roots with the growing medium. This setup stabilizes the plants, ensuring they’re well-supported and can easily reach the nutrient solution below.
Place In Container
Fit the net pots into the holes on the container lid, positioning them so roots extend down to reach the nutrient solution. This allows plants to access water and nutrients for optimal hydroponic growth.
Step 5: Set Up Lighting And Aeration
Turn On Air Pump
Activate the air pump to ensure a constant oxygen flow to the roots. This will prevent root rot and promote healthy growth. Oxygenation will also support nutrient uptake and encourage strong root development.
Install Grow Light
Position LED grow lights about 12 inches above your plants to provide consistent light. Set the light cycle to 12-16 hours daily to mimic natural sunlight, ensuring plants receive the proper light spectrum for growth.
Maintenance Tips For A DIY Hydroponic System
1. Monitor pH And Nutrient Levels
Check the pH and nutrient concentration regularly, ideally once a week, to ensure they remain in the optimal range. This ensures plants absorb nutrients efficiently, promoting healthy growth and preventing nutrient deficiencies.
2. Change Nutrient Solution Every 2 Weeks
Replace the nutrient solution every two weeks to prevent nutrient imbalances and buildup. Fresh nutrients keep your system balanced and support consistent plant growth, ensuring roots receive the proper nourishment for optimal development.
3. Watch For Pests And Algae
Regularly inspect your system for pests or algae buildup that can hinder plant health. Clean the components thoroughly to maintain a hygienic environment, prevent contamination, and ensure healthy, thriving plants in your hydroponic setup.
Troubleshooting Common Issues Of A DIY Hydroponic System
1. Algae Growth
Symptoms Of Algae Growth
Slimy green or brown film on the reservoir or components, cloudy water, and foul odour. Algae compete for nutrients and reduce oxygen levels.
Solution For Algae Growth
Use opaque containers to block light, preventing algae photosynthesis. Keep the system in a shaded area or use UV-blocking covers. Clean the system regularly to remove algae buildup.
2. Nutrient Imbalance
Symptoms Of Nutrient Imbalance
Yellowing or browning leaves, stunted growth, weak stems, or poor yield. Plants may show signs of nutrient deficiency or toxicity.
Solution For Nutrient Imbalance
Regularly test the nutrient solution's electrical conductivity (EC) and pH levels. Adjust the nutrient concentration based on plant requirements, and replace the solution every 2–3 weeks.
3. Root Rot
Symptoms Of Root Rot
Brown, mushy, or slimy roots, foul odor, and wilting plants despite adequate water. Poor oxygen levels promote fungal or bacterial growth.
Solution For Root Rot
Use an air pump to maintain oxygen-rich water. Keep roots just submerged to avoid overwatering. Regularly clean the system to prevent fungal infections.
Tips For Successful Hydroponics
1. Choose The Right Plants For Your DIY Hydroponic System
Start with easy-to-grow plants such as leafy greens (lettuce, spinach), herbs (basil, mint), and small fruiting plants (strawberries, tomatoes).
These plants thrive in hydroponic systems due to their manageable size, low maintenance, and fast growth rates, making them ideal for beginners.
2. Provide Adequate Light For Your Indoor Hydroponic System
For indoor hydroponic systems, use full-spectrum grow lights to ensure plants receive adequate light for photosynthesis. Aim for 12-16 hours of light daily, adjusting the duration based on the specific needs of the plants you are growing.
3. Maintain Optimal Temperature
Maintain water temperature between 65°F and 75°F (18°C–24°C) for optimal plant growth in hydroponic systems. Extreme temperatures can stress plants, hinder nutrient uptake, and slow growth.
Regularly monitor the temperature to ensure your plants have a stable, healthy environment.
4. Monitor pH And Nutrient Levels
Regularly check the pH of the nutrient solution, aiming for a range of 5.5 to 6.5. Ensure nutrient levels are balanced to prevent deficiencies or toxicity, as improper pH or nutrient imbalances can hinder plant growth and health.
5. Ensure Proper Aeration
Oxygen is crucial for root health in hydroponic systems. An air pump with an air stone provides continuous oxygenation, particularly in deep water culture (DWC) systems. This ensures healthy root development and prevents issues like root rot.
6. Keep The System Clean
Regularly clean your hydroponic system to prevent algae, mould, and bacteria buildup. Keeping the system clean ensures the nutrient solution remains fresh, promoting healthy plant growth and preventing contamination that could negatively impact plant health and system efficiency.
7. Use Quality Nutrients
Invest in hydroponic-specific fertilizers to ensure your plants receive all essential nutrients.
Follow the manufacturer’s instructions for proper dilution and application frequency to maintain balanced nutrient levels, support optimal plant growth, and avoid deficiencies or nutrient toxicity.
8. Maintain Proper Spacing
Proper spacing between plants ensures good airflow, reducing the risk of disease and pest issues. Proper spacing also allows roots to access nutrients and oxygen more efficiently, promoting healthier growth and maximizing the overall productivity of the hydroponic system.
9. Check Water Levels
Regularly check the water level in your hydroponic system to ensure the roots remain in contact with the nutrient solution. However, avoid submerging them in stagnant water, leading to root rot and hindering nutrient uptake.
10. Be Patient
Hydroponics may take time to master, so be patient as you observe your plants' growth. Regularly monitor their needs and make necessary adjustments to the system. You'll improve your skills and achieve successful, thriving plants with practice.
FAQ
1. How Much Light Do Hydroponic Plants Need?
Answer: Hydroponic plants generally need 12–16 hours of light daily. If growing indoors, invest in full-spectrum grow lights that mimic sunlight. Adjust the light cycle to suit your plants' specific needs.
2. How Do I Prevent Algae Growth In My Hydroponic System?
Answer: To prevent algae growth, use opaque containers to block light from reaching the nutrient solution and keep your system away from direct sunlight. Cleaning the system regularly will also help minimize algae buildup.
3. Why Are My Hydroponic Plants Turning Yellow?
Answer: Yellowing leaves often indicate a nutrient deficiency, particularly a lack of nitrogen or iron. Test and adjust your solution's pH and nutrient levels to correct the imbalance.
4. How Can I Tell If My Hydroponic System Is Working Correctly?
Answer: Healthy plants with vibrant green leaves and steady growth indicate that your hydroponic system is functioning well.
Check the water levels, nutrient concentrations, and pH balance if you notice signs of wilting, yellowing, or stunted growth.
5. Is It Possible To Build A Hydroponic System For Under $100?
Answer: Yes, you can build a basic hydroponic system for under $100, especially if you use inexpensive materials such as plastic containers, air pumps, and inexpensive hydroponic nutrients. Start small and expand as needed.
6. Can I Use Tap Water For Hydroponics?
Answer: Tap water can be used but should be dechlorinated to avoid harming plant roots. If tap water is high in chlorine or other minerals, consider using distilled or filtered water for best results.
Conclusion
Building a DIY hydroponic system is a rewarding and sustainable way to grow plants without soil. Whether you choose a simple method like Kratky or a more complex system like aquaponics, the key is maintaining a balanced environment for your plants.
With some care and regular monitoring, your DIY hydroponic garden can provide fresh produce year-round, making it a valuable addition to any home or garden.
I trust you enjoyed this article on How To Build A DIY Hydroponic System. Stay tuned for more blog posts soon. Take care!
JeannetteZ
>>>Please click here to read my all-inclusive article, About The Essential Companion Planting Guide<<<
>>>Please click here to read my all-inclusive article about Container Gardening<<<
>>>Are you interested in homegrown herbs and medicine? Please click here to find out more about it!<<<
Your Opinion Is Important To Me
Do you have thoughts, ideas, or questions? I would love to hear from you. Please leave me your questions, experiences, and remarks about this article, How To Build A DIY Hydroponic System, in the comments section below. You can also email me at Jeannette@Close-To-Nature.org.
Disclosure
This post may contain affiliate links. As an Amazon Associate and other affiliate programs, I earn from qualifying purchases at no extra cost to you. Please read my full affiliate disclosure.
You might also enjoy these blog posts:
The Ultimate Guide To Companion Flowers For Vegetables
Top 10 Companion Plants For Tomatoes
The Best Plants For Hydroponics And How To Grow Them
10 Winning Herb And Vegetable Companion Planting Combinations
Exploring Animal Communication: What Your Pet Is Trying To Tell You
